Automatic Litter Box – The Inner Box Is Finally Built
The inner box for my automatic litter box is finally built. Next I need to enlarge the outer enclosure so the taller inner structure fits properly before moving on to the sieve and real litter testing.
This part of the automatic litter box has taken a lot more printing than it probably looks like from the outside.
In the last update I had finished the bottom section of the inner box and started figuring out how I wanted to assemble the larger printed parts.
Now the rest of it is finally taking shape.
The floor, walls and top are now together, which means I can finally see the actual size of the complete structure instead of trying to imagine it from separate printed pieces.
And of course, finishing one part immediately revealed the next problem.
The inner box is now too tall for the original outer box.
🧱 From a Flat Floor to an Actual Box
The previous version was mostly just the bottom section sitting on the floor.
That was useful for checking the opening and the general dimensions, but it was still difficult to get a feeling for how large the finished structure would actually become.
Once I started adding the walls, that changed pretty quickly.
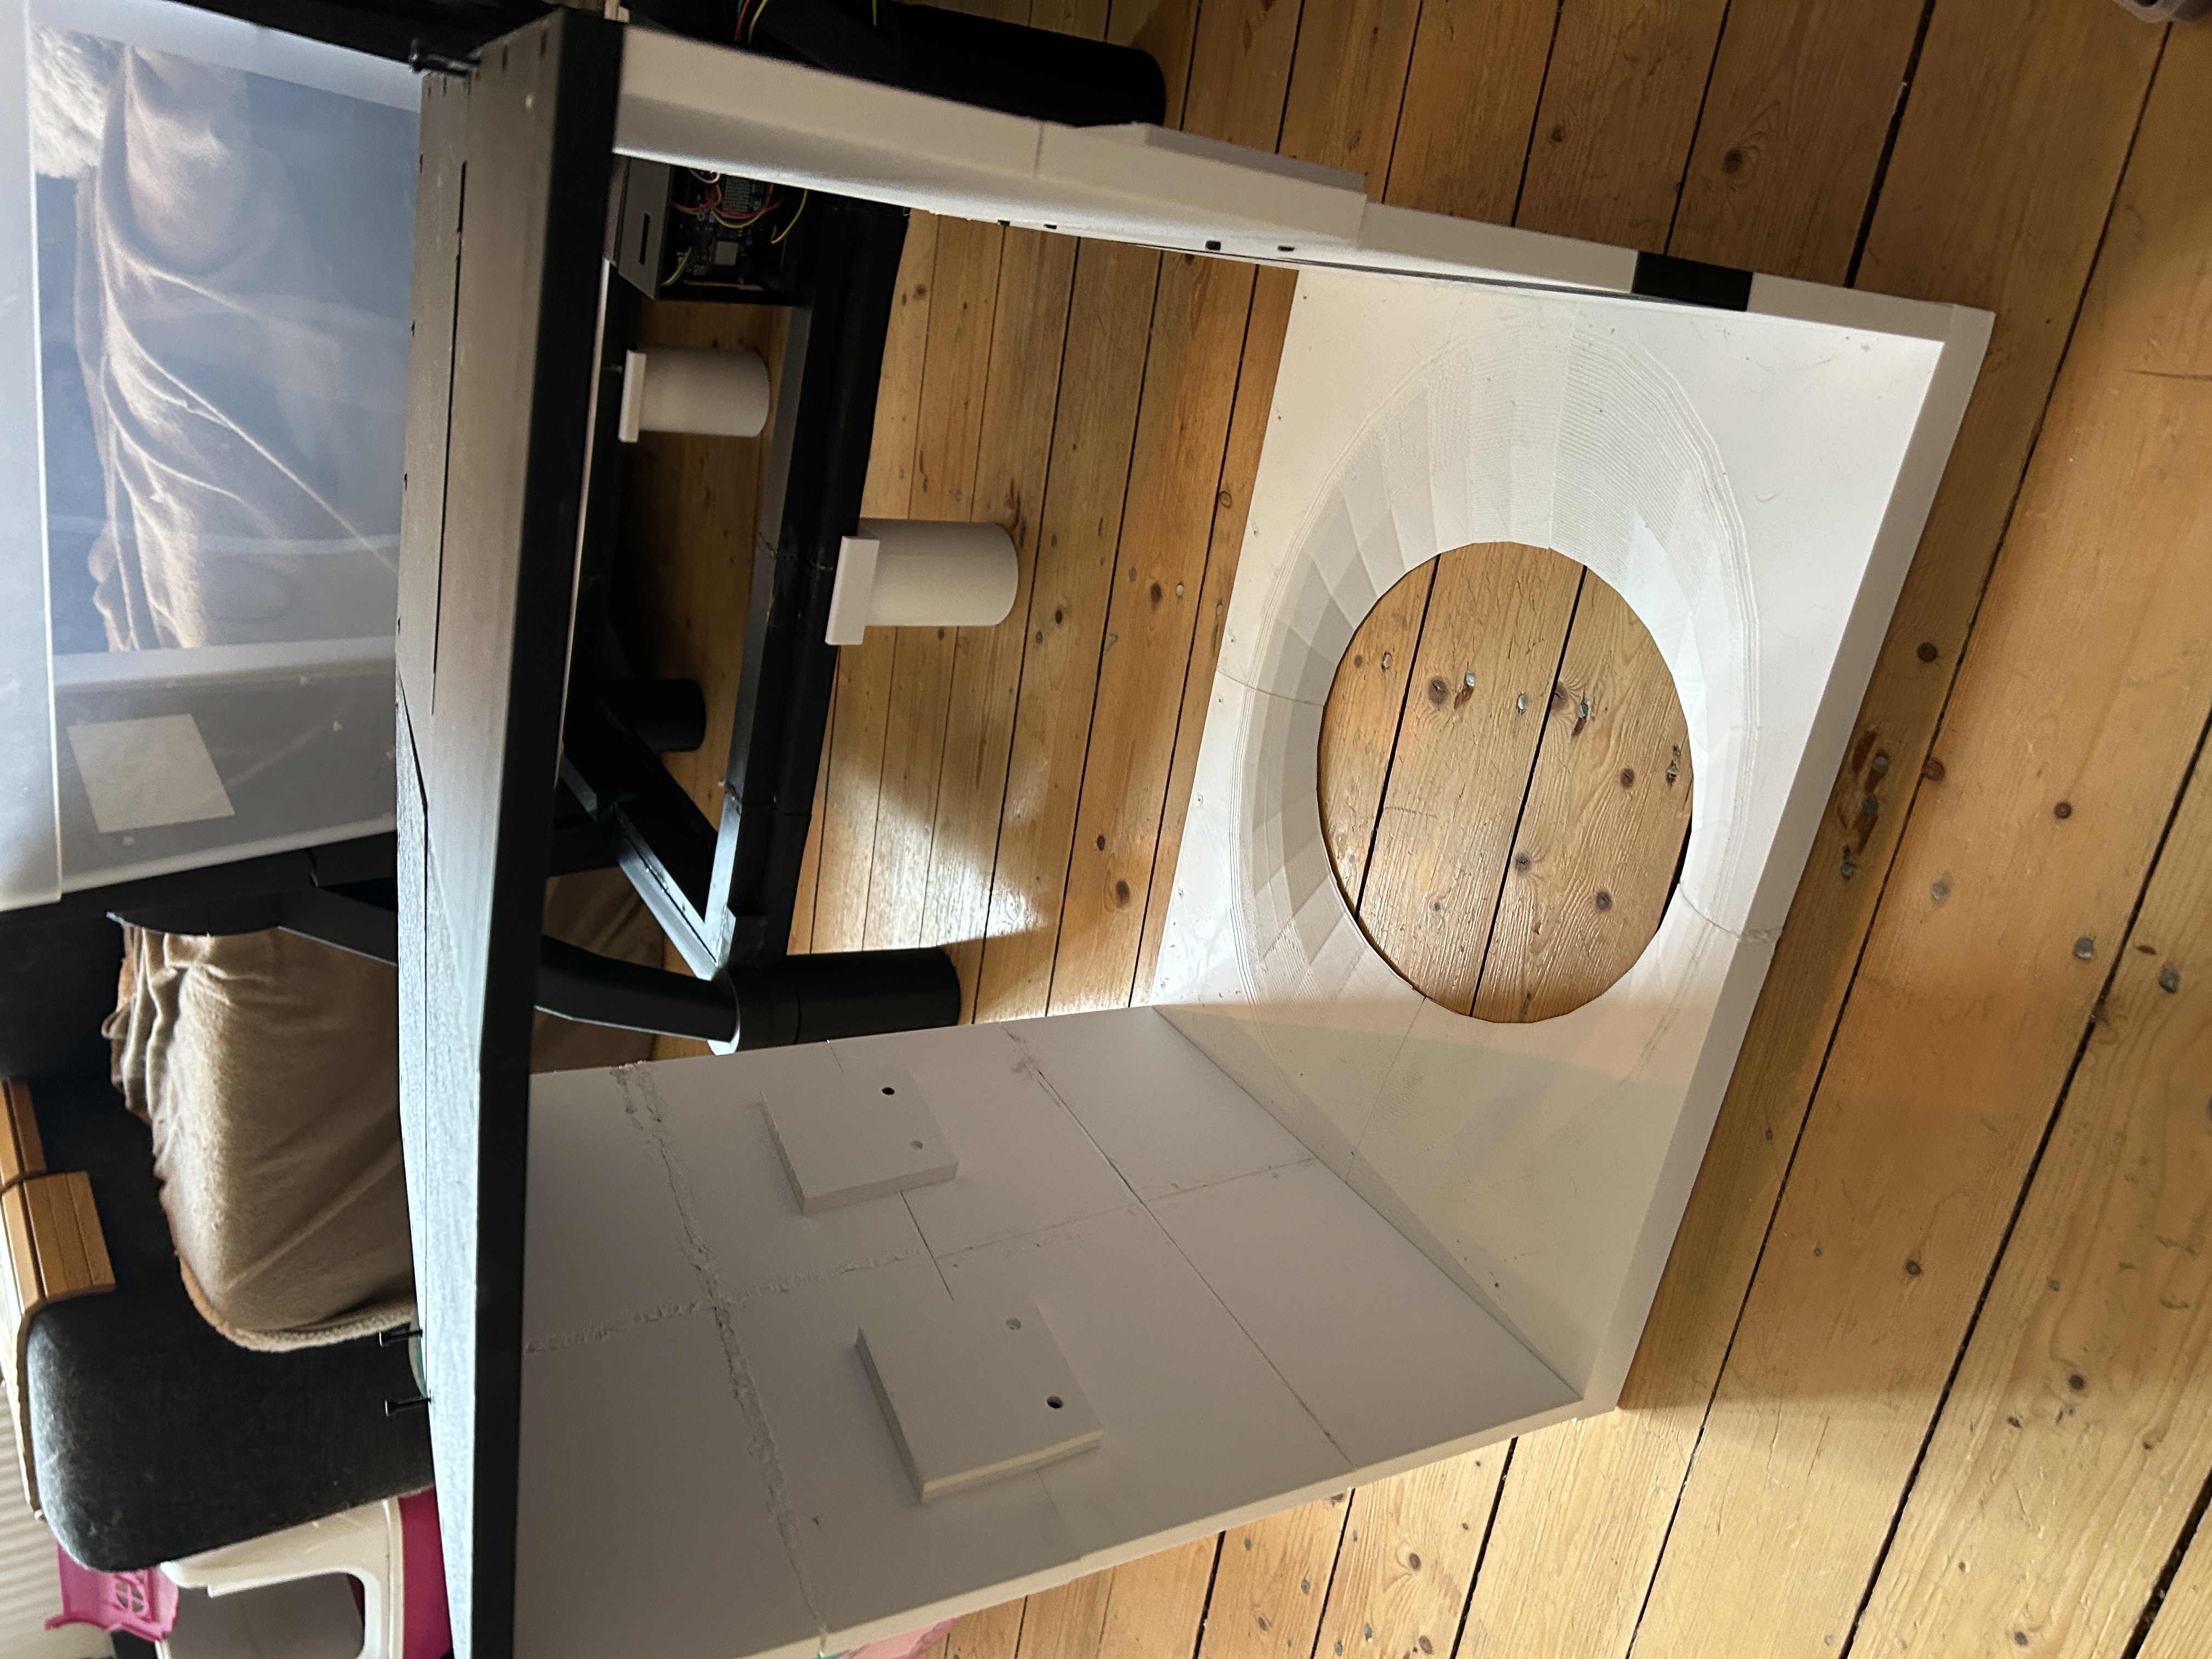
This is much closer to what I originally had in mind.
The large opening in the bottom will eventually be part of the waste path, while the walls create the enclosed inner section that the litter will move through during the cleaning cycle.
Seeing the walls standing up also made it much easier to judge the internal space.
Until now I have mostly been working from measurements and individual printed pieces.
Now I can actually stand in front of it and see whether the proportions make sense.
🔥 Still Welding the Printed Sections Together
I have continued using the PLA welding technique I tried in the previous build.
Instead of treating every printed section as a completely separate part, I use a soldering iron together with small pieces of PLA filament to melt the sections together.
The joins are definitely still visible.
Some of them are pretty ugly I will probably later on use tree-filler to hide all visible joints.
But mechanically I am much more interested in whether the parts stay together than whether the inside of a prototype looks perfect.
For something this large, being able to print it in manageable sections and then weld everything together is really useful.
I am getting better at controlling how much plastic I melt into the seams as well.
The first attempts looked more like I had attacked the print with a soldering iron.
Now they are at least starting to look intentional.
🏗️ The Roof Is On
With the walls in place, I could finally put the top section on as well.
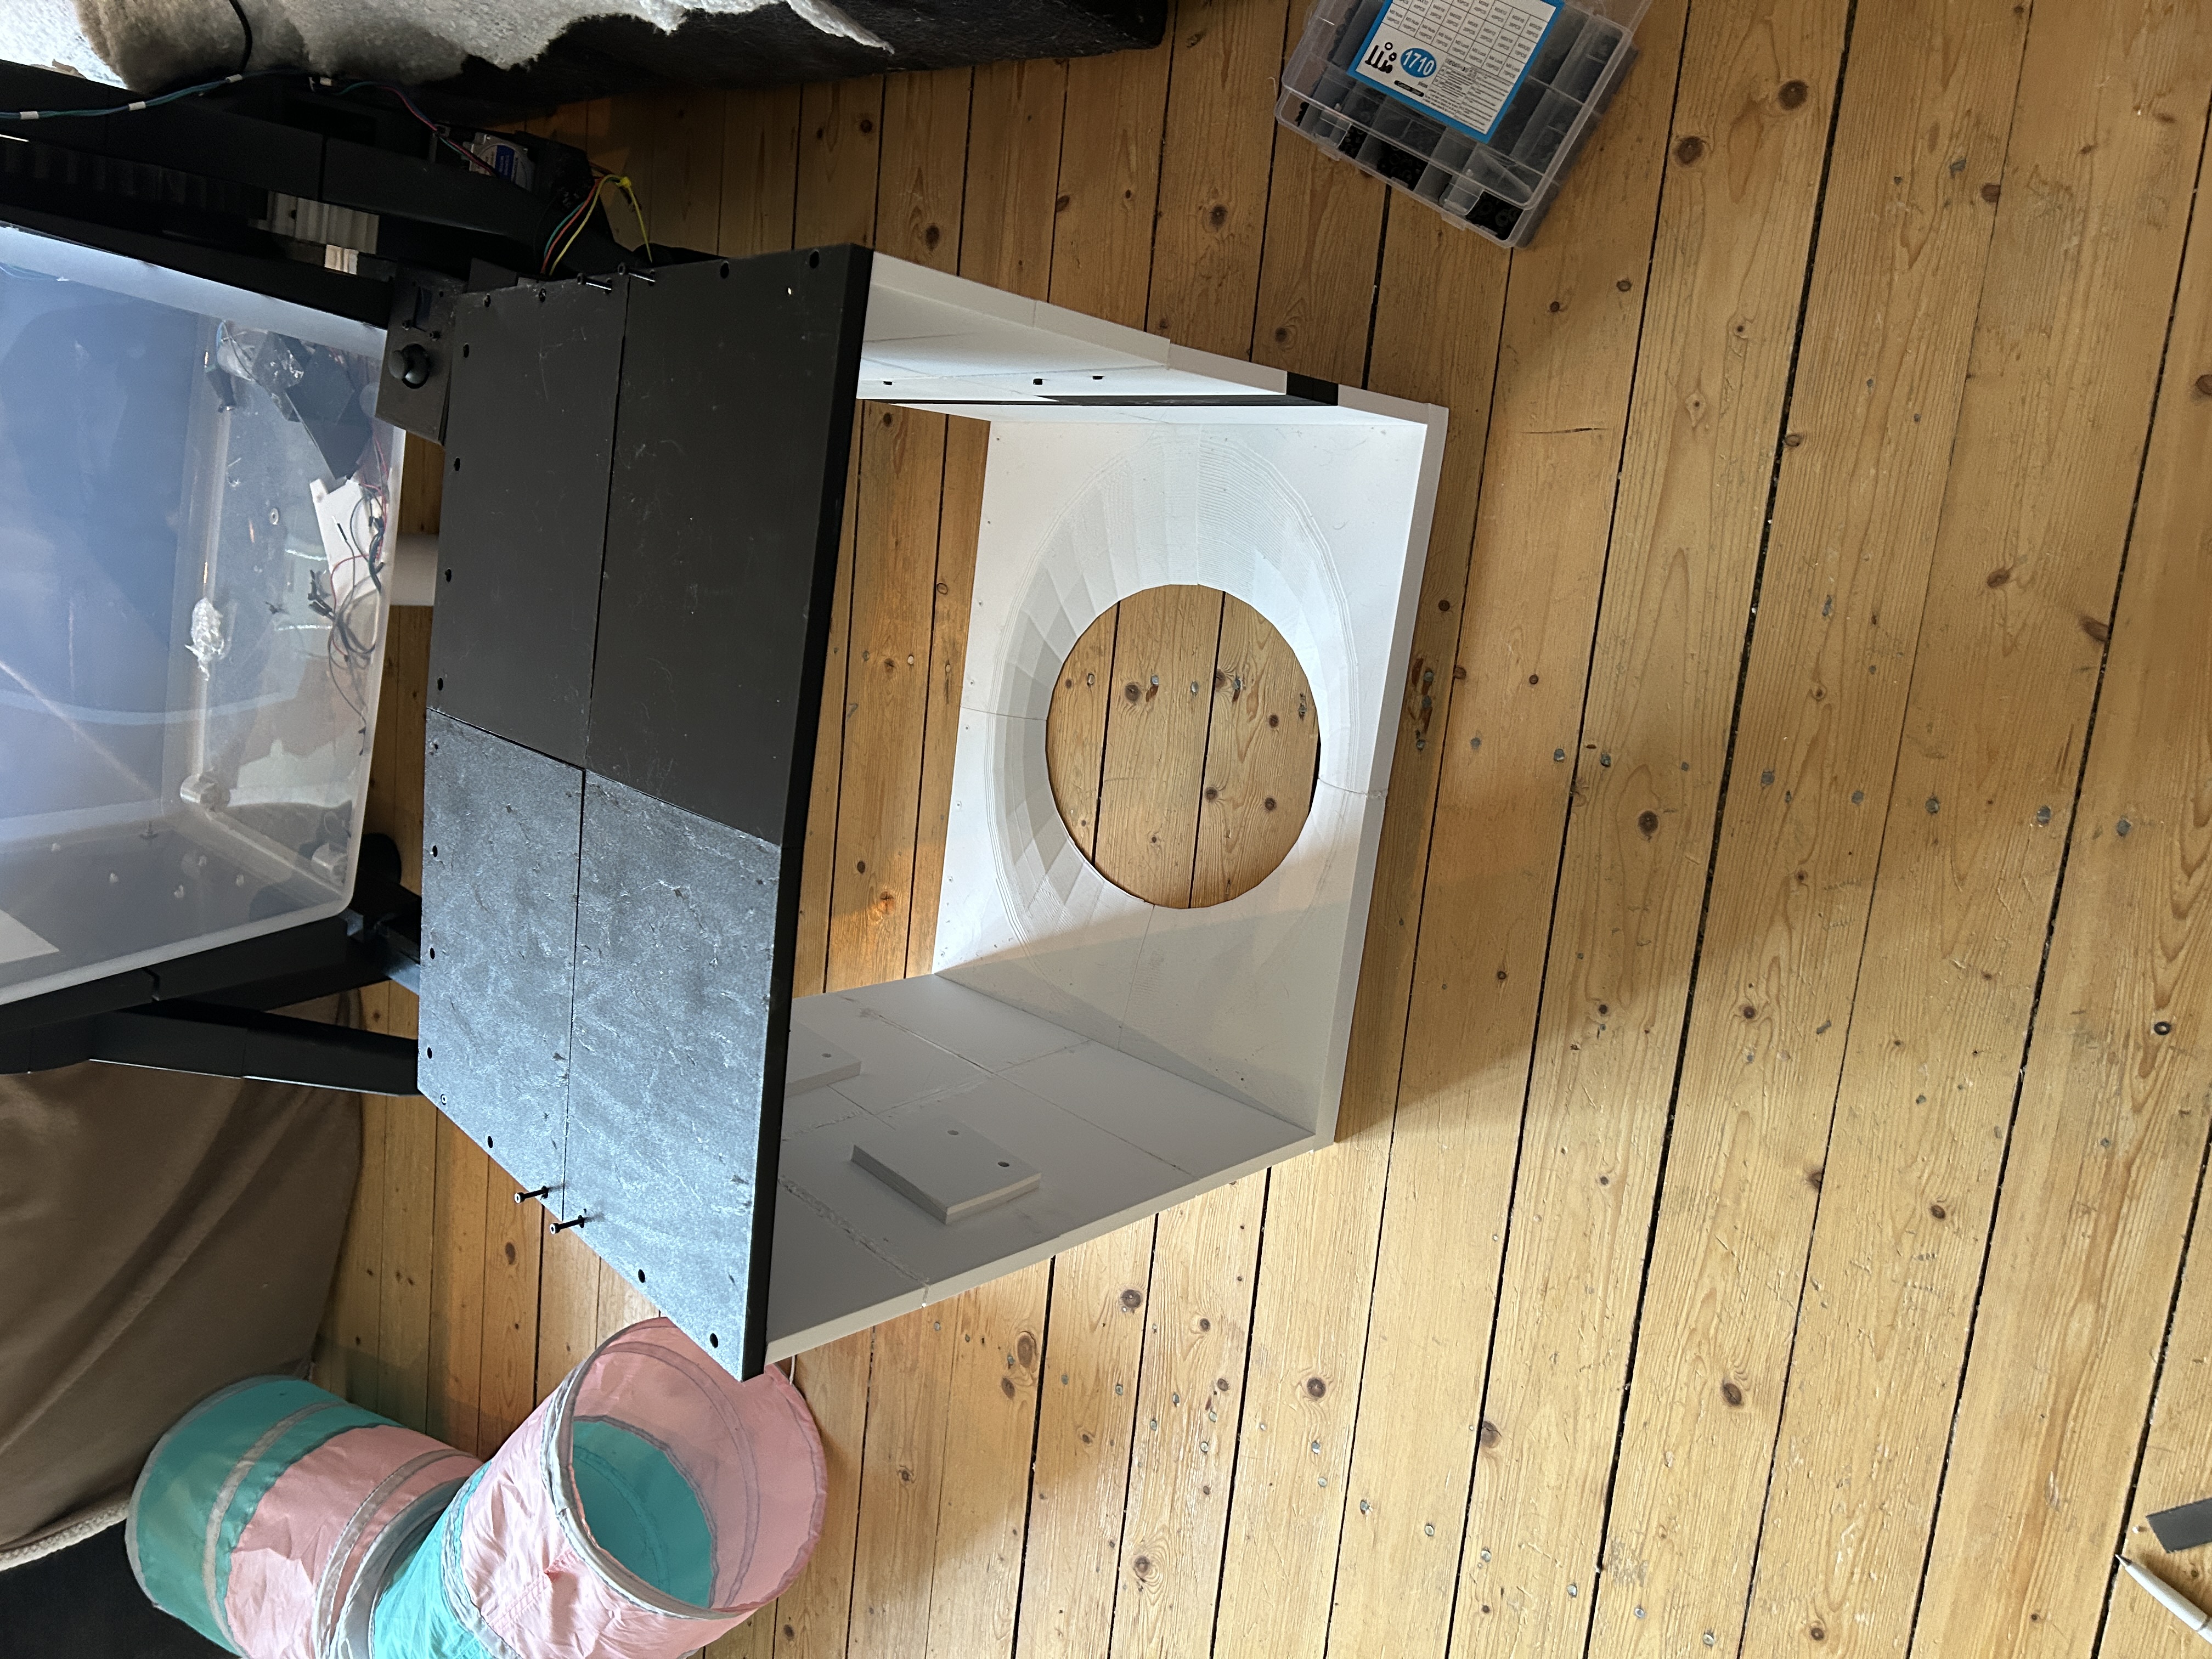
This was the first time I could really see the complete height of the inner box.
And that immediately exposed the next issue.
It is tall.
Much taller than the space I originally planned for inside the outer box.
The original outer enclosure was designed while the internal mechanism was still much simpler.
Since then the design has grown quite a bit, especially around the sieve and the inner waste path.
So instead of trying to squeeze everything into dimensions that no longer make sense, I am going to change the outer box.
🎥 Current Inner Box
This is where the inner box is right now:
There is still plenty of cleanup and adjustment left, but the important thing for me is that the complete basic structure now exists.
I can finally stop asking:
“Will these parts actually form the shape I designed?”
They do.
Now I can start dealing with the much more practical question:
“Will the rest of the litter box fit around it?”
At the moment, the answer is no.
📦 The Outer Box Needs to Grow
The next step is therefore not another part for the inner box.
I need to modify the outer enclosure.
The current outer box simply does not have enough vertical space for the taller inner structure.
Trying to force it into the existing enclosure would just create more problems later.
The cats also need enough space inside the finished litter box to actually stand and move normally, so reducing the height of the inner box just to make the old enclosure work would be the wrong compromise.
Instead, I am going to enlarge the outer box so the mechanics fit properly.
That means going back to the outer structure and extending it before I continue much further with the internal mechanism.
📐 A Design Problem I Could Not Really See Before
This is exactly why I wanted to get the inner box physically assembled before continuing too far.
On the screen, every part has dimensions.
Everything technically fits according to whatever version of the model I am looking at.
But once you have the actual thing sitting in front of you, the proportions become much more obvious.
The inner box takes up a serious amount of space.
That is not necessarily a bad thing.
It just means the outer shell has to follow the design instead of the other way around.
I would rather make the enclosure larger now than discover later that the finished litter box is cramped inside because I refused to change an old dimension.
🧪 Where the Project Stands
The mechanical side is starting to become much easier to understand now that the larger structures physically exist.
Current status:
- Rotating mechanism
- Motor movement recording
- Persistent movement sequence
- Sieve floor
- Inner box walls
- Inner box top
- Large printed sections joined together
- Enlarge outer box
- Fit complete inner box inside the enclosure
- Finish sieve mechanism
- Test with real cat litter
- Waste separation tests
There is still a lot left, but the project is definitely getting past the stage where everything is just a collection of individual prototypes.
I now have a real internal structure sitting on the floor in front of me.
Unfortunately, I also have an outer box that is now too small for it.
So that is the next job.
Make the outer box bigger and give this thing enough room to actually fit.
Comments
Comments
Loading comments…