Automatic Litter Box – The Sieve Finally Has a Floor
🐈 Automatic Litter Box – The Sieve Finally Has a Floor
The automatic litter box is slowly starting to look less like a collection of separate printed parts and more like the machine I originally had in my head.
This time I have been working almost entirely on the mechanical side of the project.
The first part of the sieve / inner box is now printed: the bottom section where the separated waste will eventually travel through and leave the inner compartment.
It does not look especially complicated when it is lying on the floor, but getting a part this size assembled properly turned into its own little project.
🧩 Building the Bottom in Several Pieces
I printed the bottom as several individual sections and started by laying everything out to see how well the pieces actually matched once they were off the printer.
Frans naturally had to inspect the work.
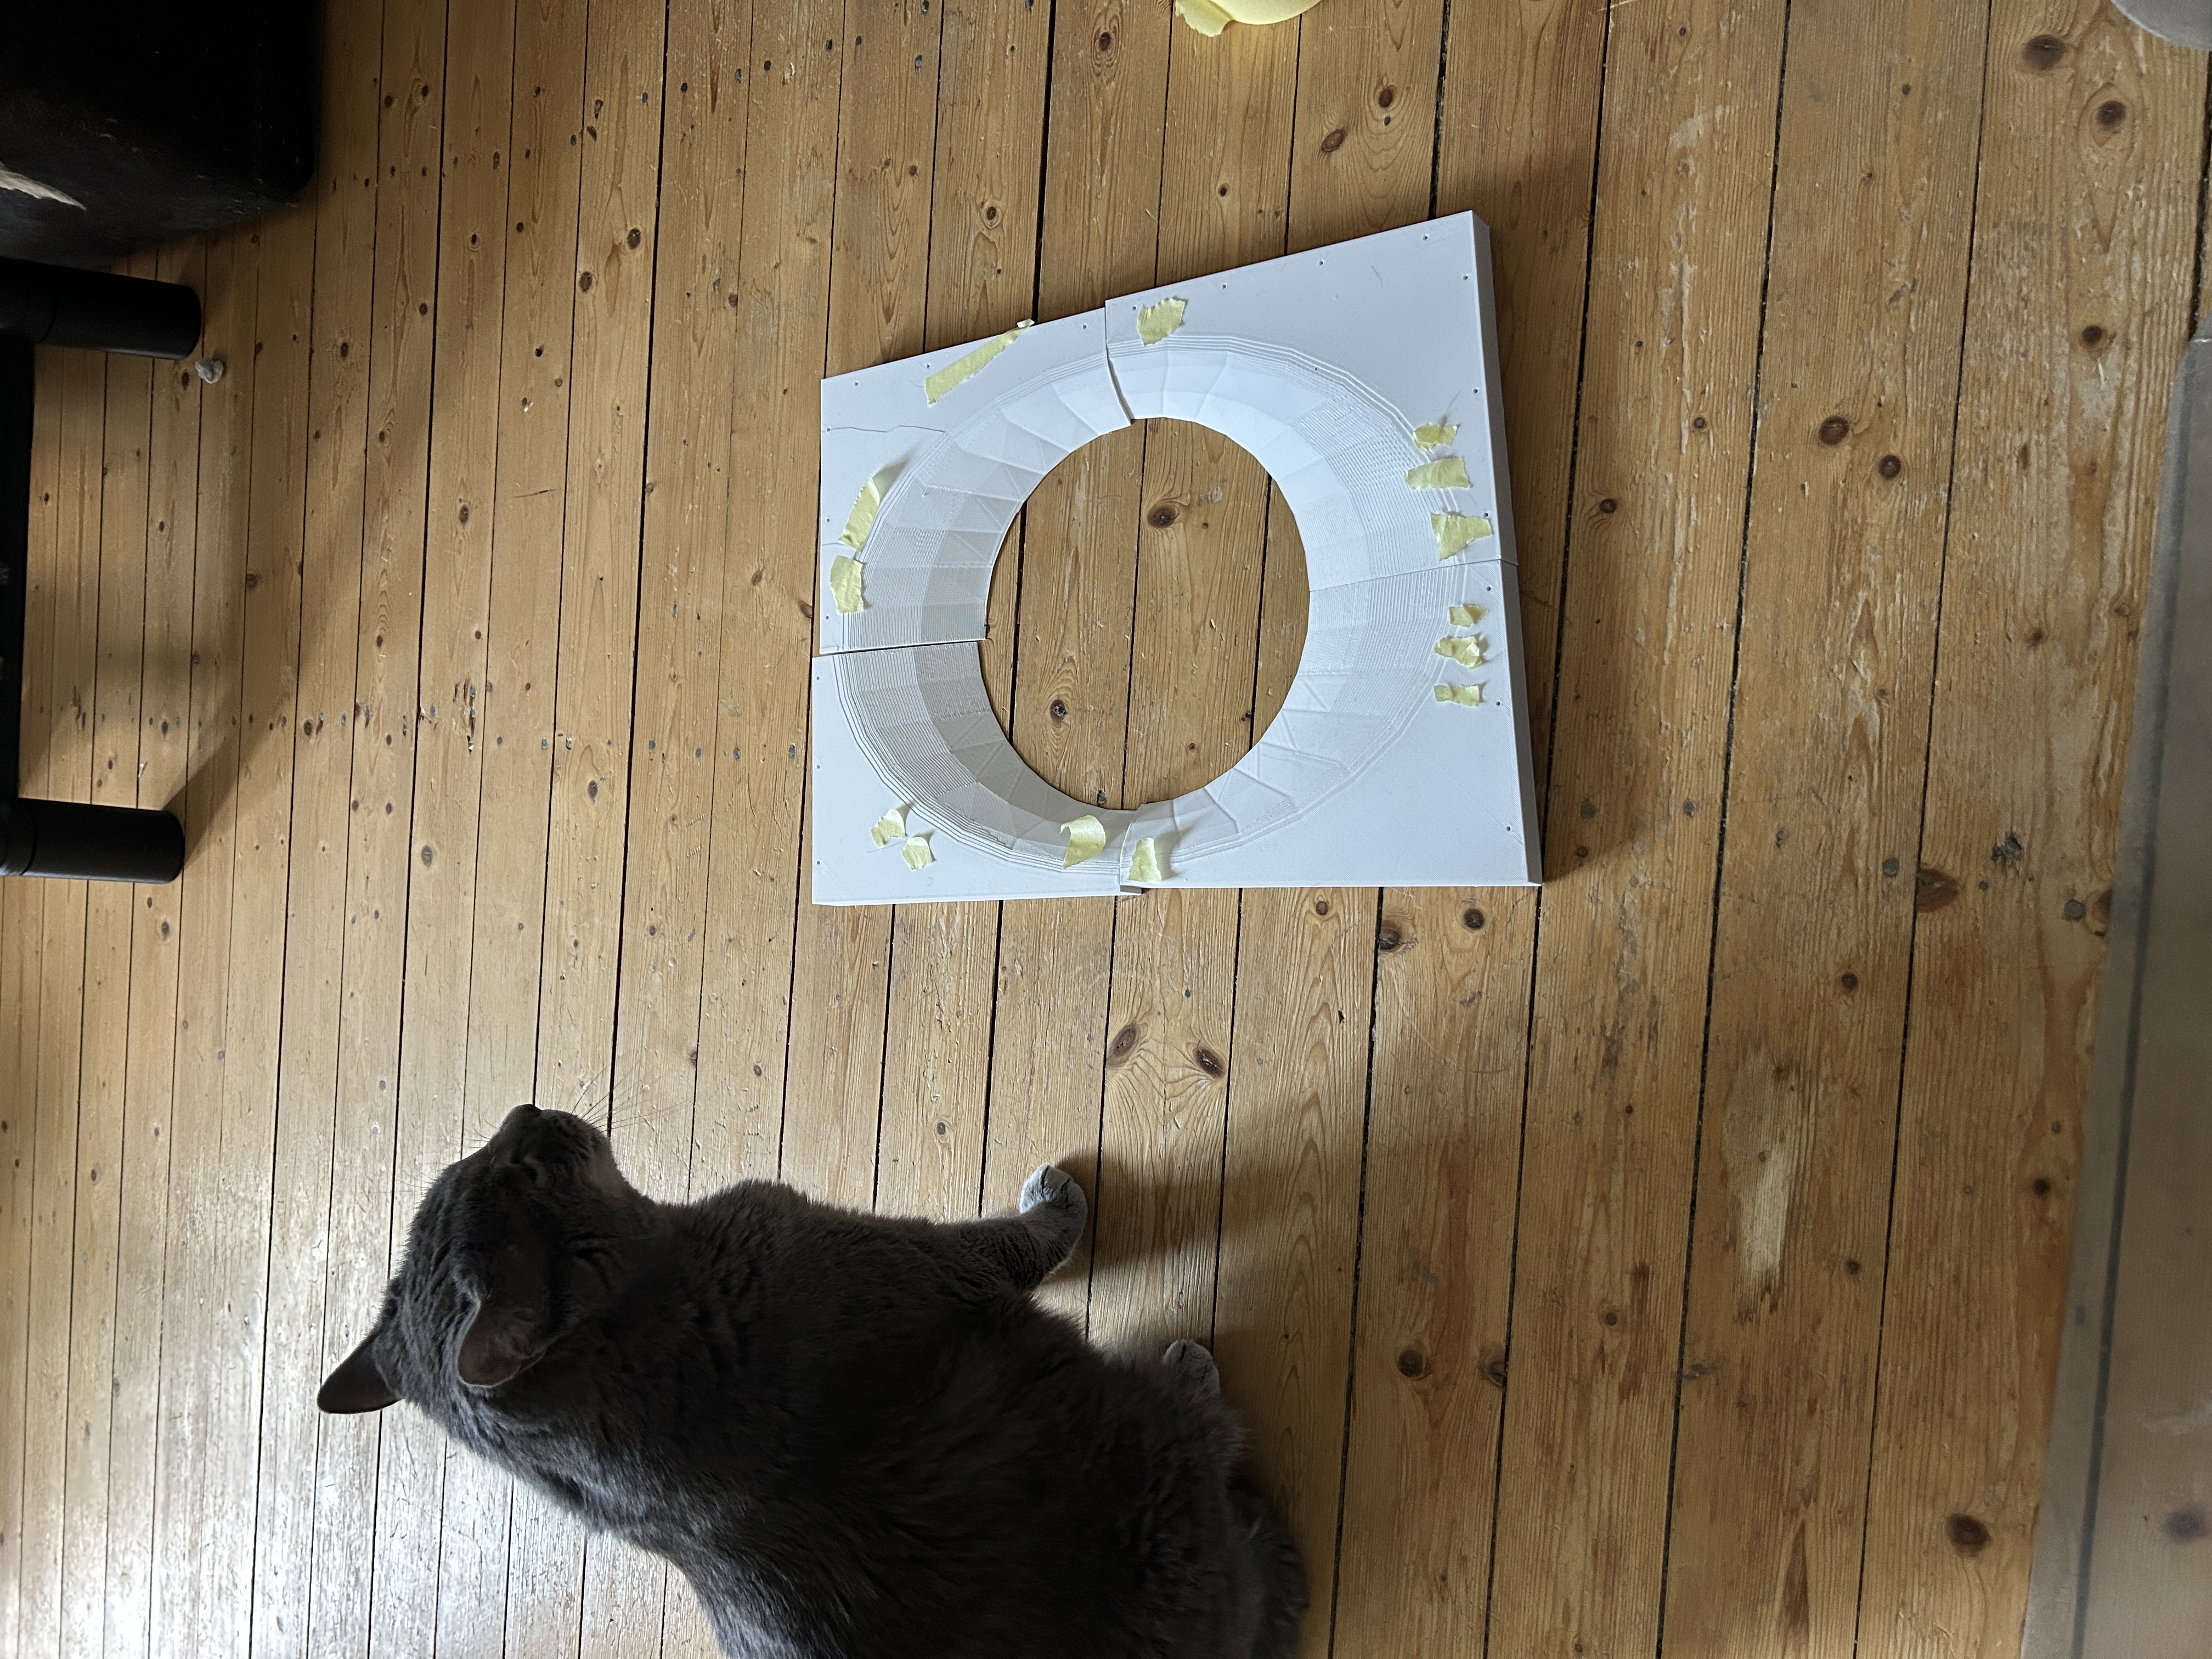
The large opening in the middle is intentional.
This will eventually become part of the path where the separated cat waste can move out of the inner box during the cleaning cycle.
At this stage I was mostly interested in one thing:
Do all the printed sections actually line up well enough to become one solid part?
Thankfully, they did.
🔥 Learning a New Way to Join PLA Parts
This build also forced me to try something I had never really used properly before.
Instead of relying only on glue, screws or some complicated locking system between the printed sections, I tried welding the PLA together with a soldering iron.
The basic idea is surprisingly simple.
I place the two printed sections against each other, feed a small amount of PLA filament into the joint and carefully melt it into both sides using the soldering iron.
It is basically plastic welding.
And yes, my first welds definitely look like first welds.
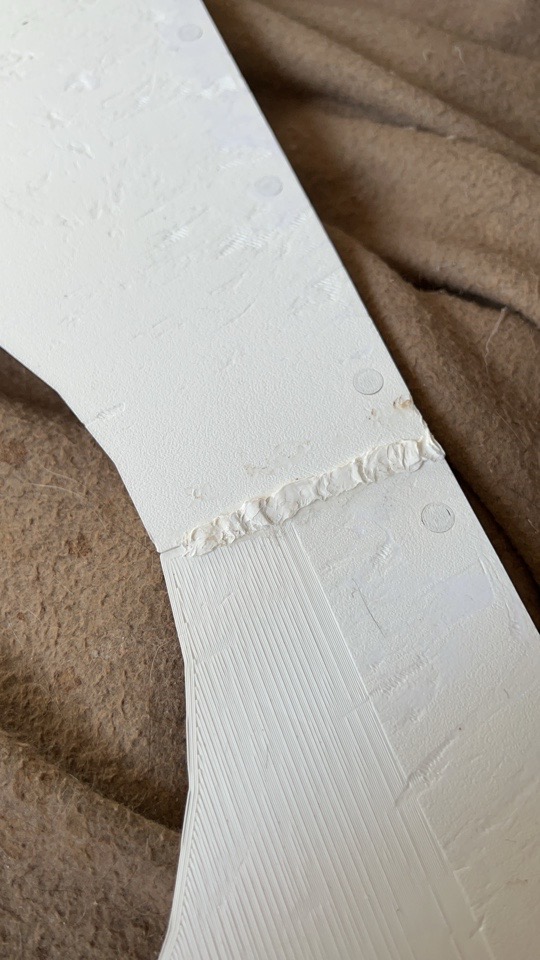
Also all pieces together:
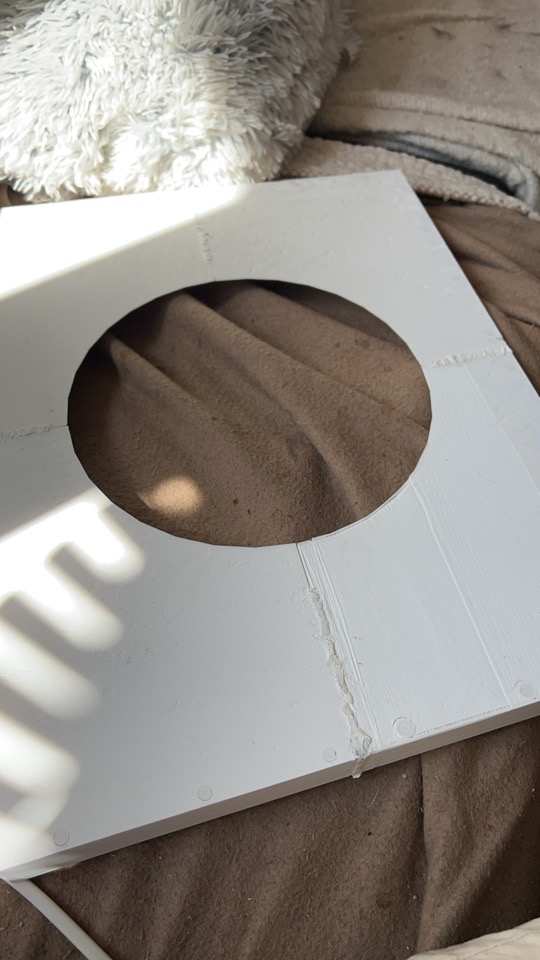
They are not going to win any beauty contests yet, but that is not really what I care about at this stage.
I wanted to see if the technique could create a solid joint between larger printed sections.
It can.
Once the PLA melts into both parts and cools down again, the sections become surprisingly rigid.
That was probably my favourite thing I learned while building this version.
🛠️ Turning Four Prints Into One Part
After welding the different sections together, I finally had the complete bottom section in one piece.

You can clearly see the joints between the prints, and I still have some cleanup to do.
But right now I am not particularly interested in making it pretty.
This is still a prototype.
I would rather have an ugly part that survives testing than spend hours sanding something that I may redesign again next week.
The important thing is that the complete shape now exists and I can finally start checking how it behaves inside the actual litter box.
📐 First Fit Inside the Litter Box
And this was the moment I really wanted to see.
The assembled bottom section actually sitting inside the litter box:
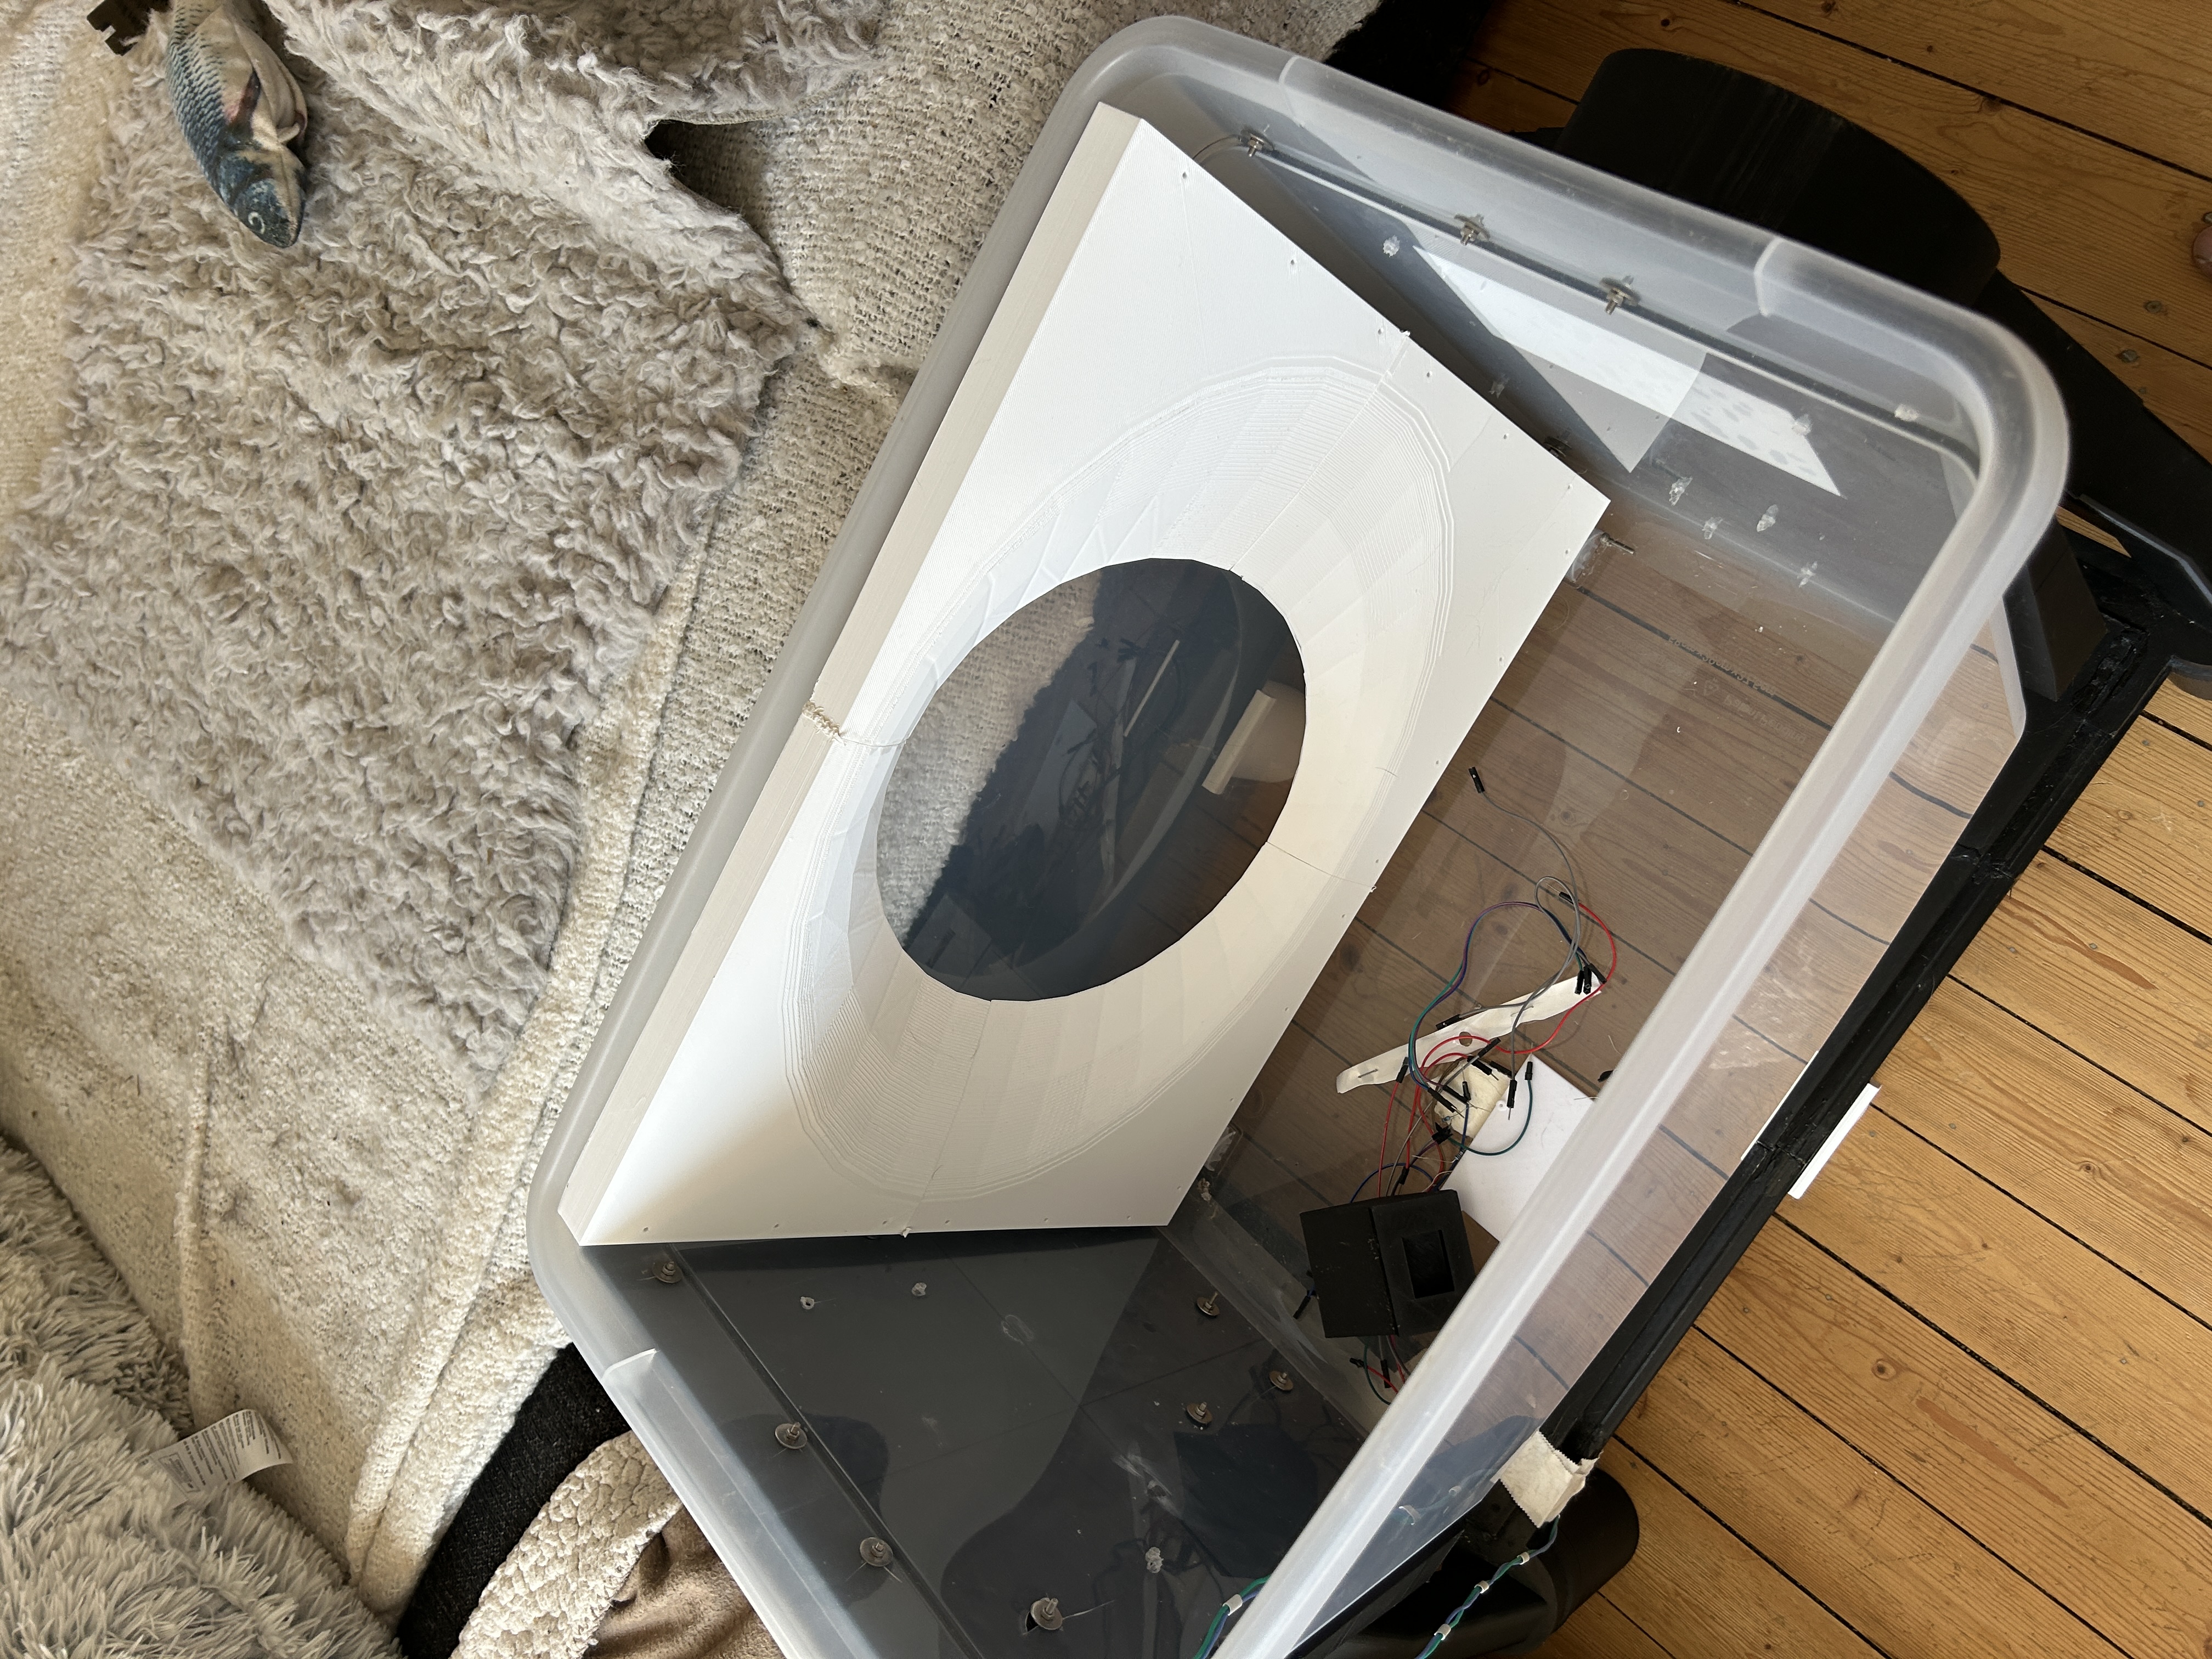
Seeing it mounted inside the real enclosure makes a huge difference compared with looking at individual pieces on the floor.
I can finally start judging the dimensions properly.
How much room I have around it.
Where the remaining parts need to sit.
How the waste path will line up.
And most importantly, whether the entire inner structure is actually going to fit the way I imagined it.
So far, it is looking promising.
🧱 Next Up – Walls and Roof
The bottom is only the first part of the inner box.
Next I need to print the walls and then the roof.
Once those pieces are installed, I should finally have the basic enclosed structure that will guide the litter and waste while the main drum rotates.
That is when this part of the project is going to become much more interesting, because I can stop testing flat pieces and start seeing how material actually moves through the complete structure.
There are still plenty of things that can go wrong.
The litter might collect somewhere I did not expect.
The angles might need changing.
The opening might need adjusting.
Something might flex once there is actual weight inside it.
But at least now I finally have something physical to test instead of guessing.
🐾 Slowly Becoming a Real Litter Box
This is one of those updates where the progress probably looks small from the outside.
I printed a floor.
I melted some plastic together.
That is basically it.
But for me this is another important piece of the project falling into place.
I now have:
- The rotating mechanism
- The recorded cleaning sequence
- Persistent storage for that sequence
- The beginning of the sieve system
- A new way of joining large 3D-printed parts
And for once, I also learned a completely new fabrication technique along the way.
Next step: walls, roof and a lot more printing.
Then I can finally start finding out whether this thing can actually separate cat litter the way I want it to.
Comments
Comments
Loading comments…