Building a Laser Robot Arm to Get Frans Moving
I’m building a Raspberry Pi 5-powered robot arm with a camera, PCA9685-controlled servos and a laser pointer. The goal is to recognize my cats, track their movement and give overweight Frans a more active way to play
This project started because of Frans.
Frans is one of my cats, and he has become too heavy. He needs to move more, but getting a cat to exercise on command is not exactly easy. He can be interested in a toy for a moment and then lose interest just as quickly.
That is when I started thinking about building something that could keep the game going without me standing there with a laser pointer the entire time.
The idea is to build a robot arm with a camera and a laser pointer. The camera should find a cat, track where it is moving and place the laser slightly in front of it. From there, the laser should move through the room in a path that makes the cat want to chase it.
It is a strange project, but it combines several things I enjoy: 3D printing, electronics, Raspberry Pi, servo control, computer vision and eventually AI.
🦾 The First Modular Arm
The first part I built was the arm itself.
I did not want to print one long fixed arm and then discover later that it was either too short or too awkward to rebuild. Instead, I designed it in separate sections.
That means I can add more sections later and make the arm longer if I need to. In theory, I could keep extending it as far as the mechanics allow.
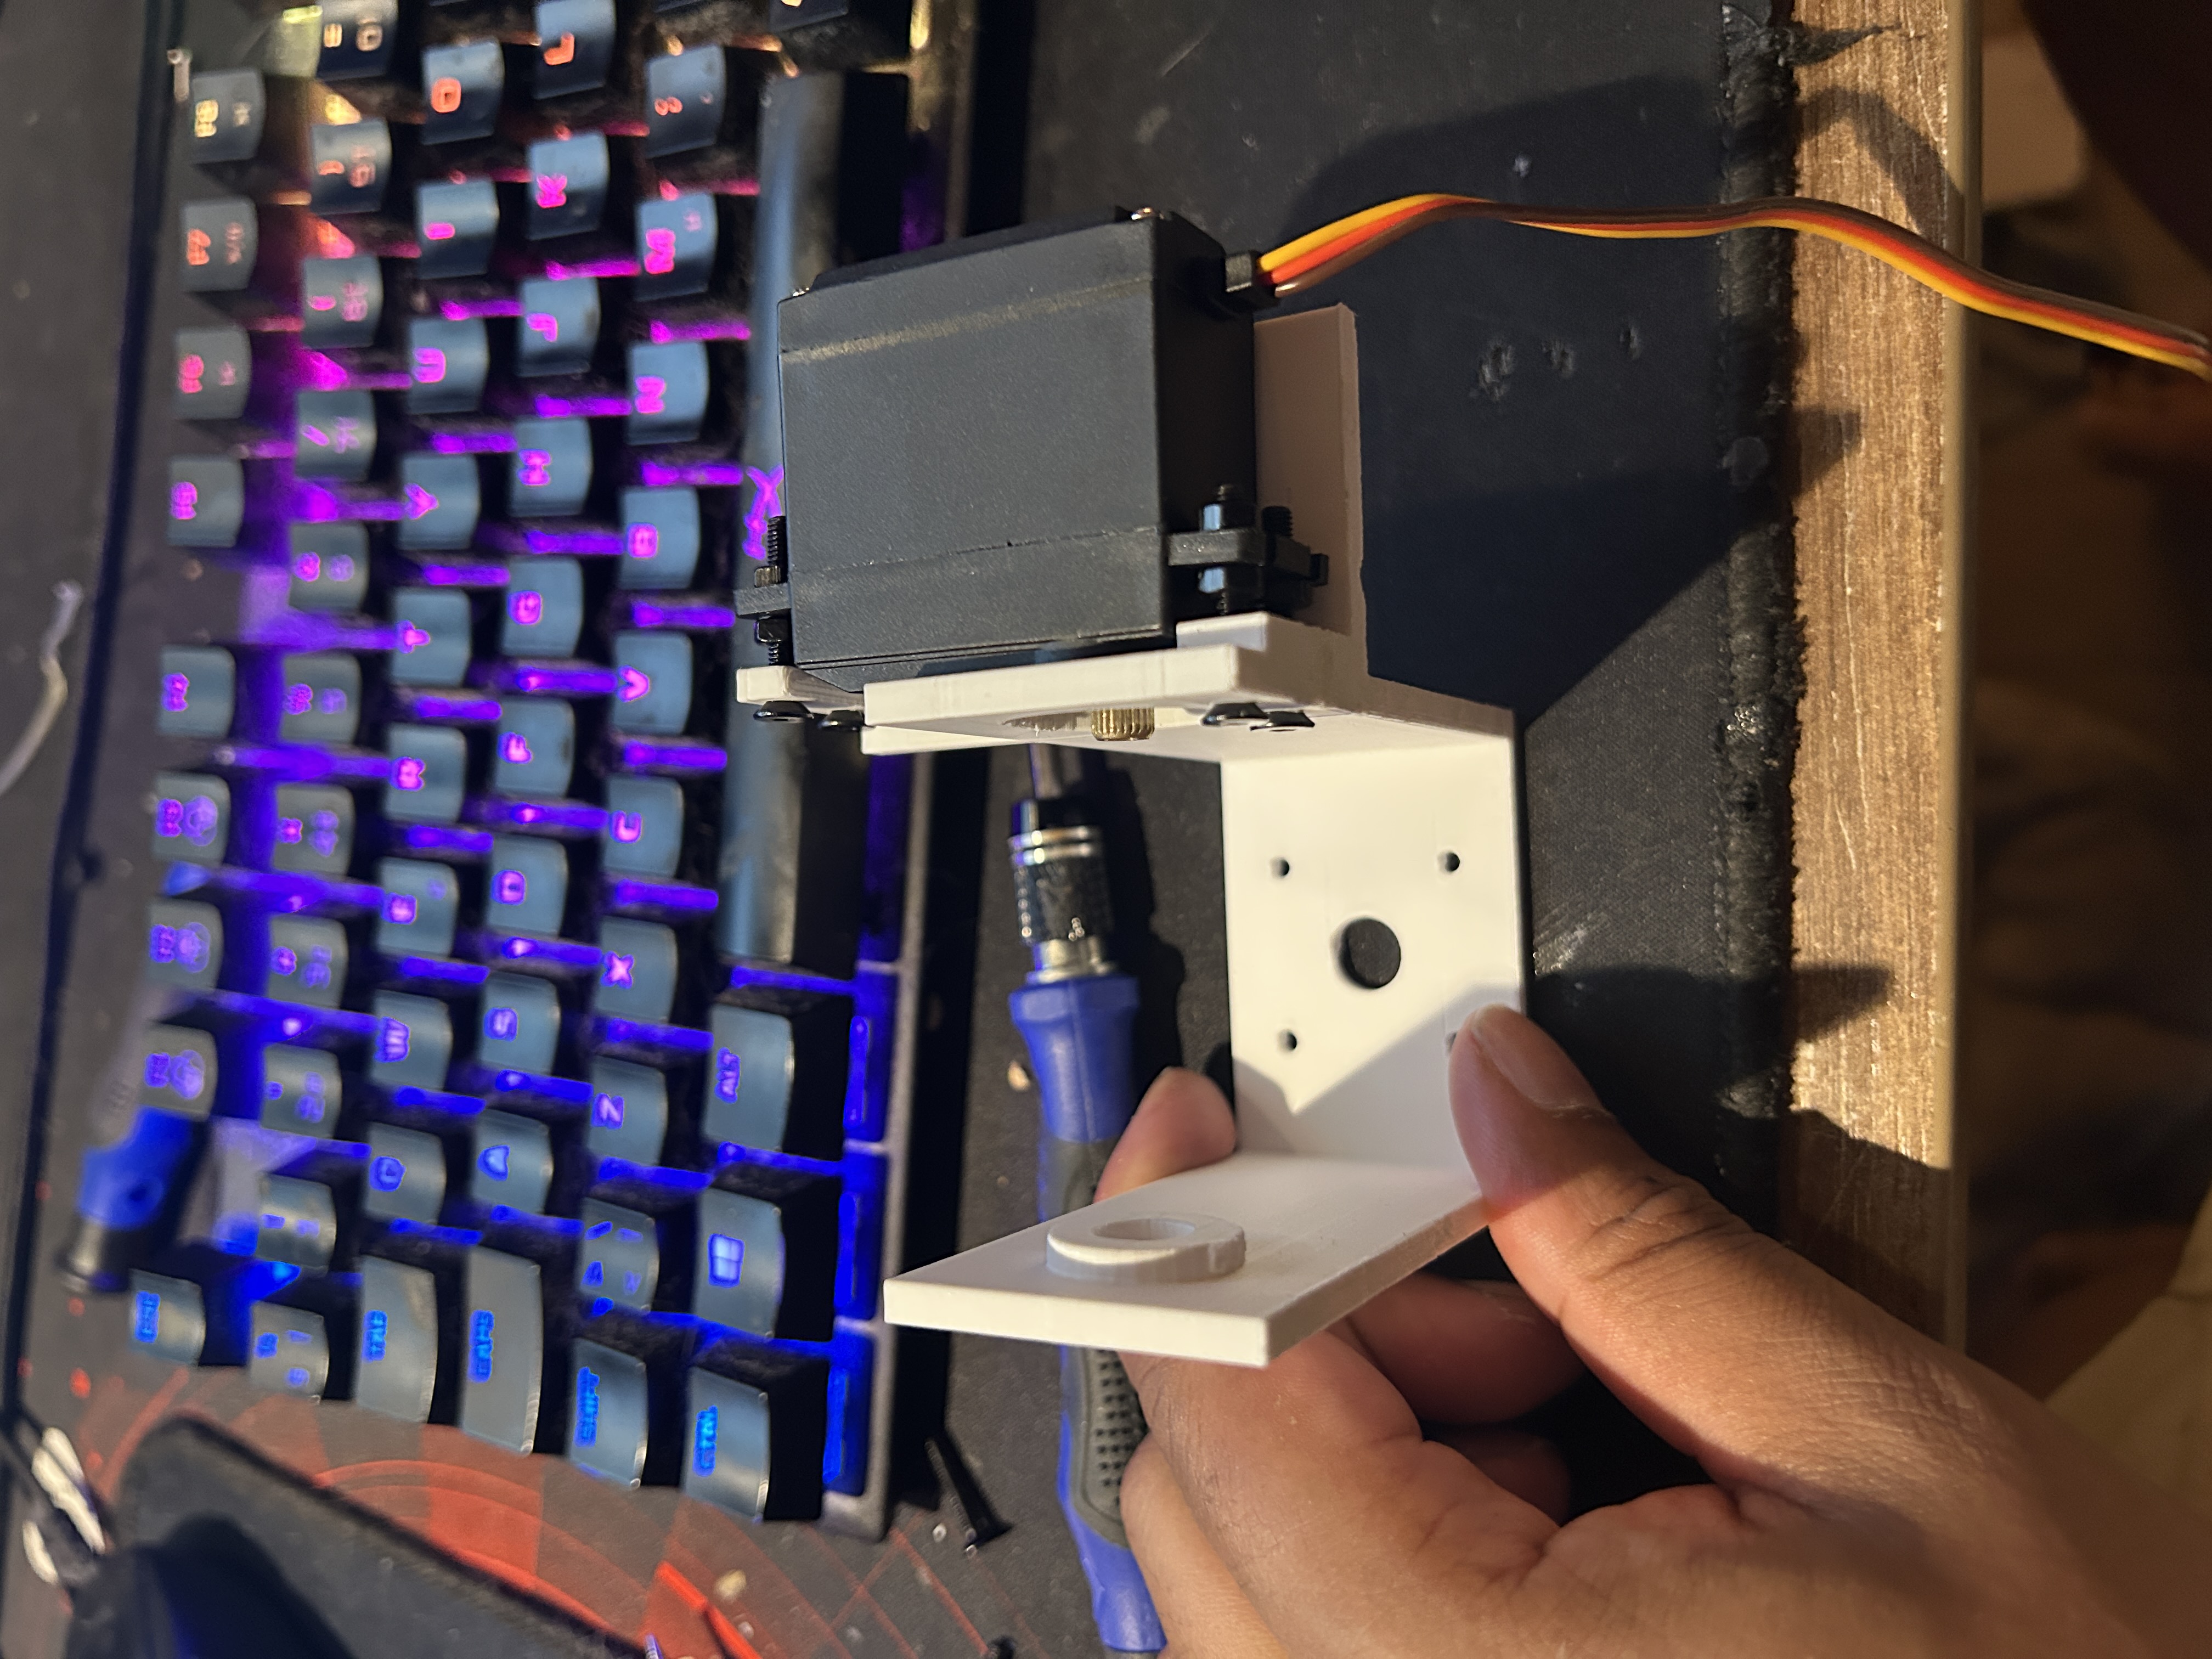
This first print was mostly about checking the fit between the parts and seeing whether the arm felt rigid enough once everything was assembled.
📷 My First Prototype: ESP32-CAM
The first working version used an ESP32-CAM together with an MG995R servo.
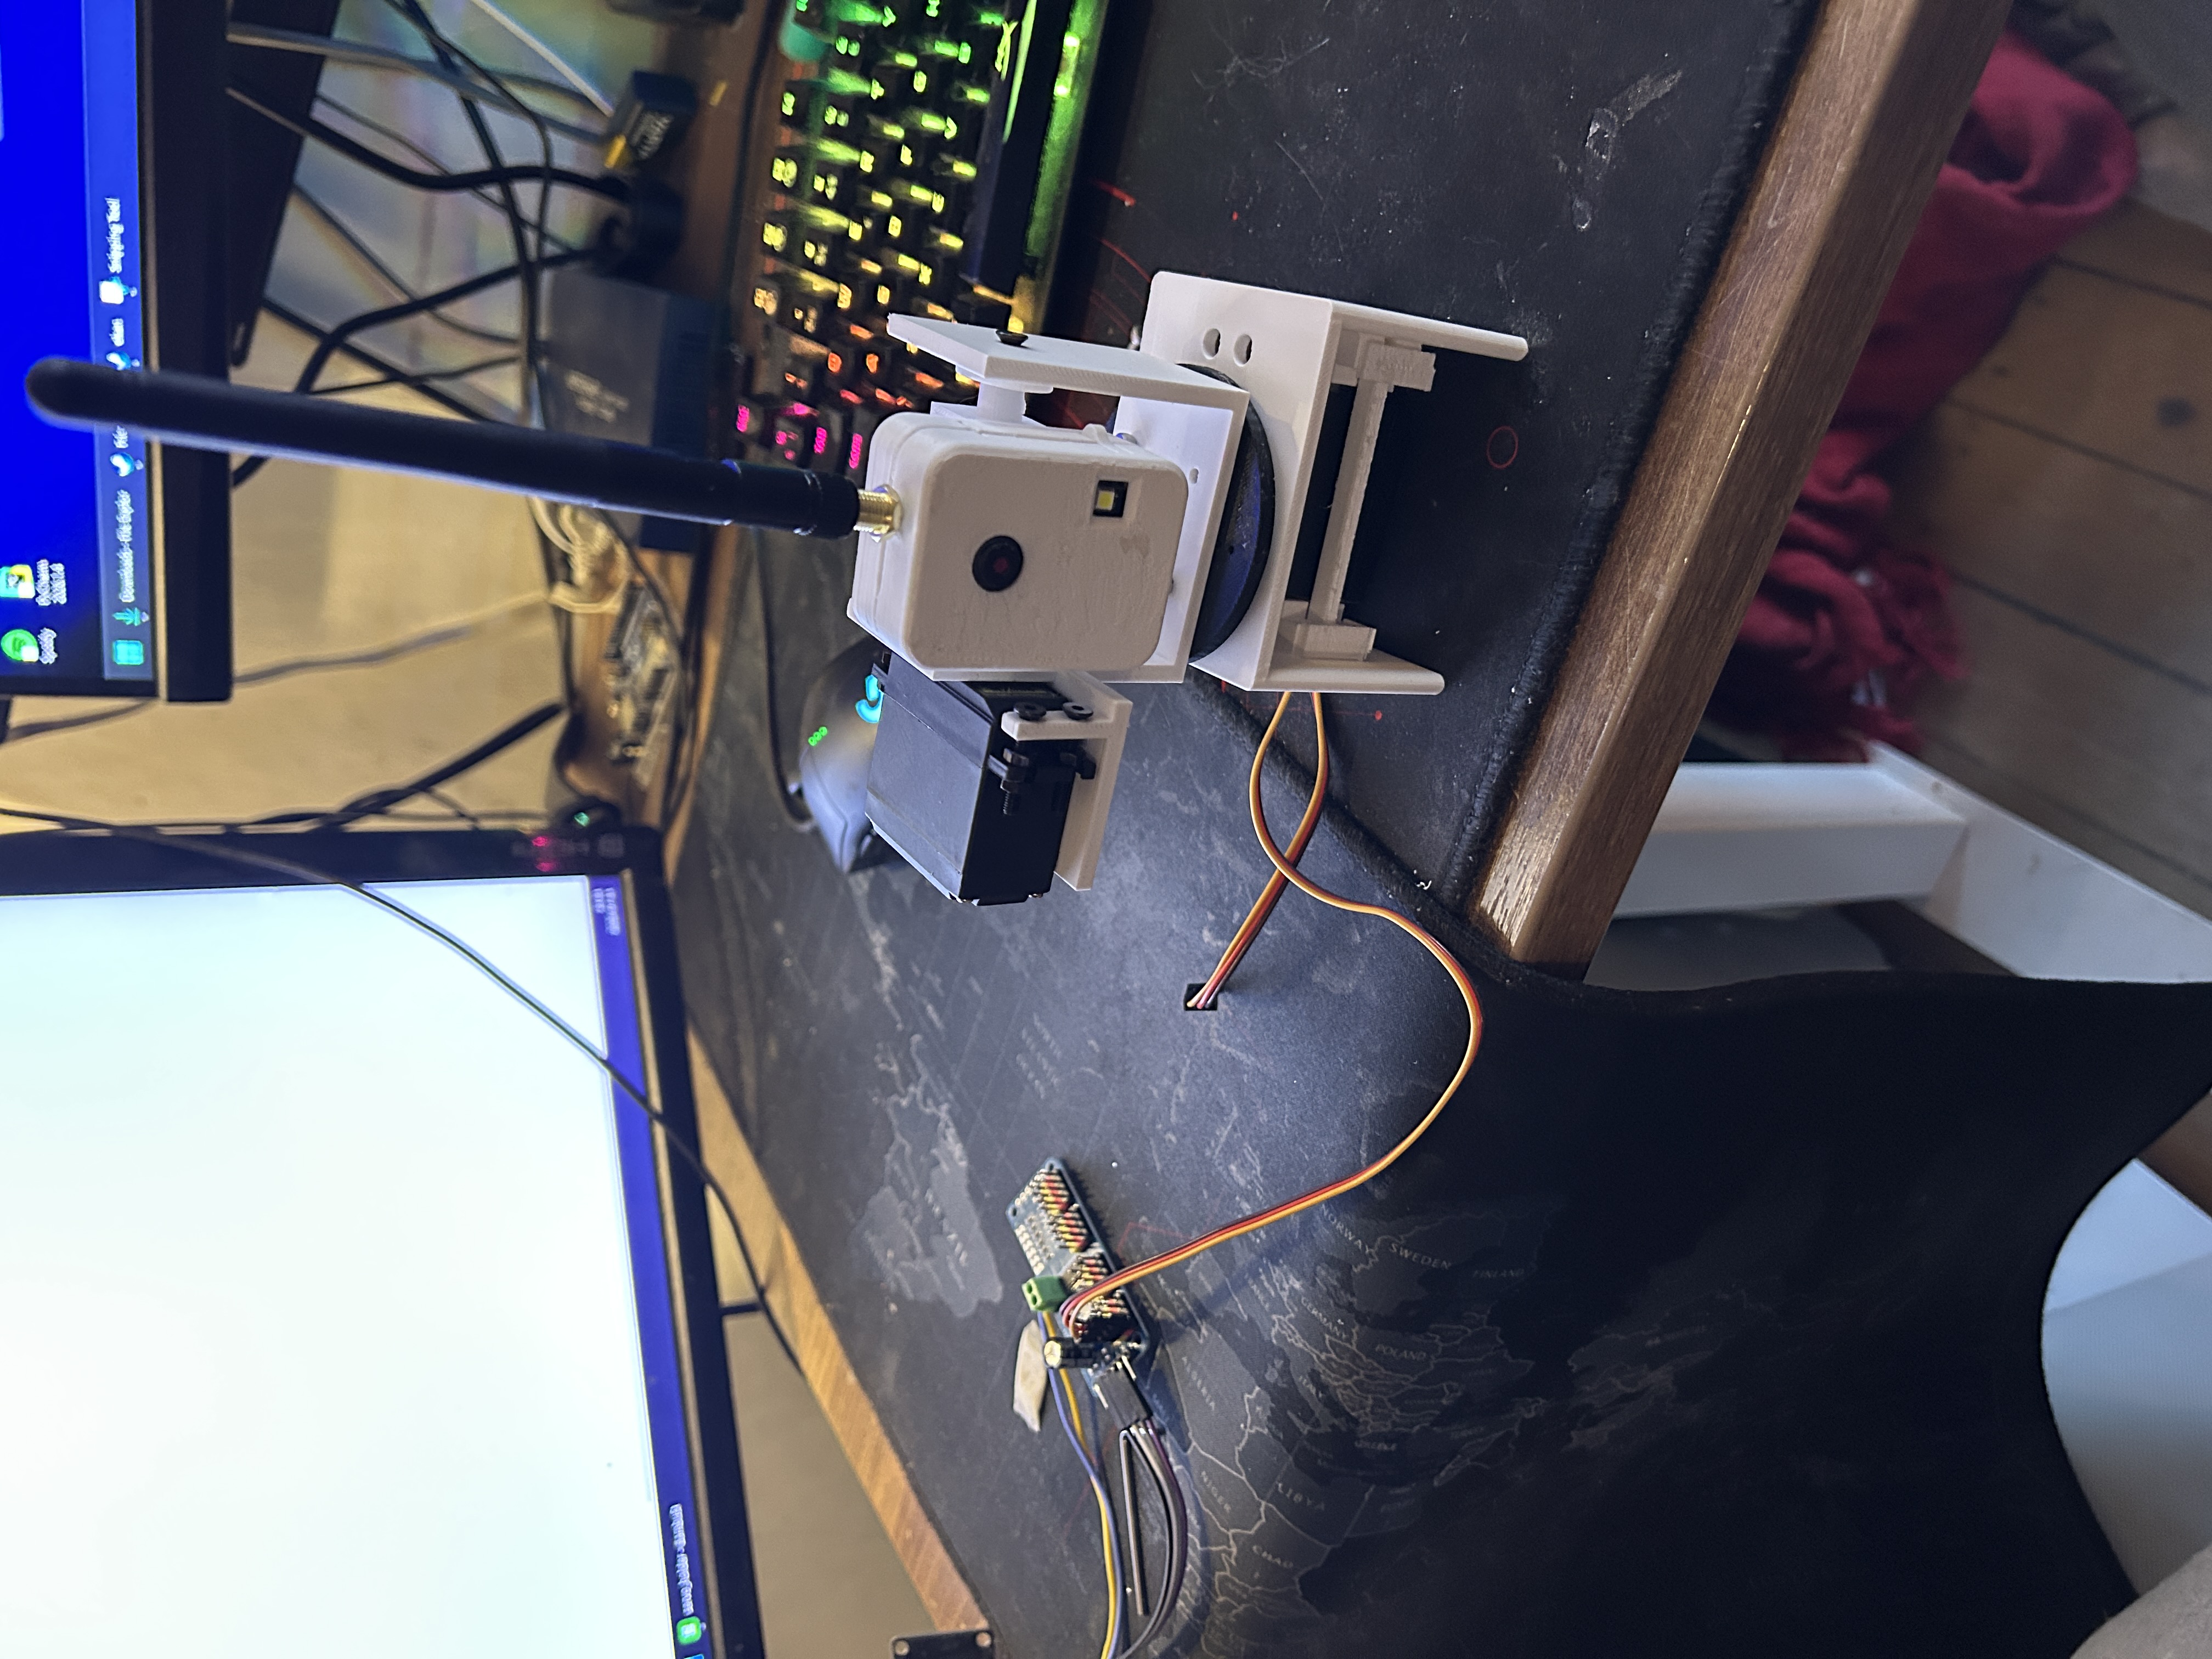
It worked, and that was enough to prove the basic idea.
I could get a camera feed and move the servo, but after testing it for a while I knew I was not going to build the final version around the ESP32-CAM.
The frame rate was around 24 FPS, which is not terrible for a small camera board, but it felt too limited for the kind of tracking I want to do. The module also became very warm during longer tests.
For a normal camera project that would probably be fine. For this project, however, the device eventually needs to:
- Detect a cat in the camera feed
- Follow the cat as it moves
- Decide where the laser should point
- Keep the laser slightly ahead of the cat
- Recognise which cat it is looking at
That was more than I wanted to force onto the ESP32-CAM.
🥧 Moving to the Raspberry Pi 5
I decided to replace the ESP32-CAM with a Raspberry Pi 5.
The main reason was simple: I need more processing power.
The long-term plan is not only to detect that a cat is visible. I want to train a model that can tell the difference between my cats, so the system knows whether it is looking at Frans or one of the others.
My first Raspberry Pi prototype used an old Microsoft LifeCam HD-3000 webcam.
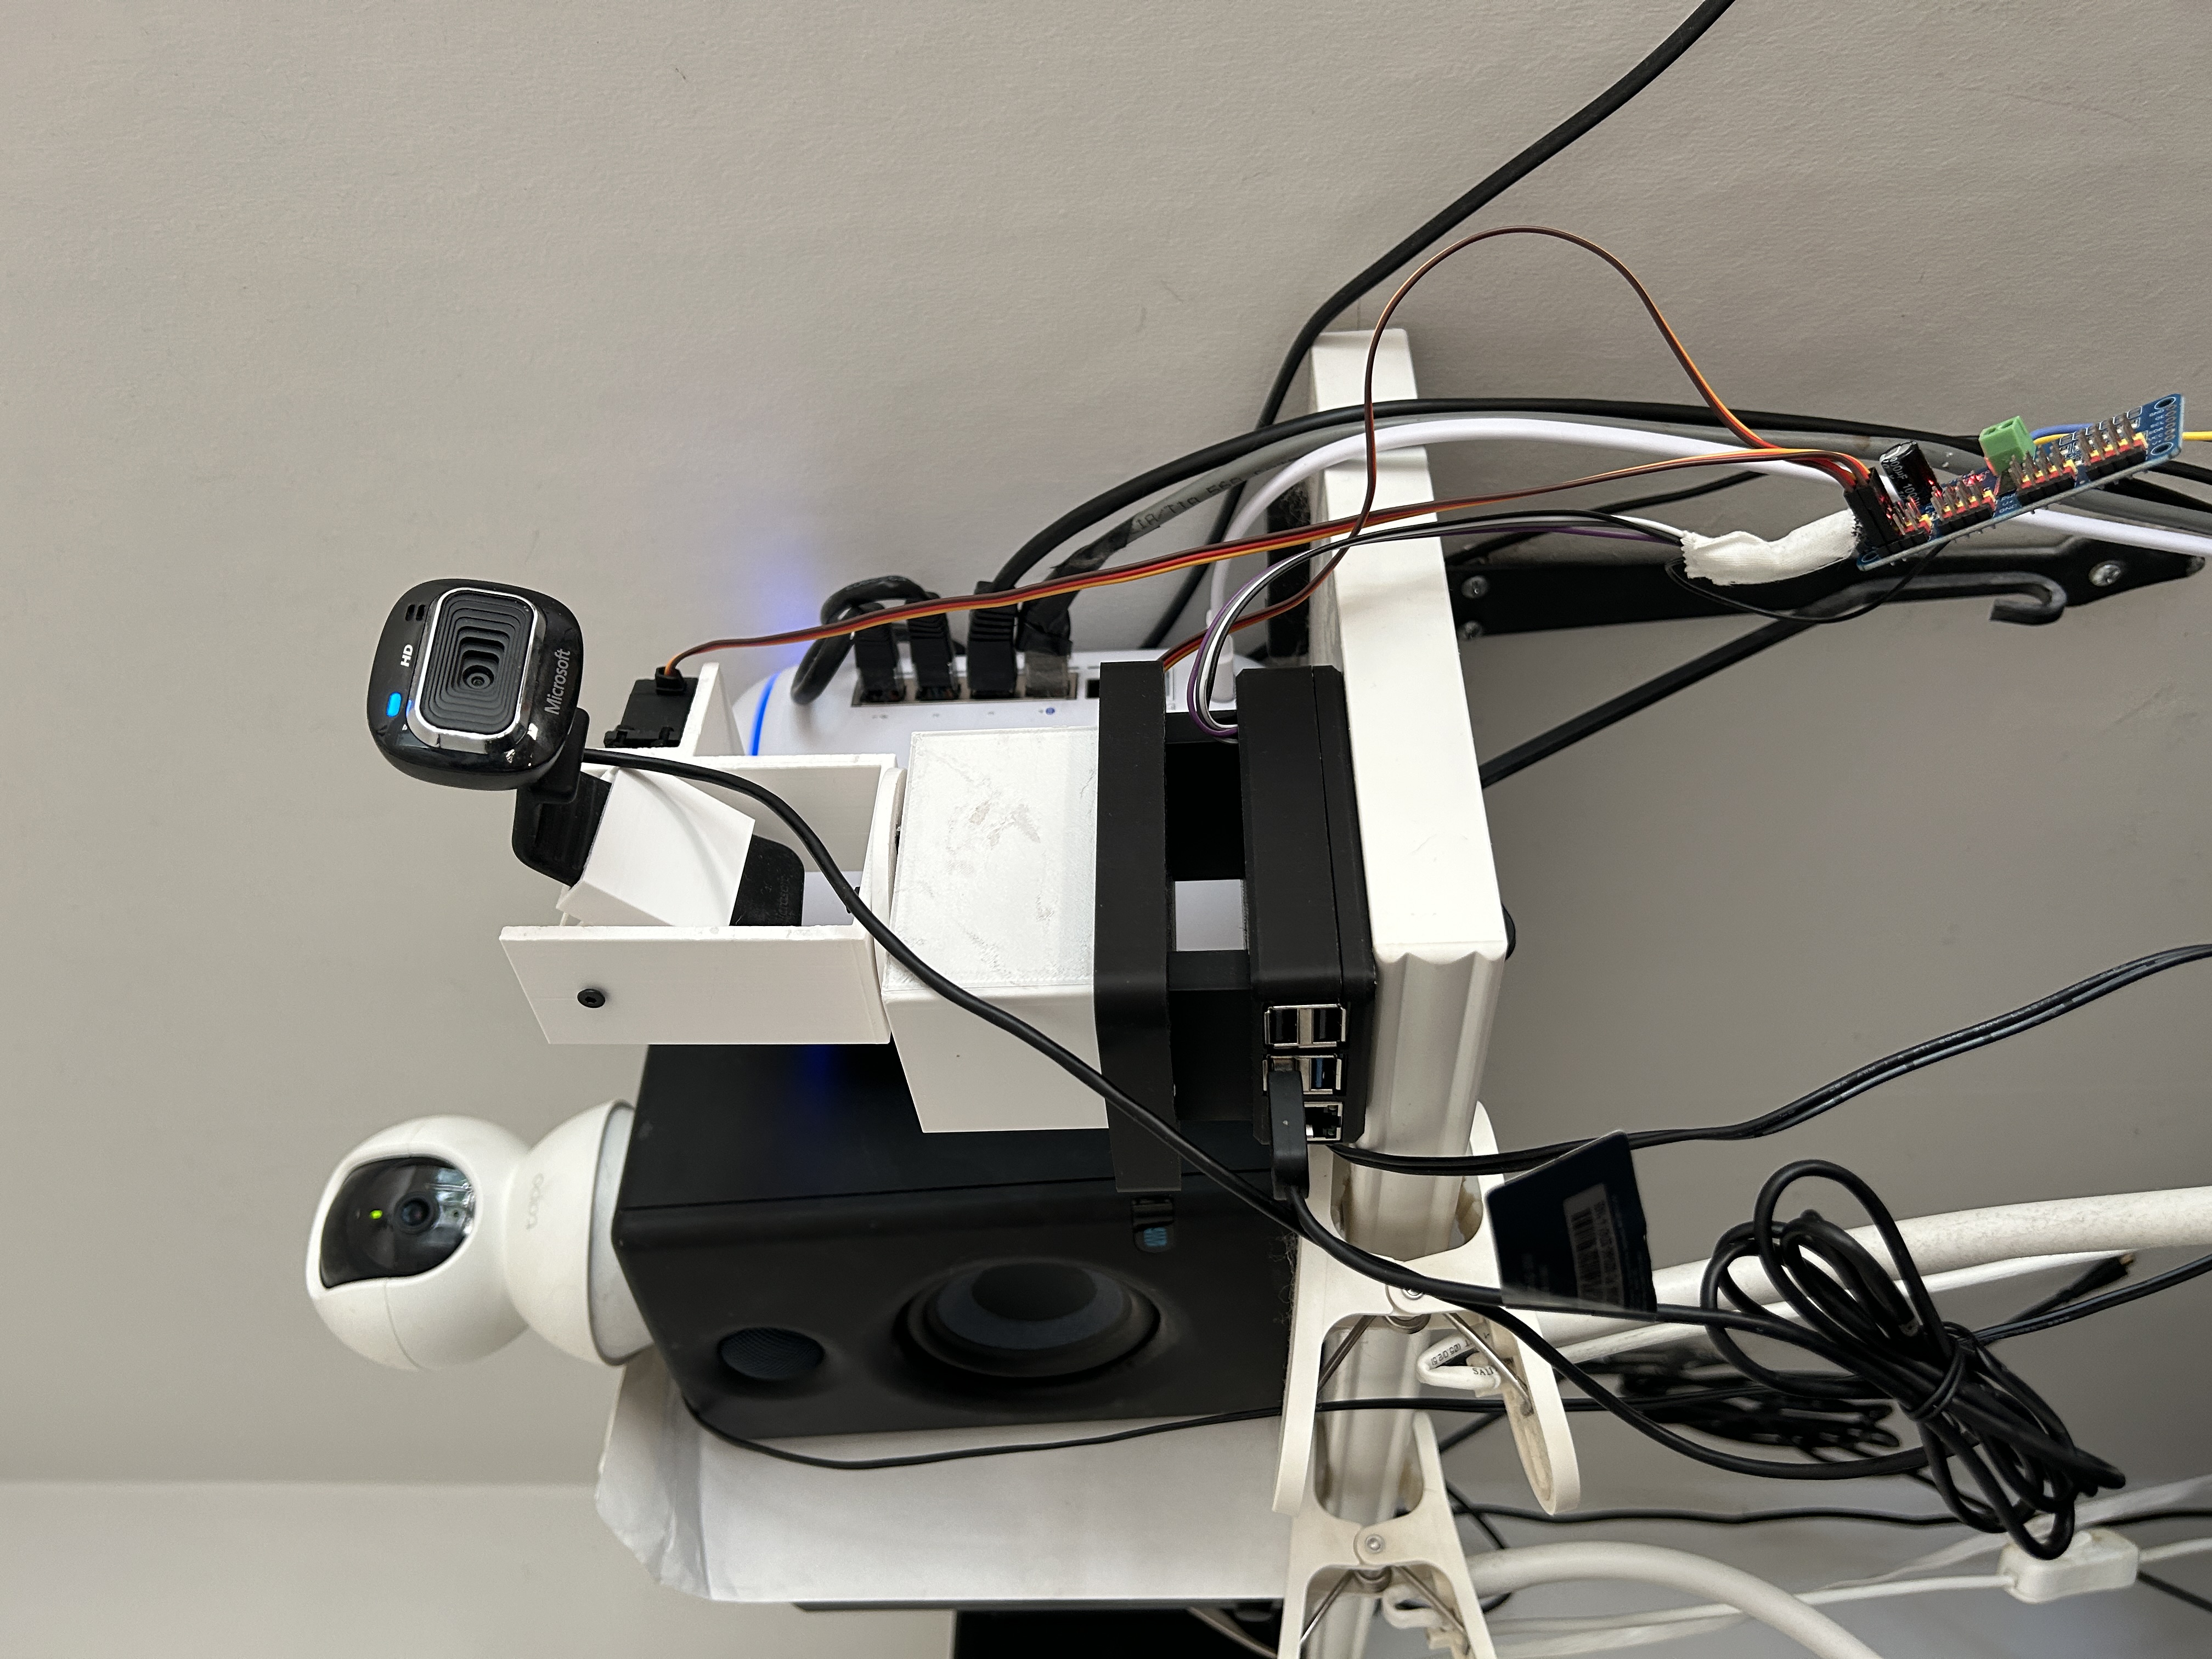
The webcam works better than I expected, as long as I do not push the resolution unnecessarily high.
For this project, a stable frame rate and low delay are much more useful than a huge image. There is no point in forcing the Raspberry Pi to process more pixels if the tracking becomes slower because of it.
⚙️ Servo Control With the PCA9685
The Raspberry Pi does not drive the servos directly.
I am using a PCA9685 servo driver, which gives me dedicated PWM control for the servos and keeps that timing work away from the Raspberry Pi itself.
That is useful here because the Raspberry Pi already has enough to do with the camera feed, tracking logic and later the AI model.
The setup currently uses the PCA9685 to control the MG995R servos responsible for the arm movement. It also gives me room to add more servo channels later without redesigning the entire control side.
The current control chain is:
🎥 Testing the Servos
Before spending more time on tracking and AI, I wanted to see whether the printed parts and servos behaved properly together.
The video below is only a basic movement test. There is no automatic cat tracking yet.
It is not the most exciting test to watch, but for me it was an important one. It showed that the arm could move without the printed parts immediately twisting, slipping or breaking.
🔩 Removing One Servo Made It Better
The first robot-arm prototype used one more servo than the current version.
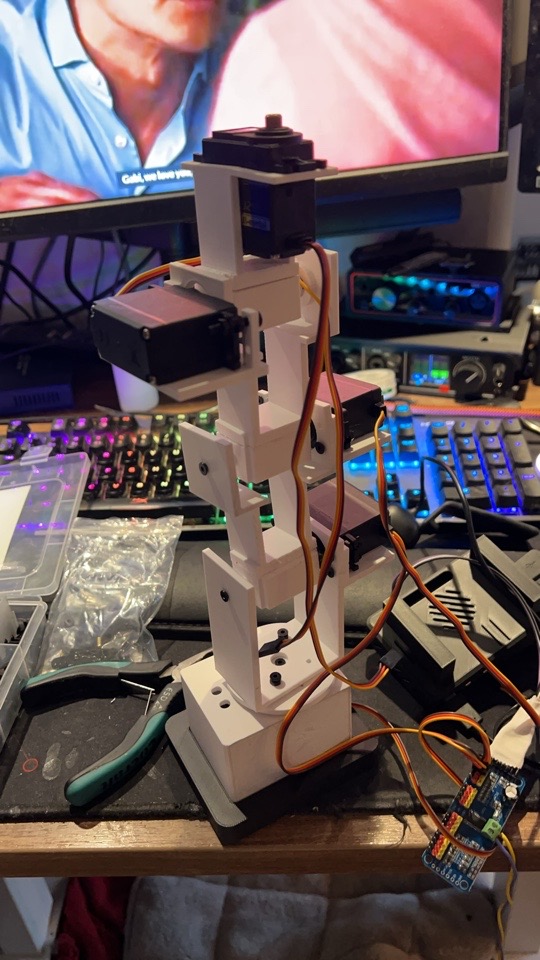
I removed that servo because the extra joint made the arm less stable.
At first it felt wrong to remove movement from a robot arm, but this project does not need a complicated industrial-style arm. I mainly need reliable pan and tilt movement for the camera and laser.
After removing the extra servo, the arm became more rigid and easier to control.
Sometimes removing a part improves the design more than adding another one.
🪨 What Comes Next
At this point I know how I want the finished system to behave. The camera will detect a cat, the Raspberry Pi will calculate its position and the PCA9685 will move the servos so the laser stays slightly ahead of it.
But before I can start working properly on the tracking, I need to solve the most obvious mechanical problem: the arm is still too light.
When the servos move quickly, the whole prototype shifts and wobbles. My next print will therefore be a hollow base plate that I can fill with stones or gravel. It is a simple solution, but the extra weight should make a big difference.
Once the base is finished, I can assemble the complete arm, connect the Raspberry Pi, webcam, PCA9685 and servos, and begin the first real tracking tests with Frans.
The movement will need some work as well. If the laser follows the same predictable path every time, Frans will probably lose interest quickly. I want it to move naturally enough to keep him curious, while always staying low-powered and switching off immediately if tracking is lost.
The hardware is starting to come together. The next real test is whether Frans thinks the project is as interesting as I do.
Comments
Comments
Loading comments…