Home Assistant with Raspberry Pi 4 completed
Home Assistant with Raspberry Pi 4 completed: I had a Raspberry Pi 4 sitting idle at home. Previously, I only used it for Pi‑hole ad‑blocking. This time I wanted to rebuild it from scratch, running Home Assistant OS, and see how many of my smart home devices I could unify into one hub. • IoT • home-assistant
Home Assistant with Raspberry Pi 4
🎯 Purpose
I had a Raspberry Pi 4 sitting idle at home. Previously, I only used it for Pi‑hole ad‑blocking.
This time I wanted to rebuild it from scratch, running Home Assistant OS, and see how many of my smart home devices I could unify into one hub.
After about 24 hours total, I had most of my home automation ecosystem running through it.
🔩 Components
- Arduino Wifi R4 — automatic watering system with local control
- Roborock Qrevo MaxV Black — robot vacuum/mop
- Bambu Labs P1S 3D Printer with AMS
- 5× TRETAKT smart plugs — Zigbee controlled
- 1× LED light strip — generic brand, integrated into HA
- 3× Tapo Cam C200 — indoor Wi‑Fi cameras
🧠 Architecture (High-Level)
- Controller: Raspberry Pi 4 running Home Assistant OS
- Protocols: Zigbee2MQTT + vendor APIs
- Dashboards: HA on desktop and mobile
- Sensors: Smart plugs (power usage), cameras (motion), soil moisture via watering system
- Actuators: Smart plugs, pumps, lights, vacuum, 3D printer
- Apps: Home Assistant Companion (iOS/Android)
🖼️ Gallery
Below is the custom cooling and case build for the Raspberry Pi 4, step by step:
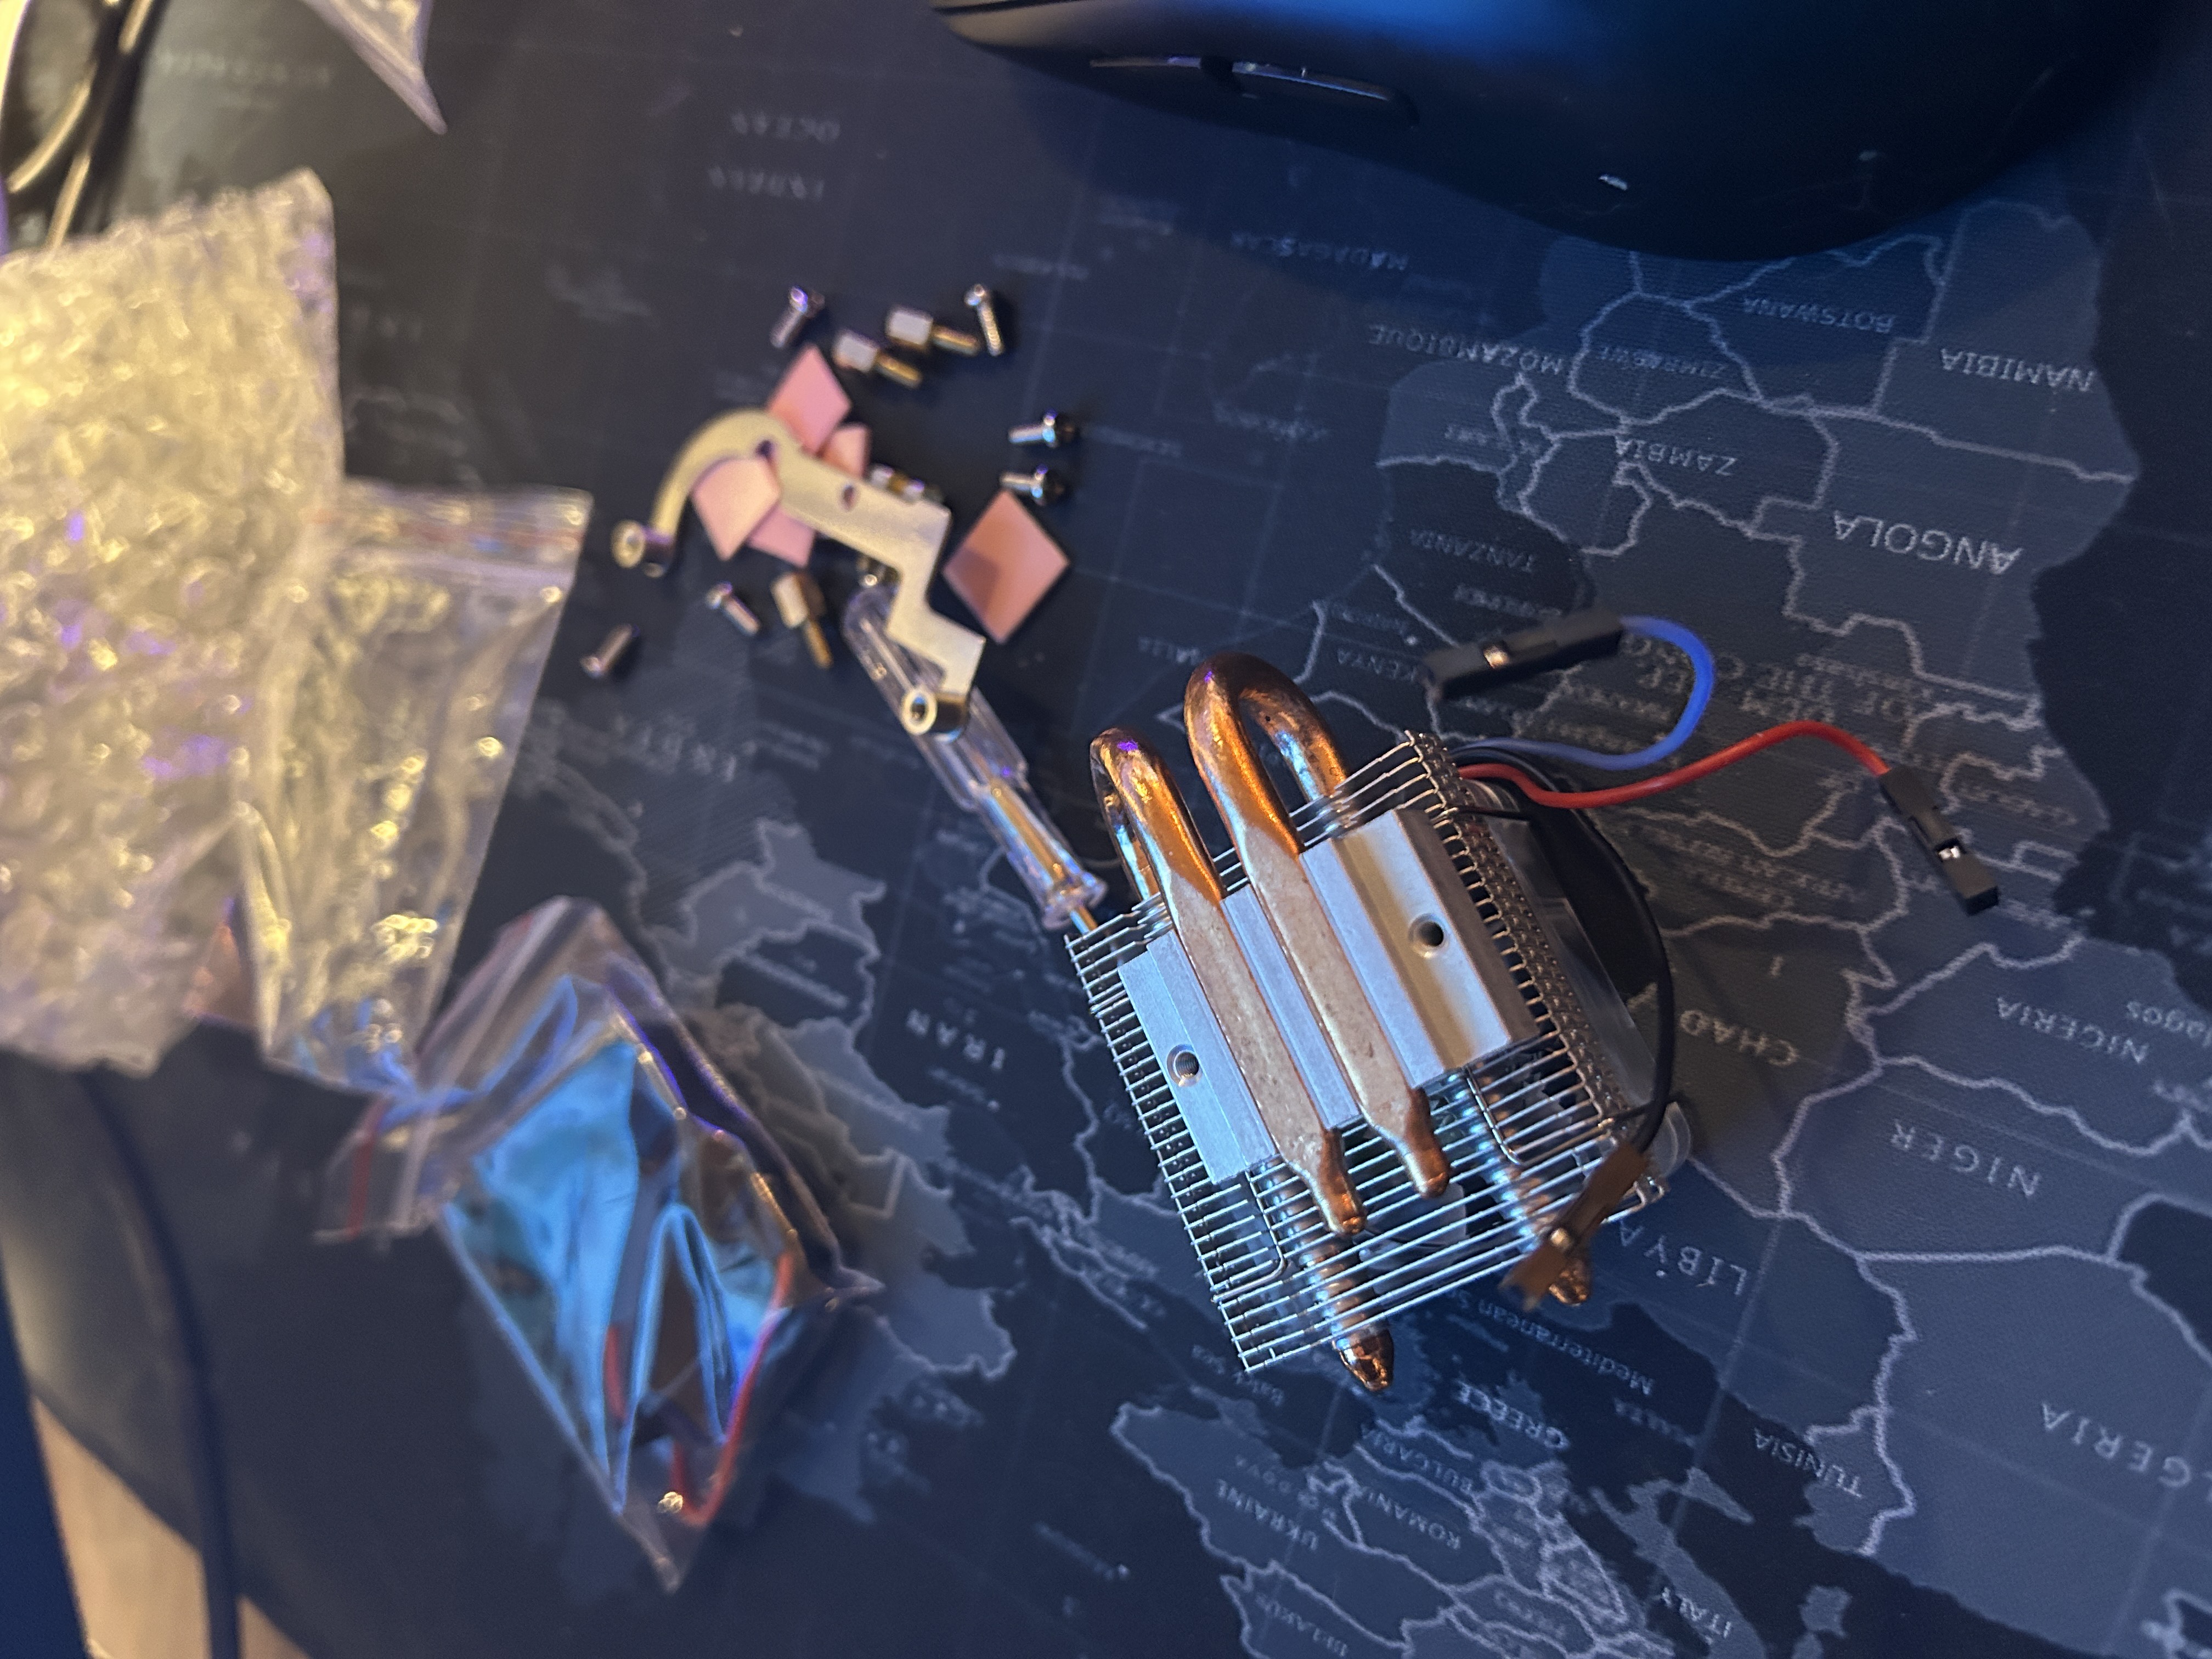
Unassembled cooling system with copper heat pipes and fan before mounting.
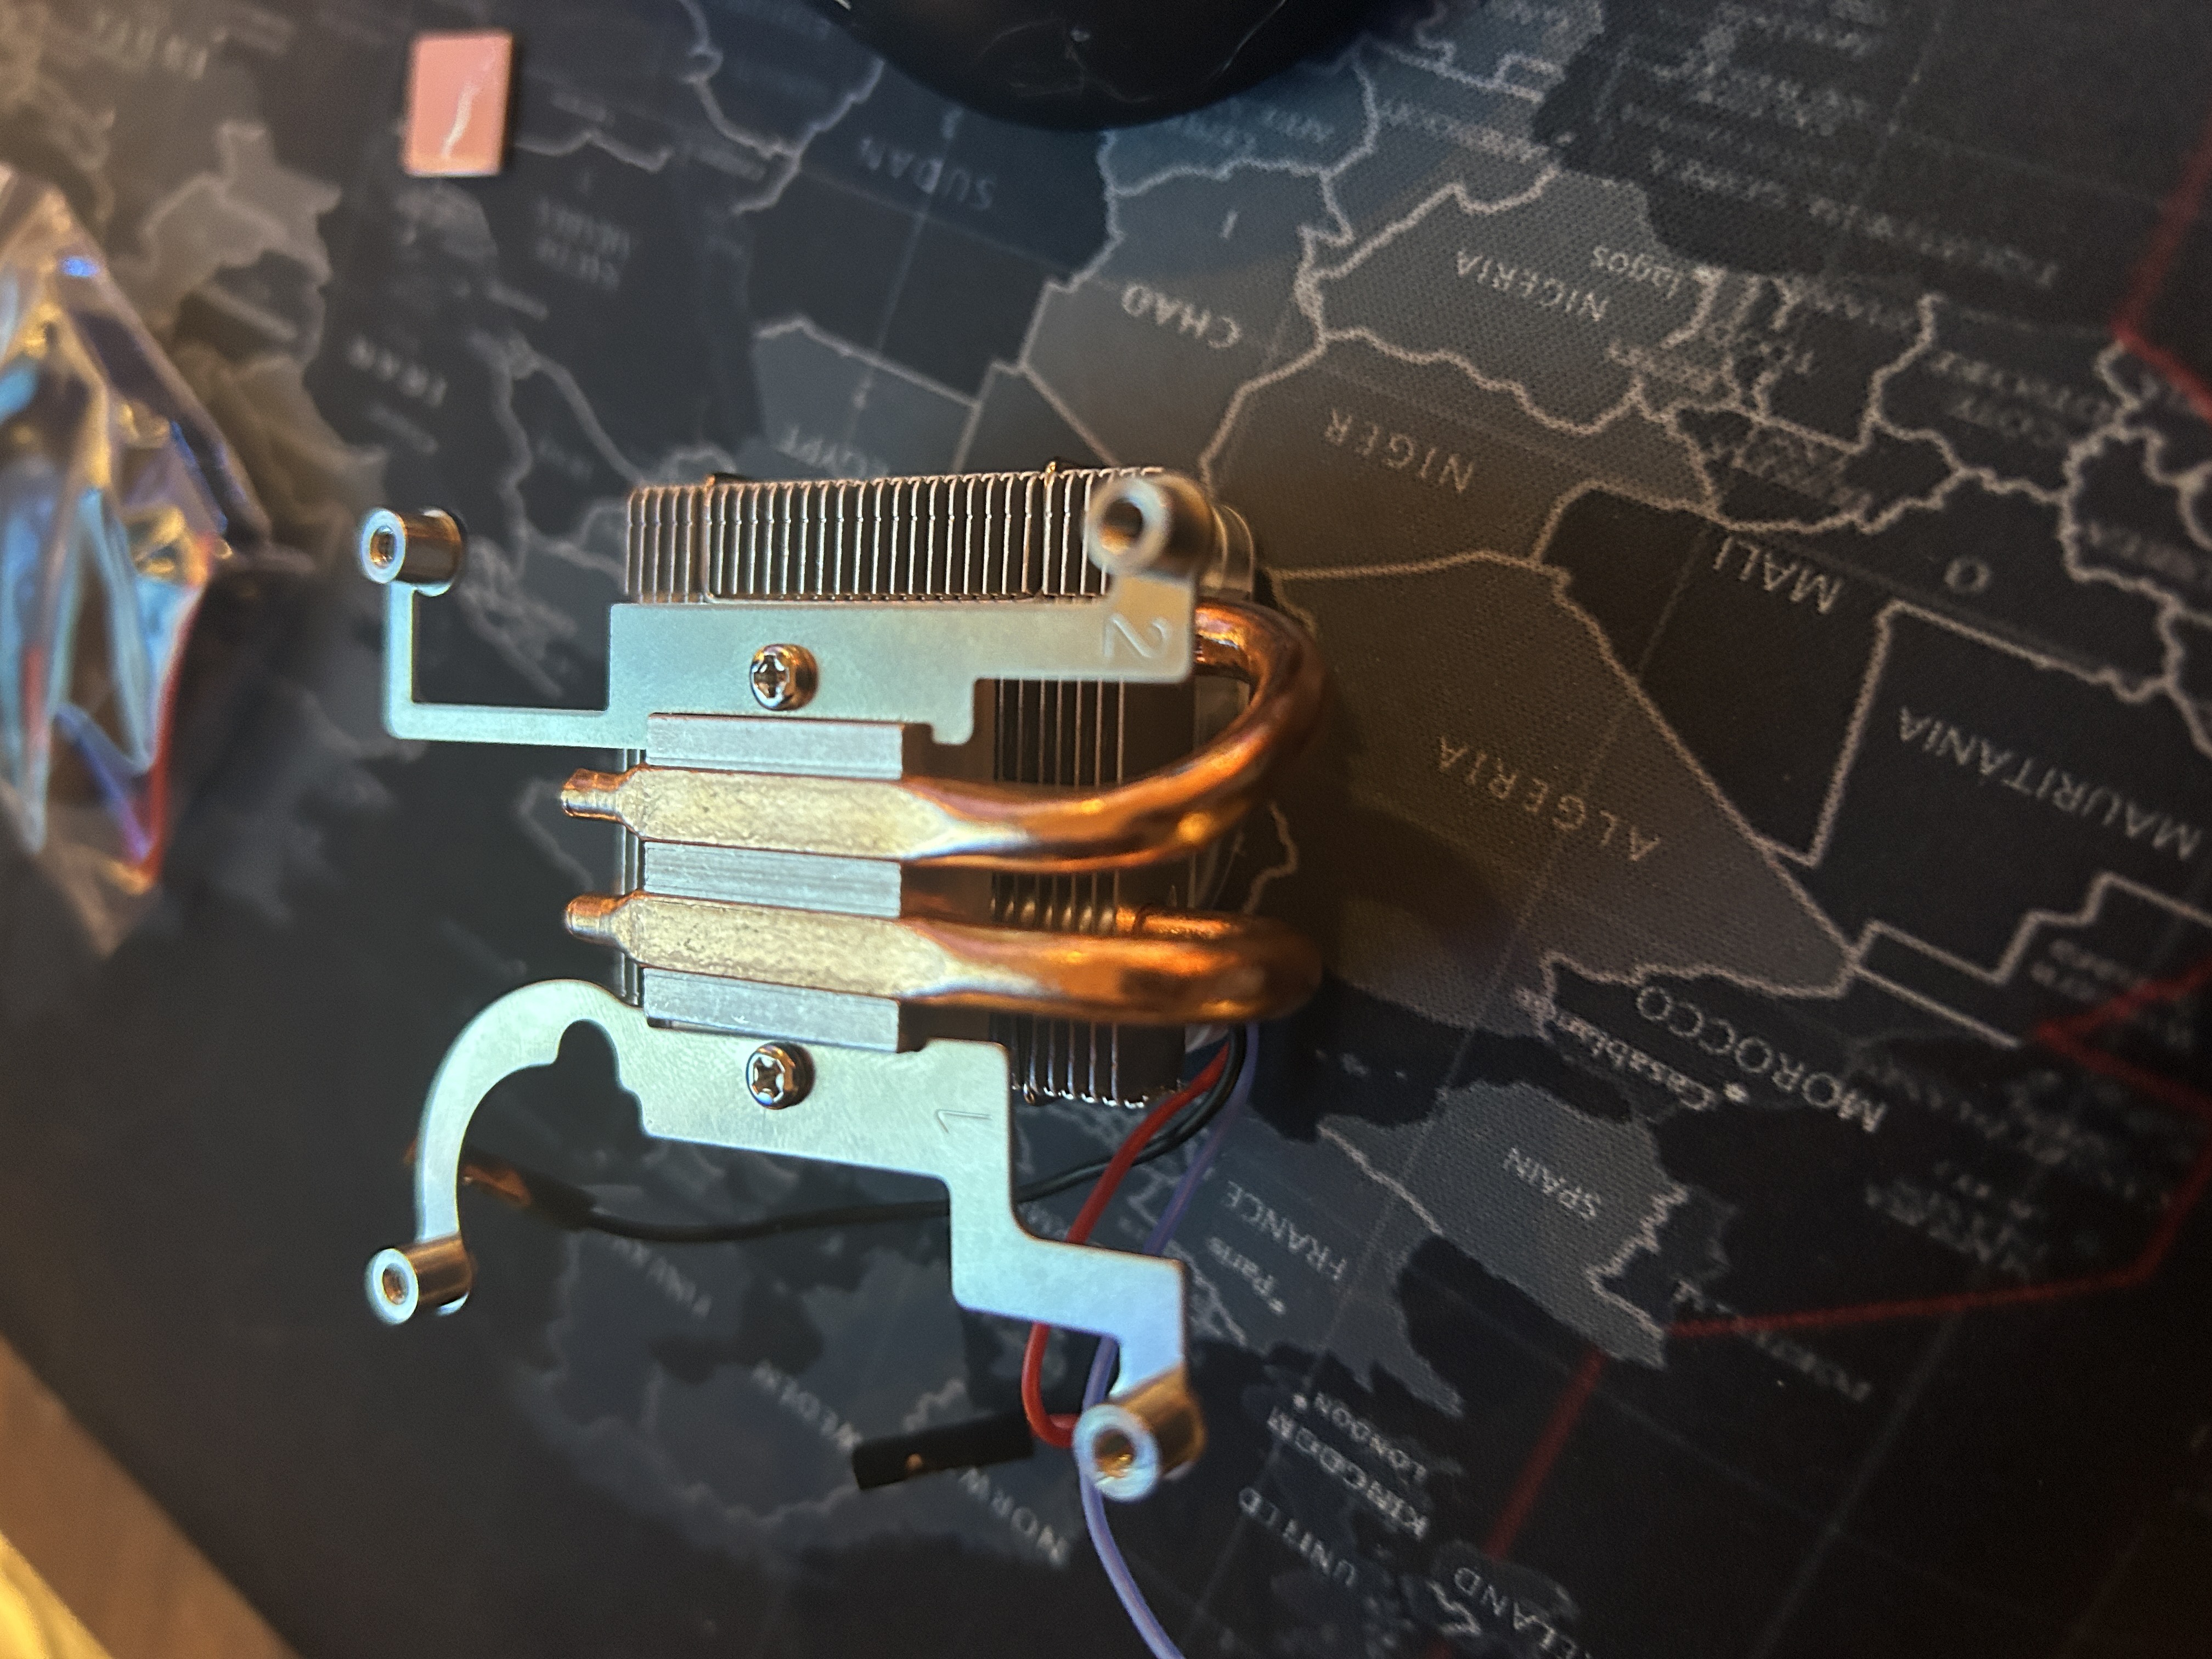
Close-up of the copper heat sink and mounting bracket.
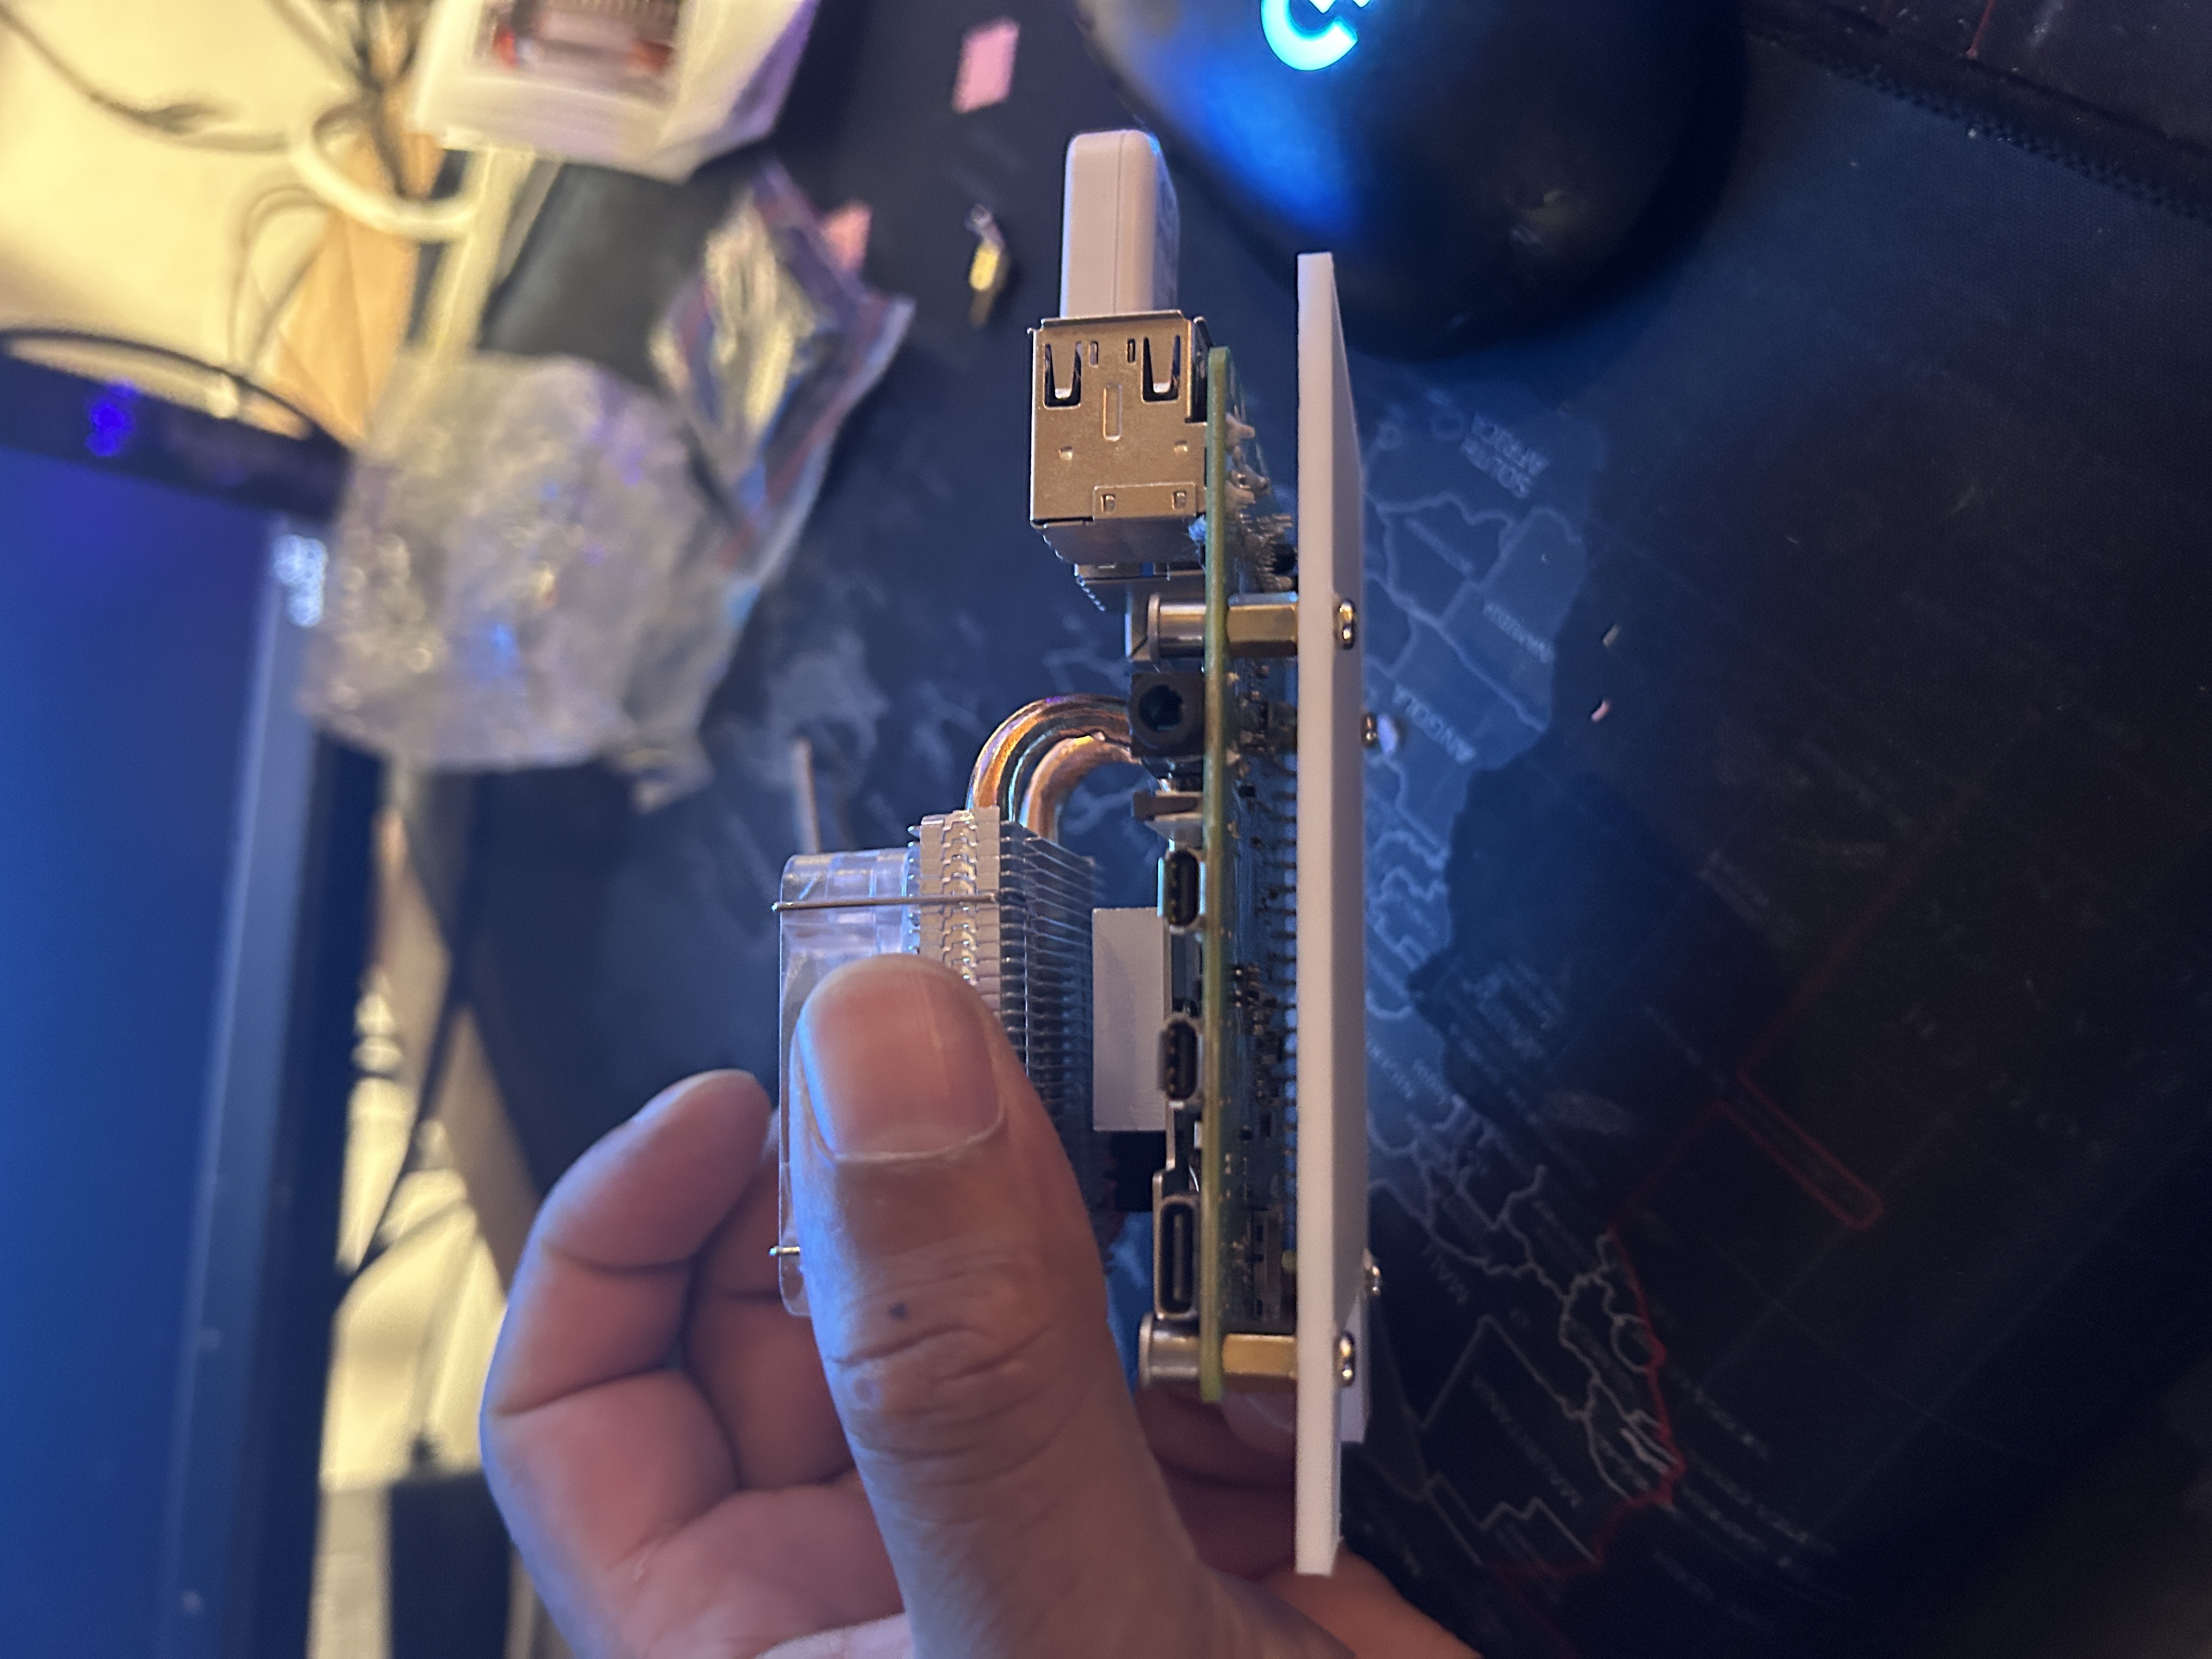
Raspberry Pi 4 with newly mounted cooling block on a support plate.
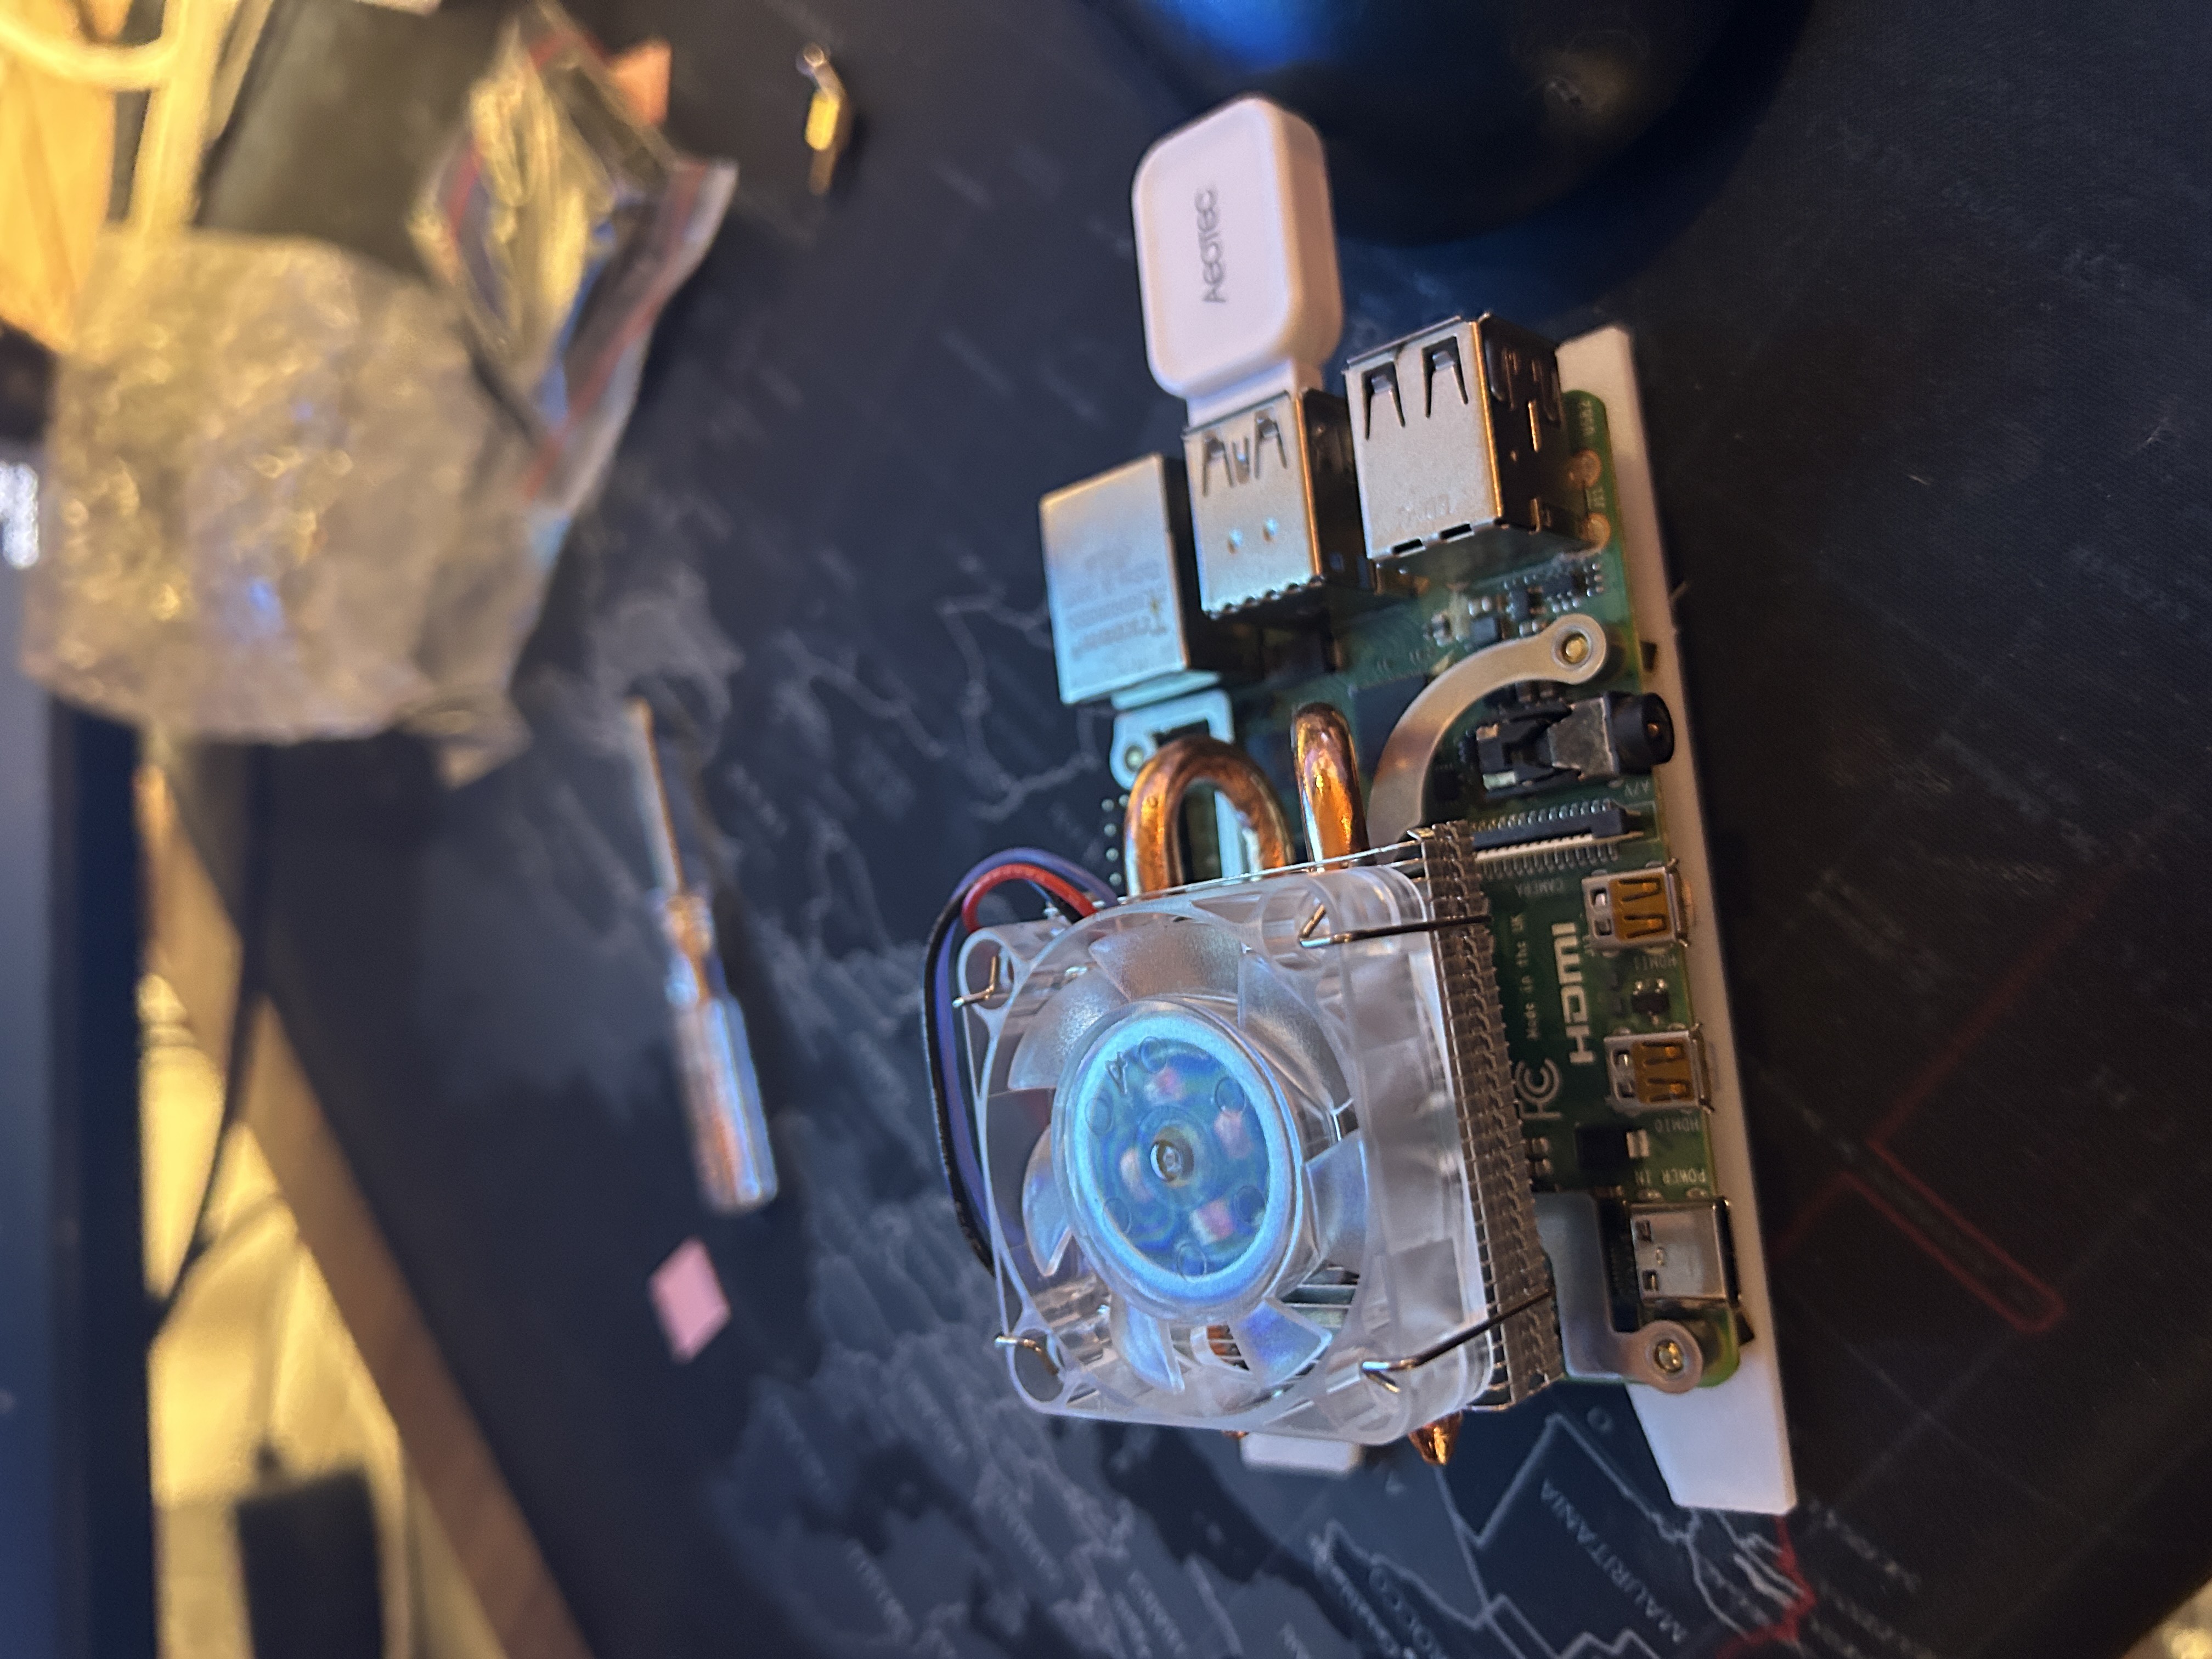
Raspberry Pi with cooling system and top-mounted transparent fan installed.
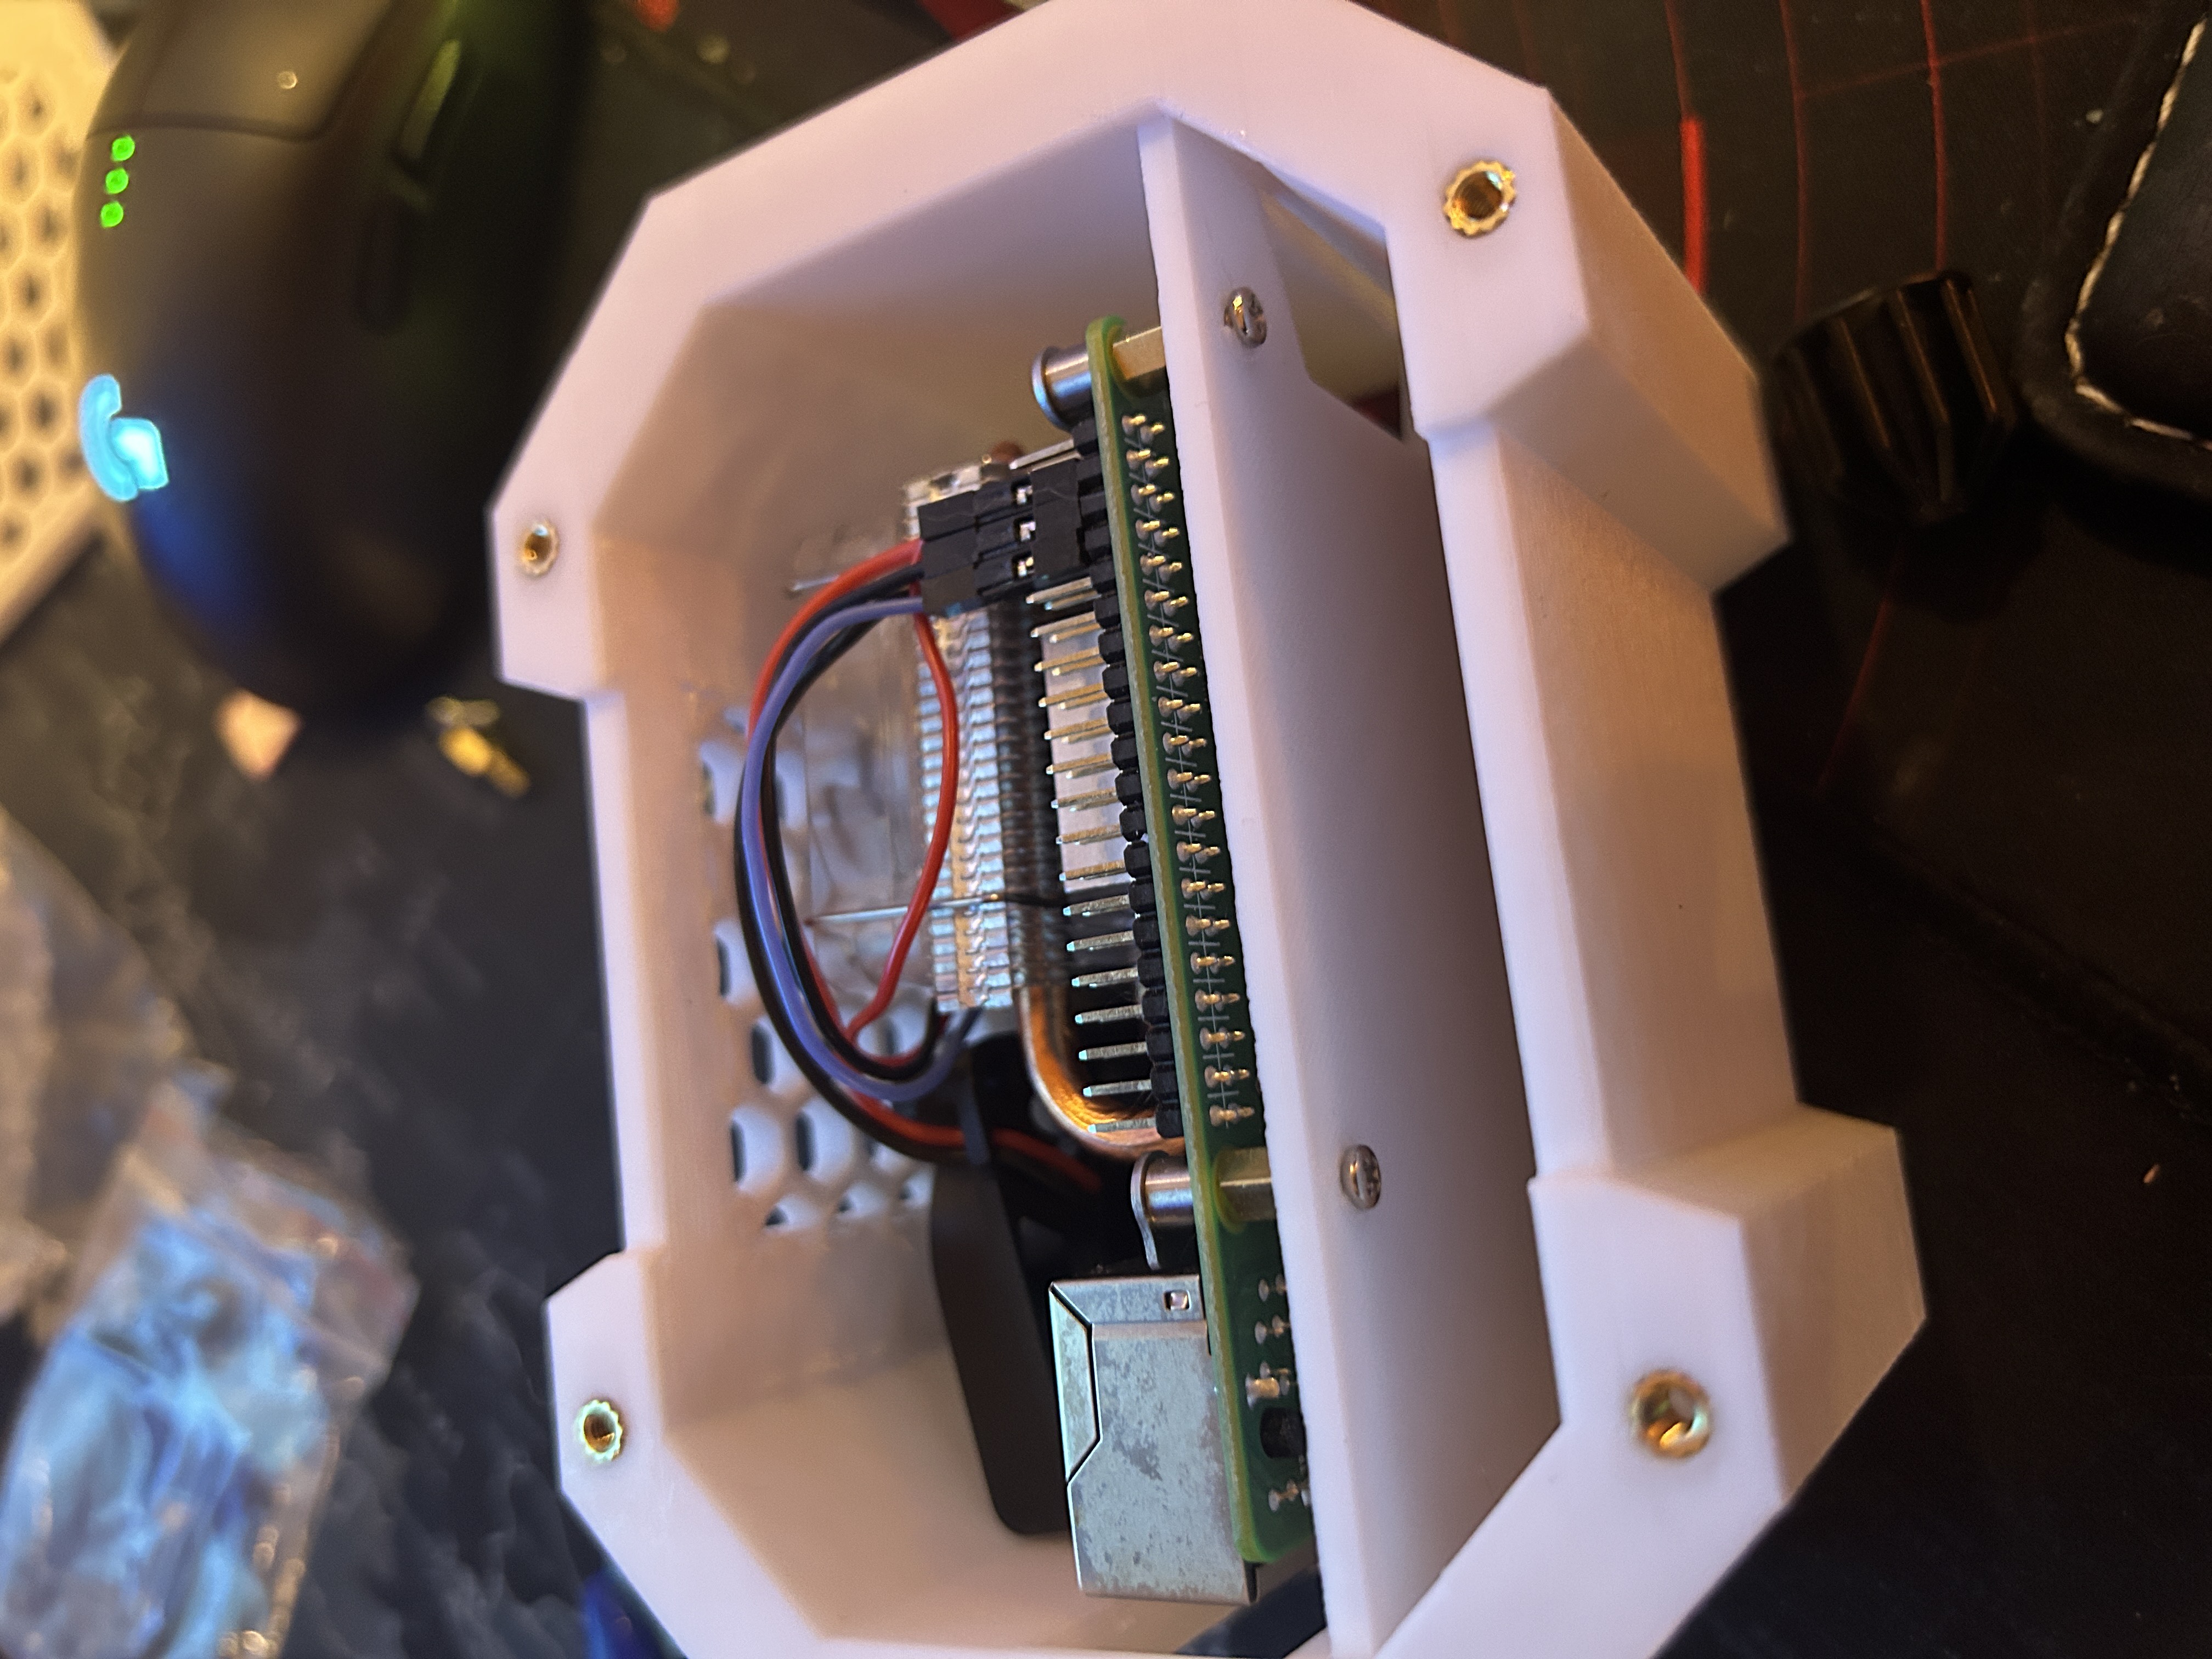
First assembly test of the Raspberry Pi inside the 3D‑printed chassis.
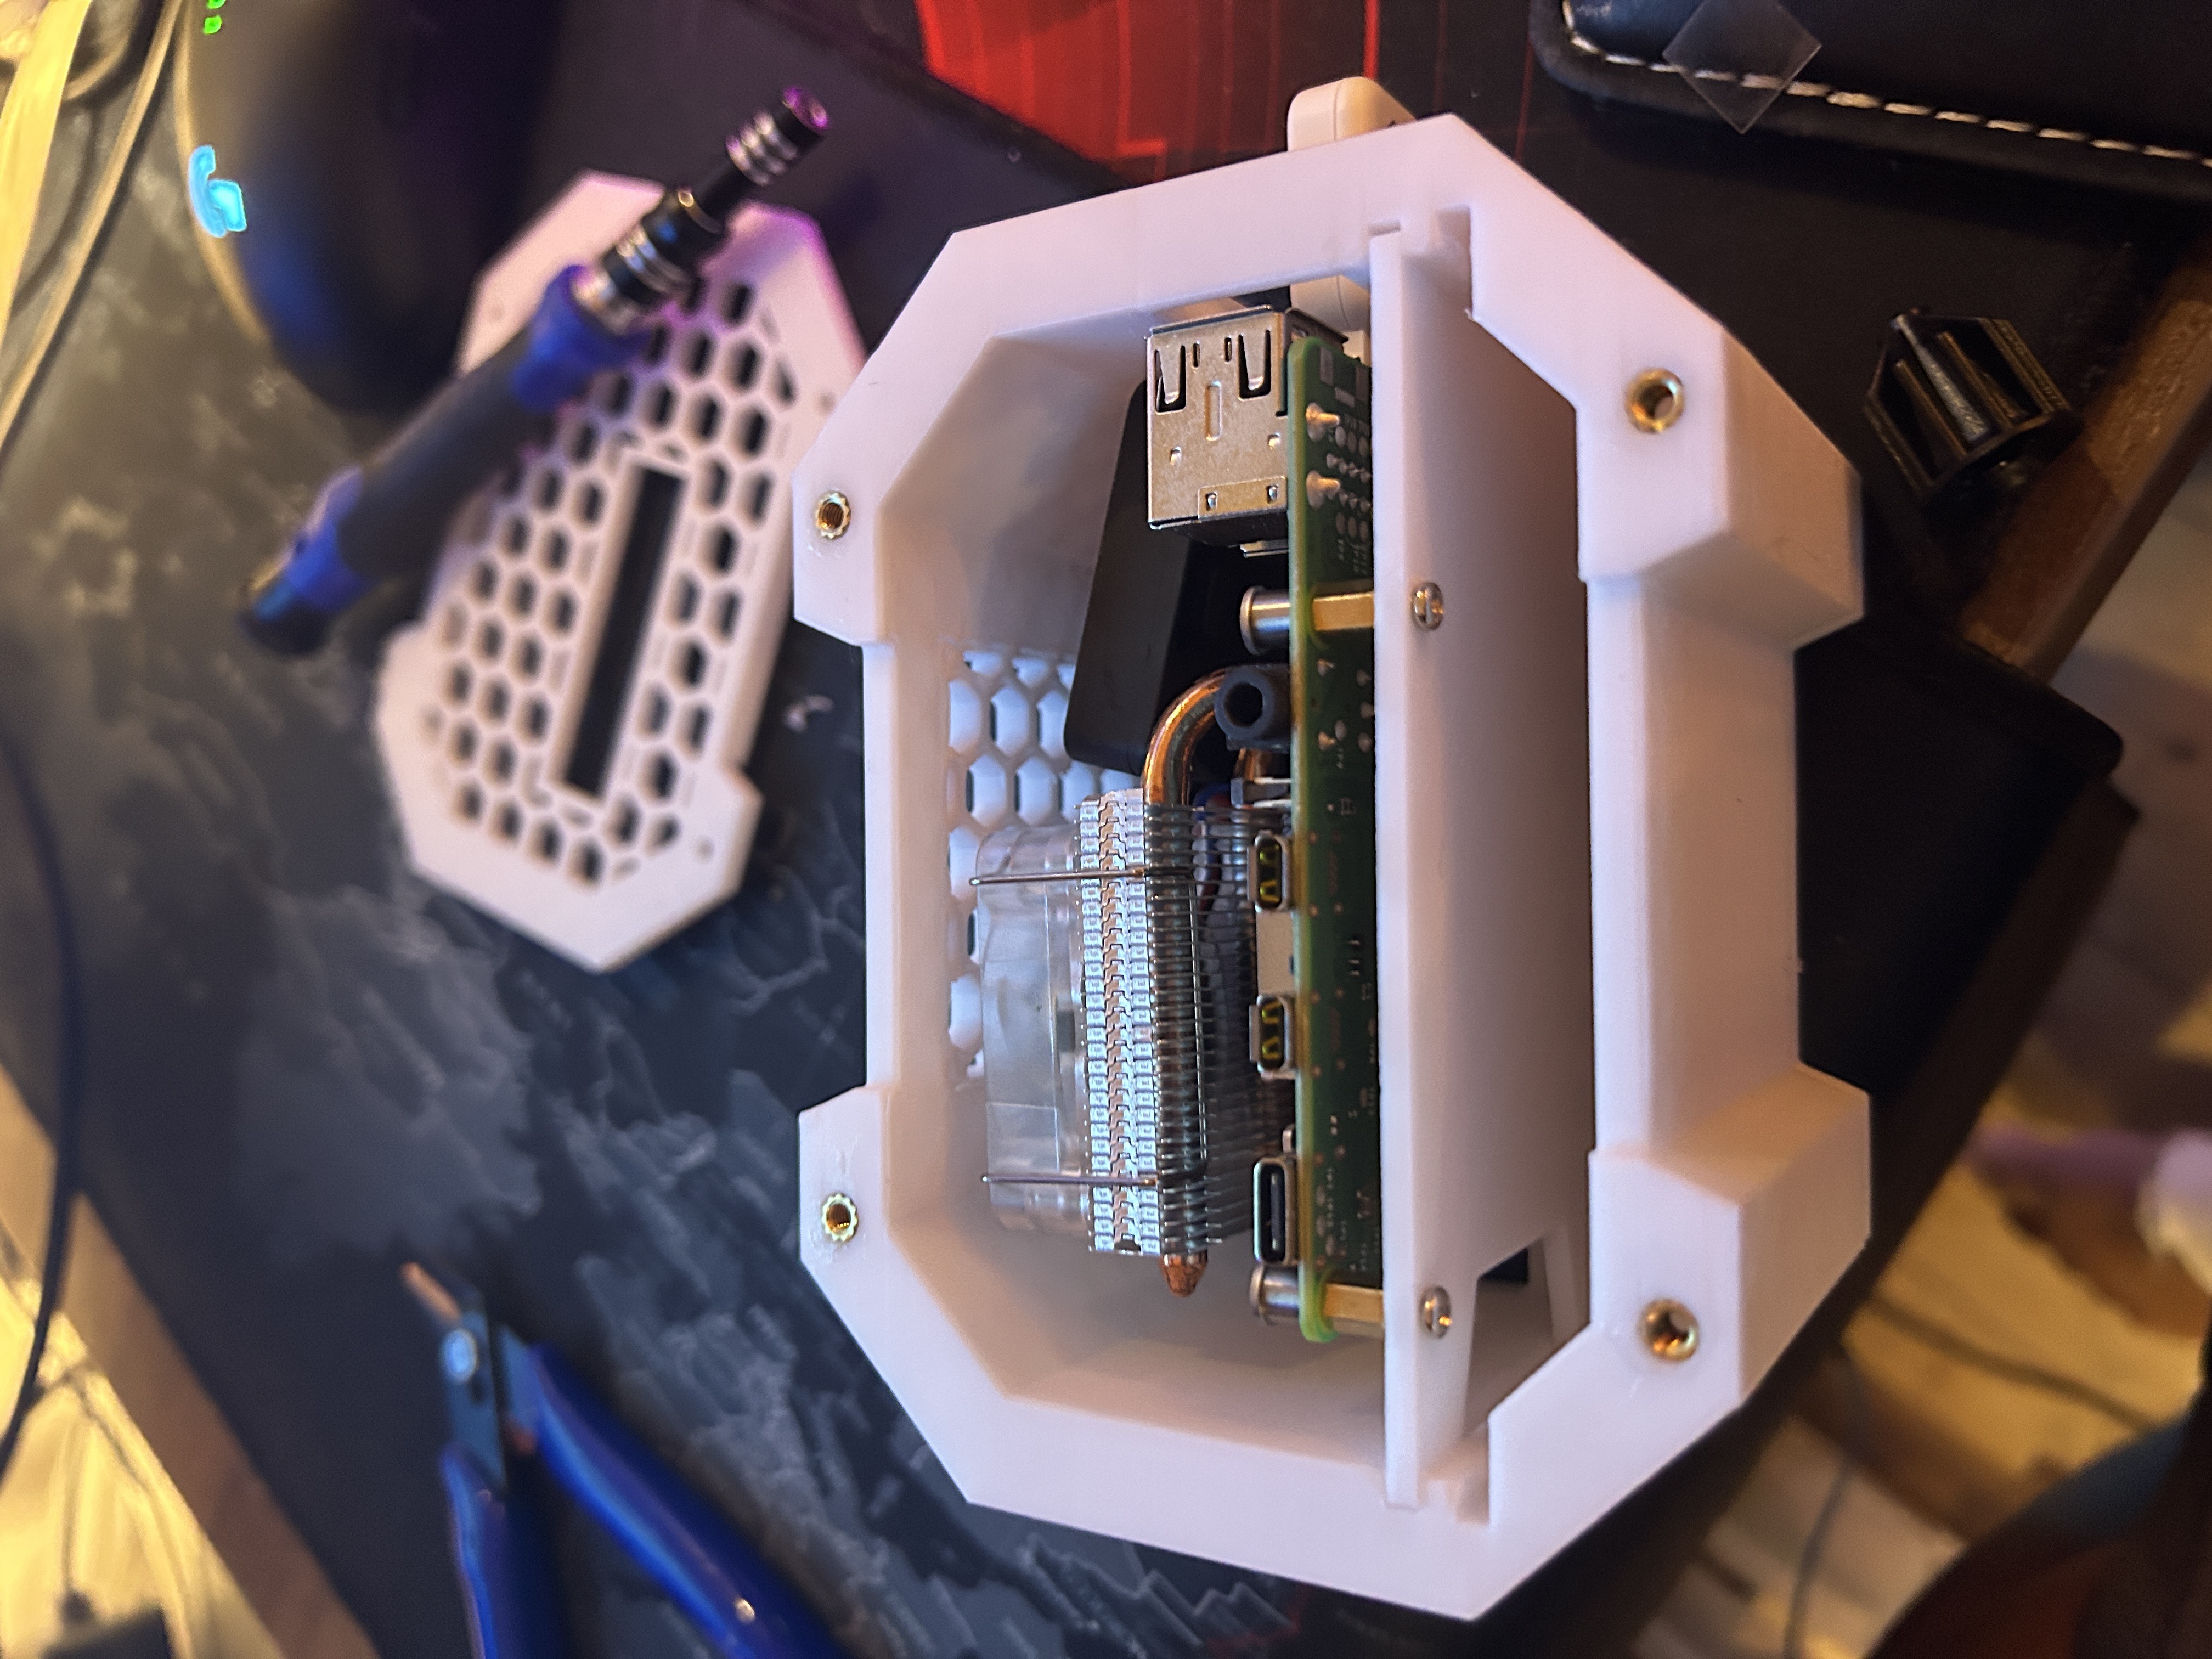
Side view of the Pi and cooler fitted into the 3D‑printed enclosure.
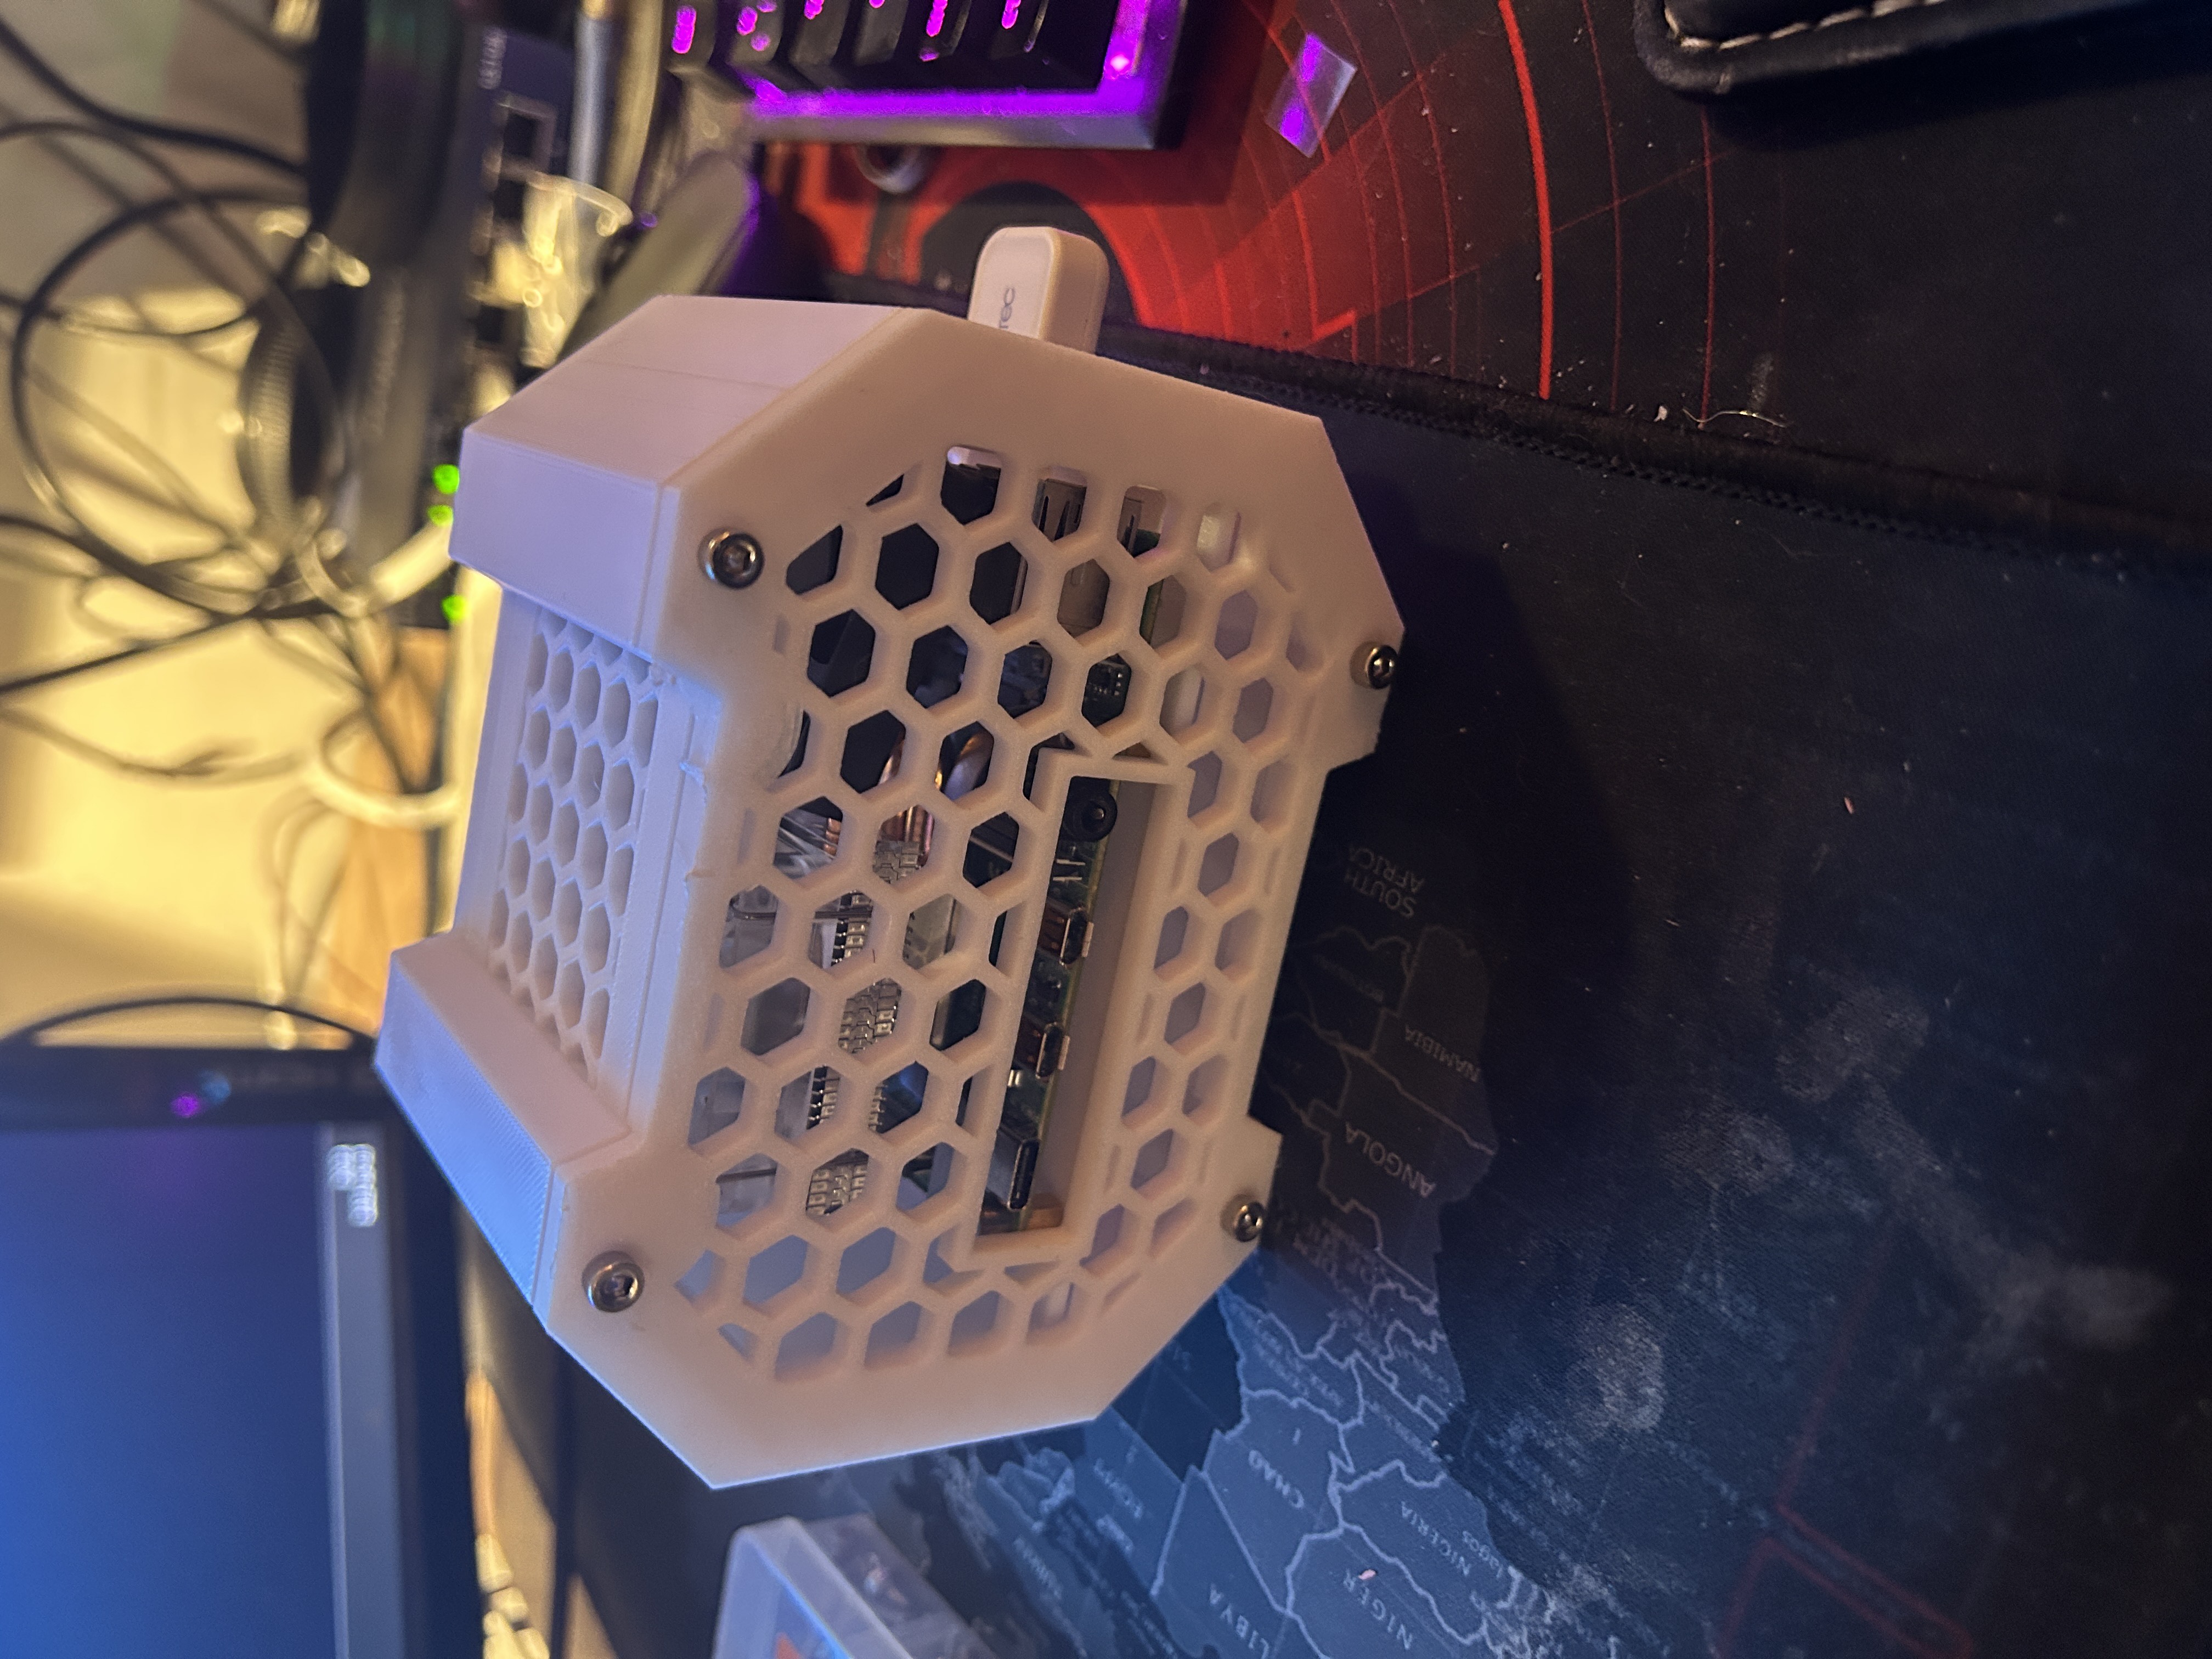
Front perspective of the Raspberry Pi case with hexagonal ventilation pattern.
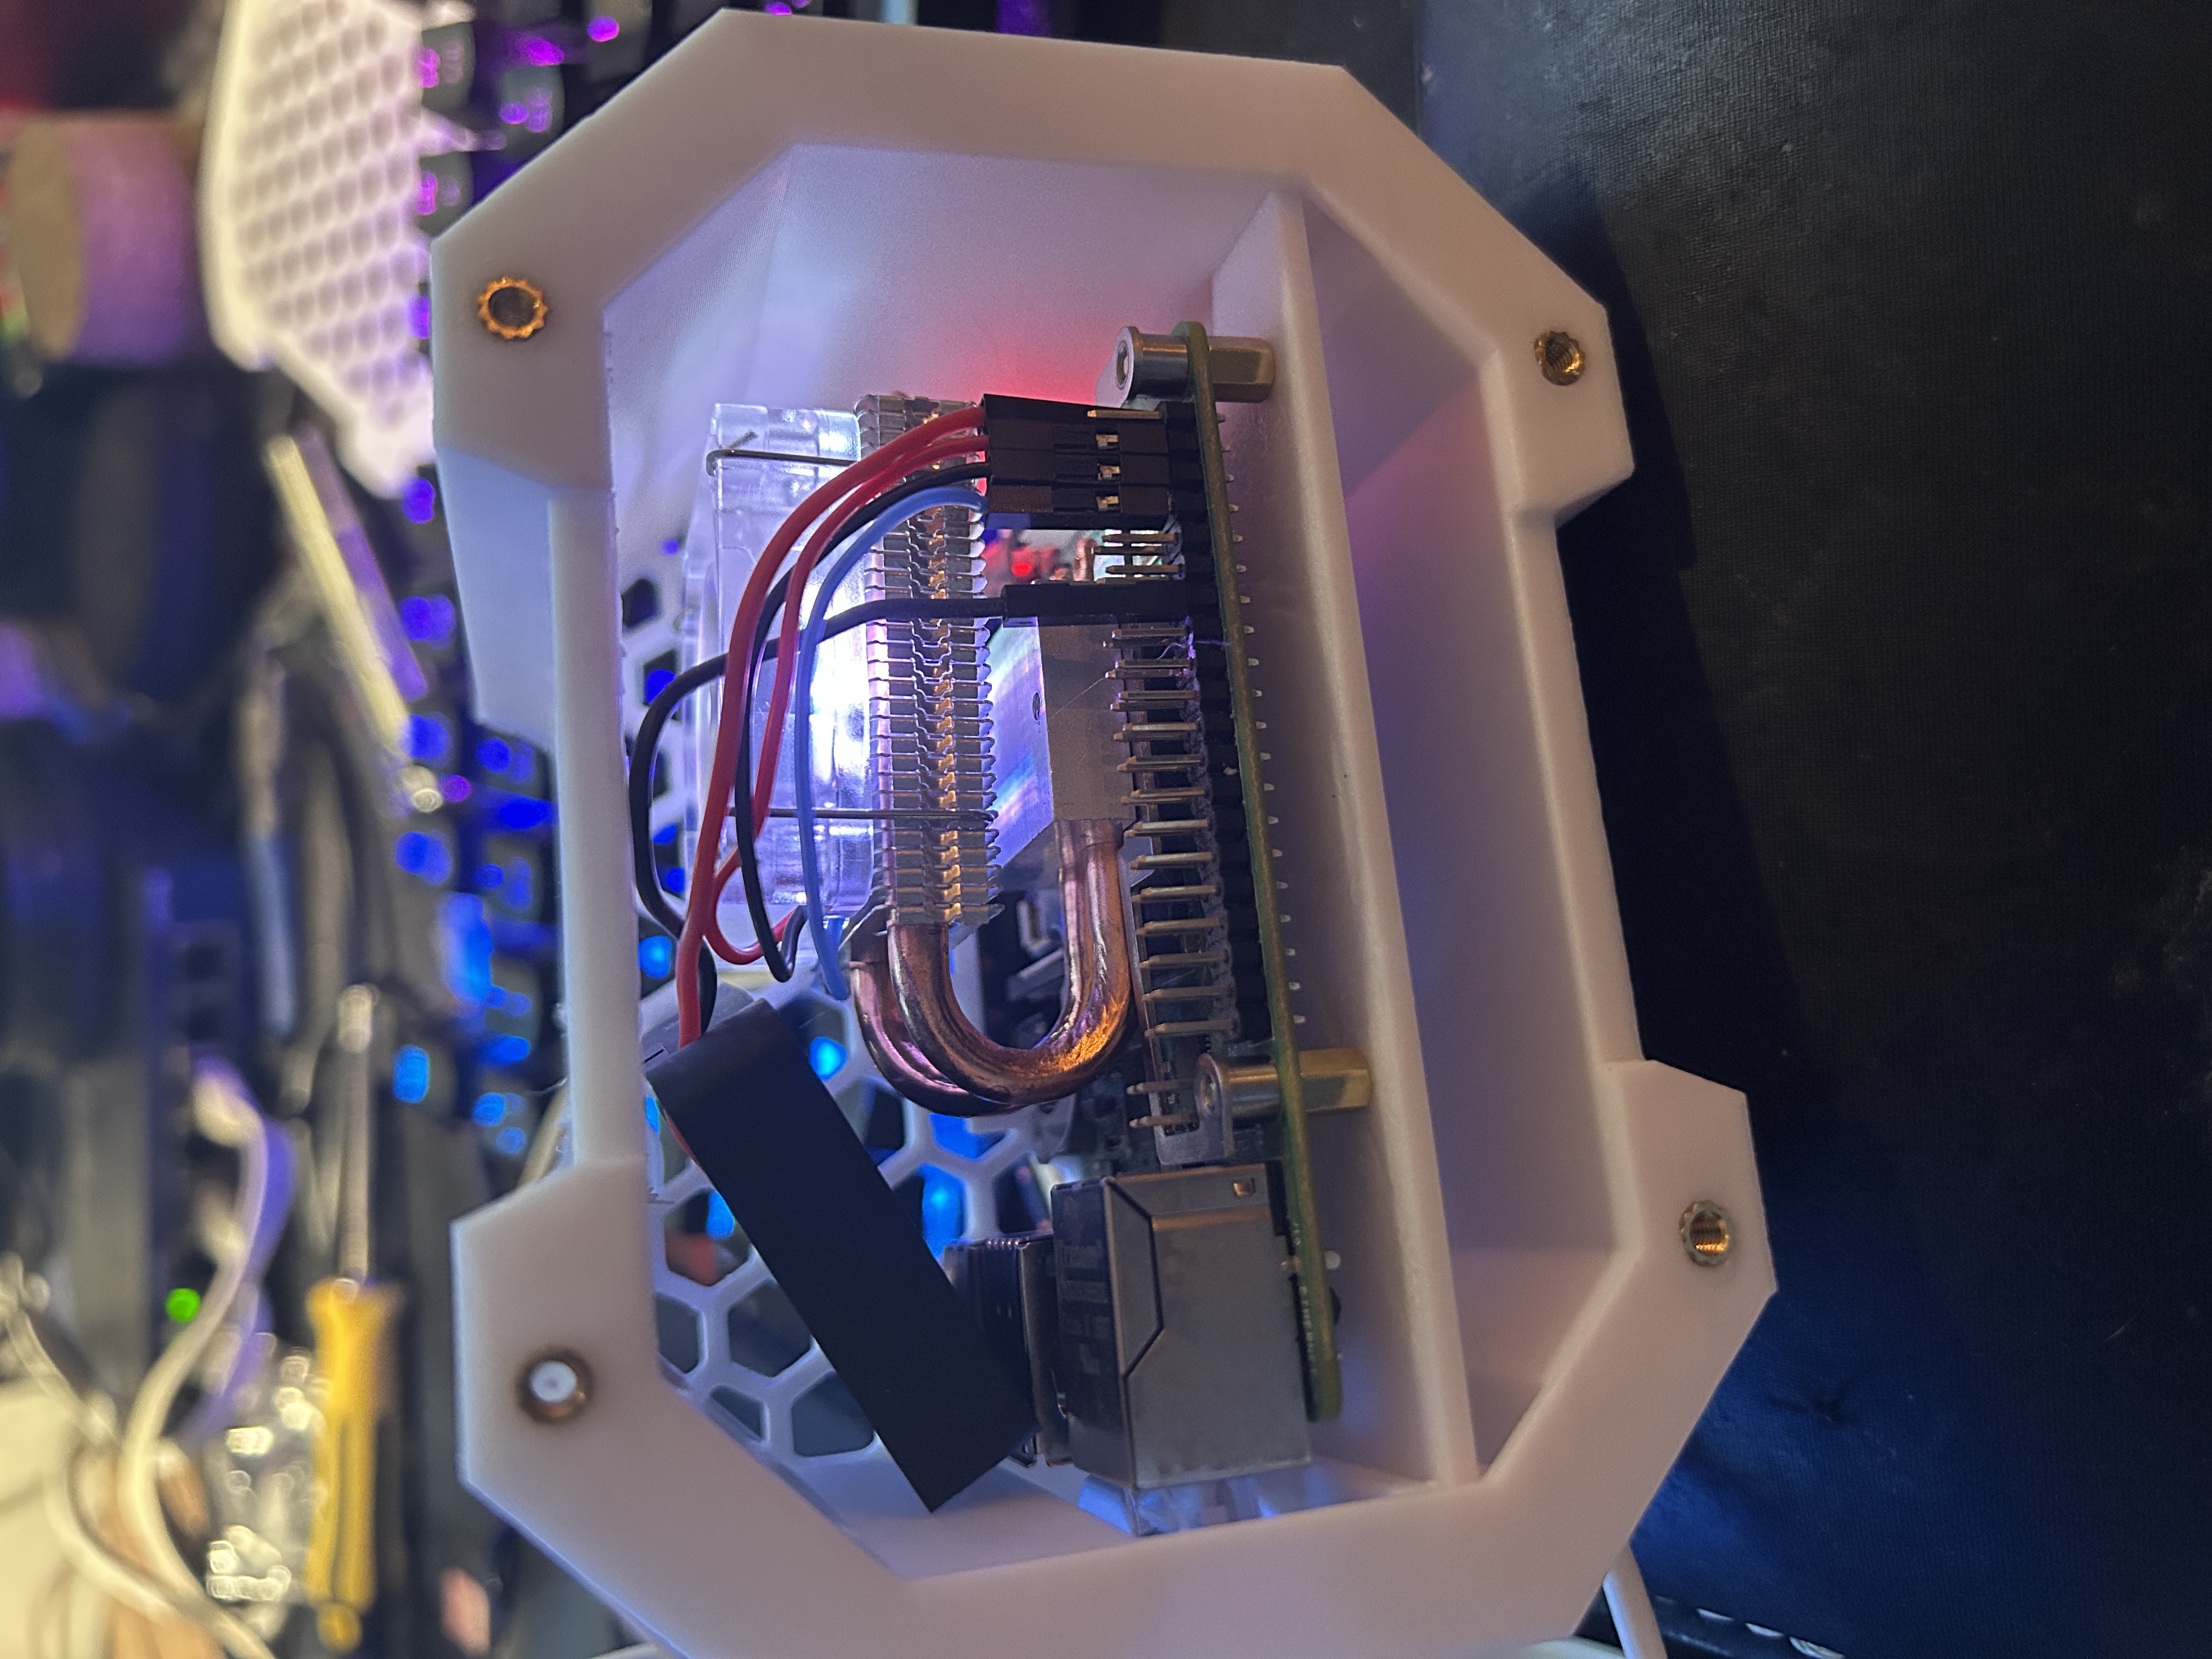
Chassis open, showing the cooling system with red LED glow in action.
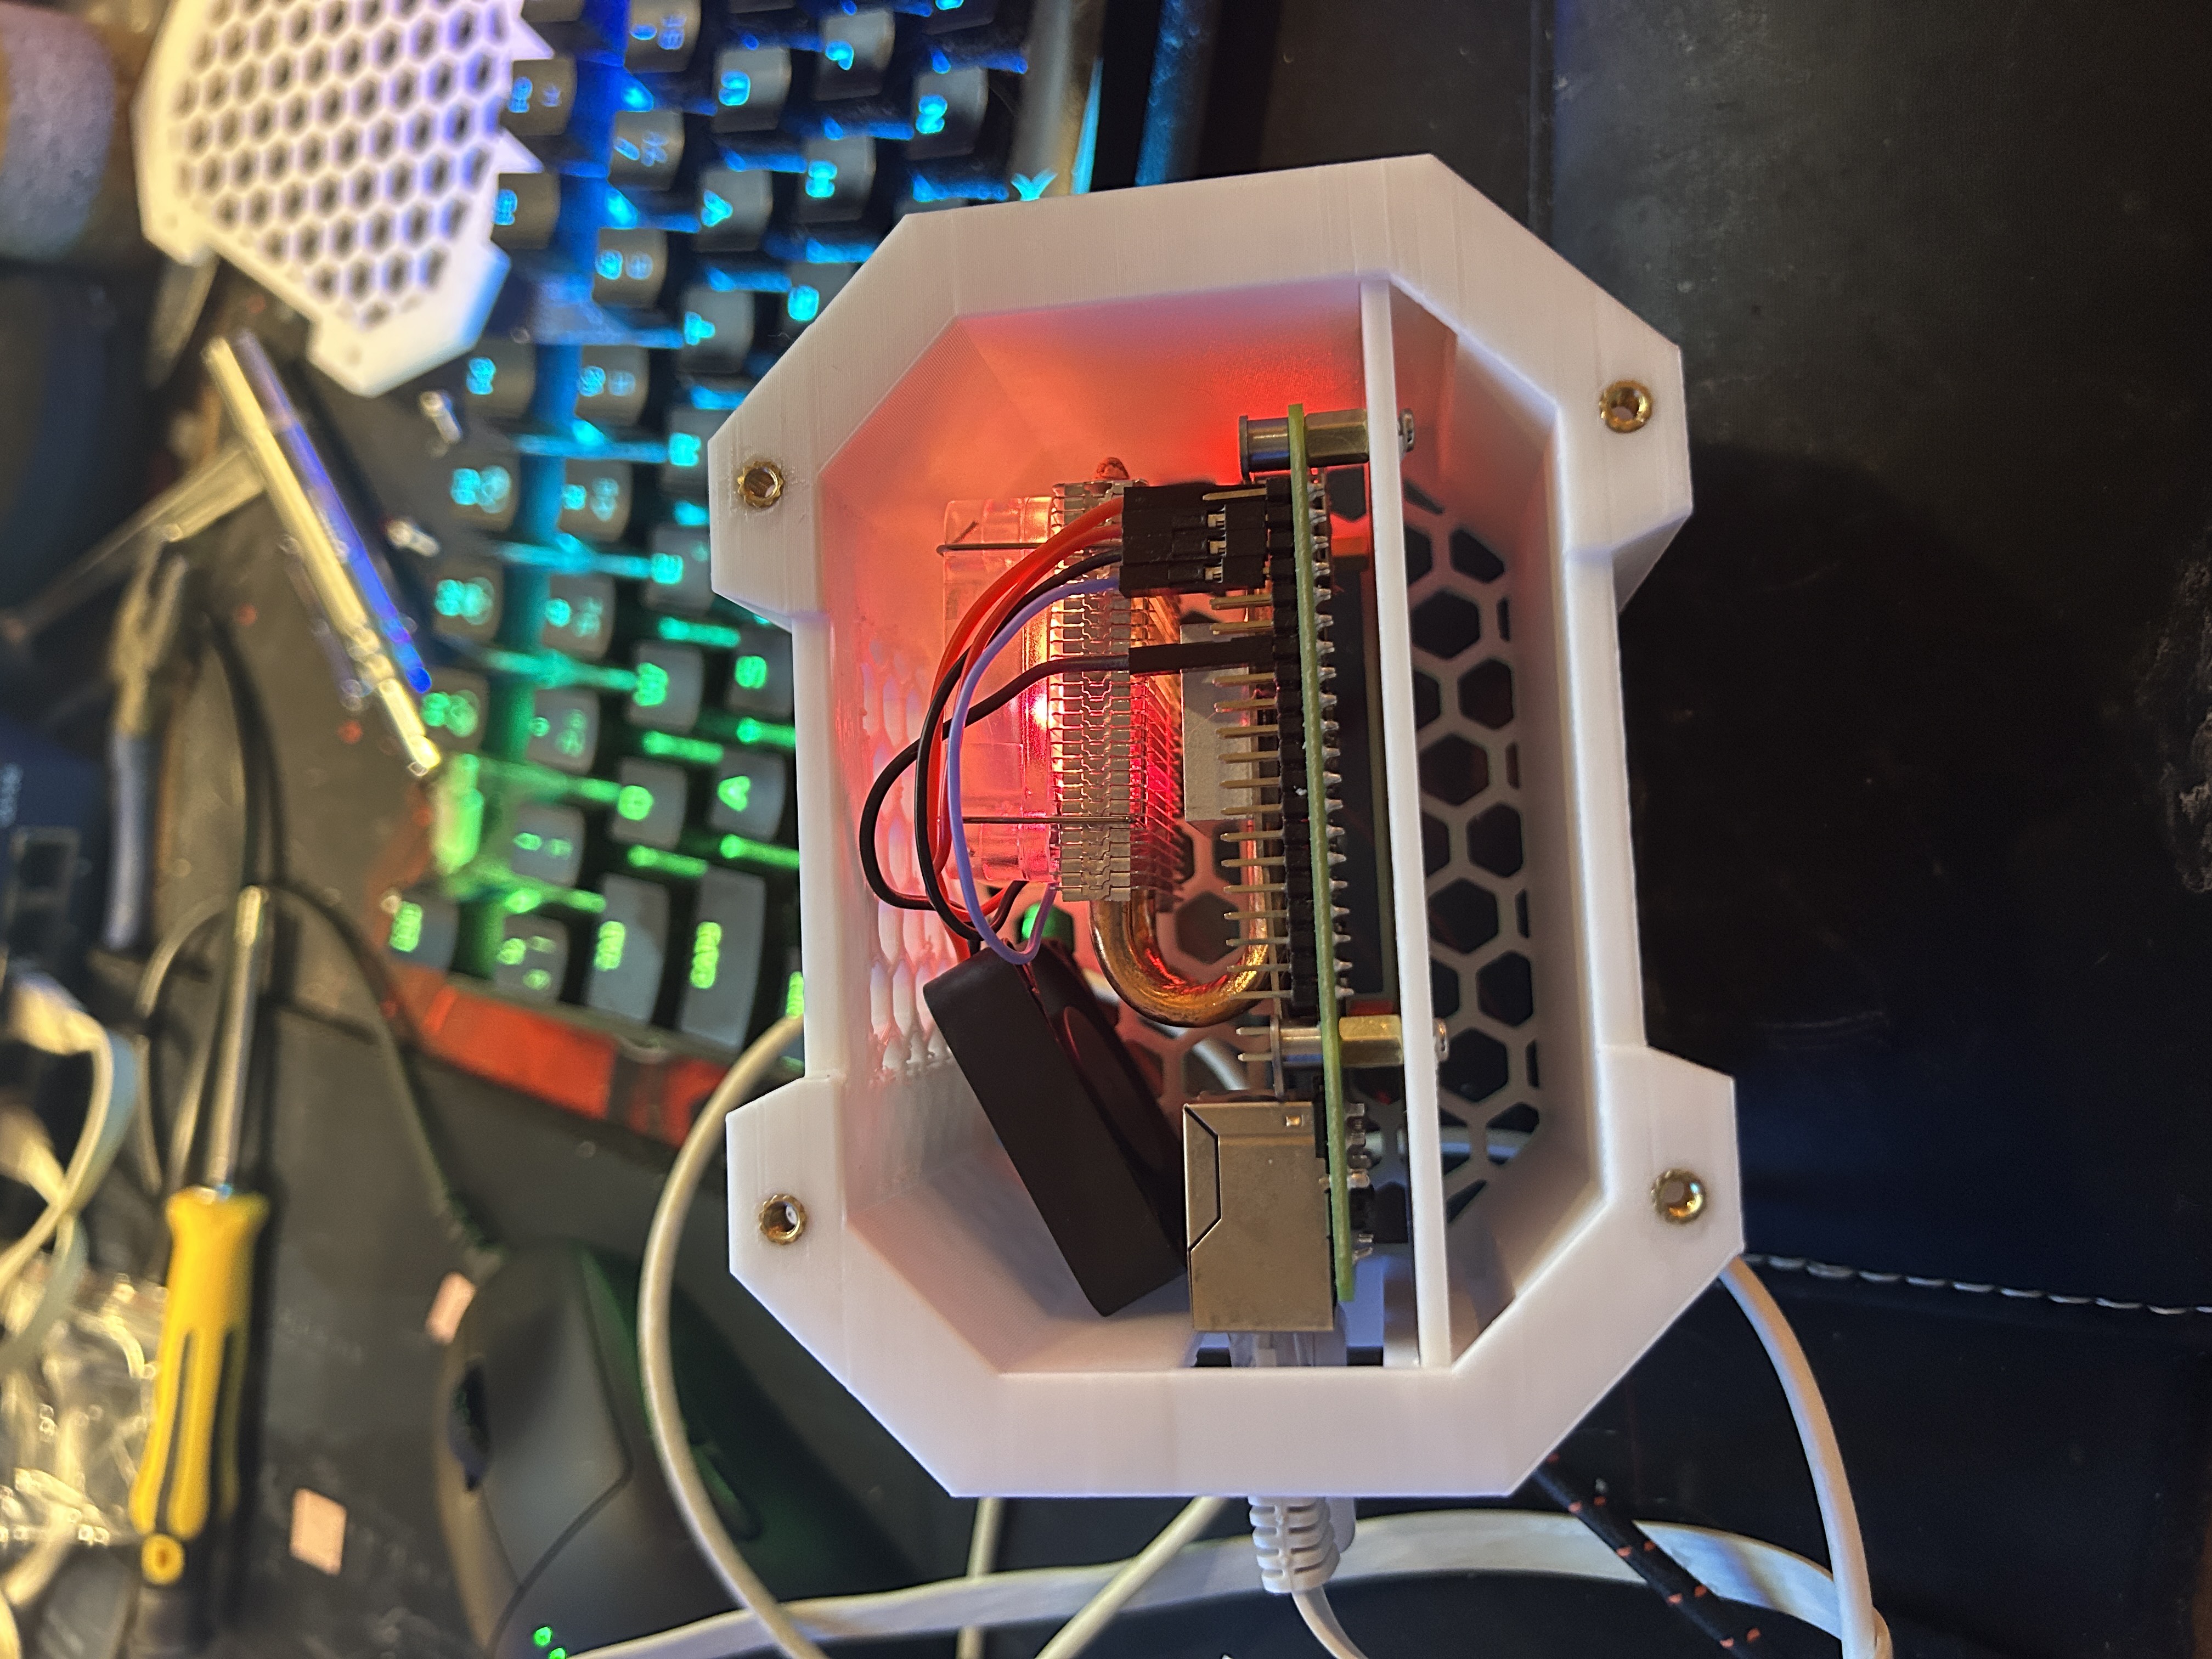
Another assembly angle with wiring routed and cooler firmly in place.
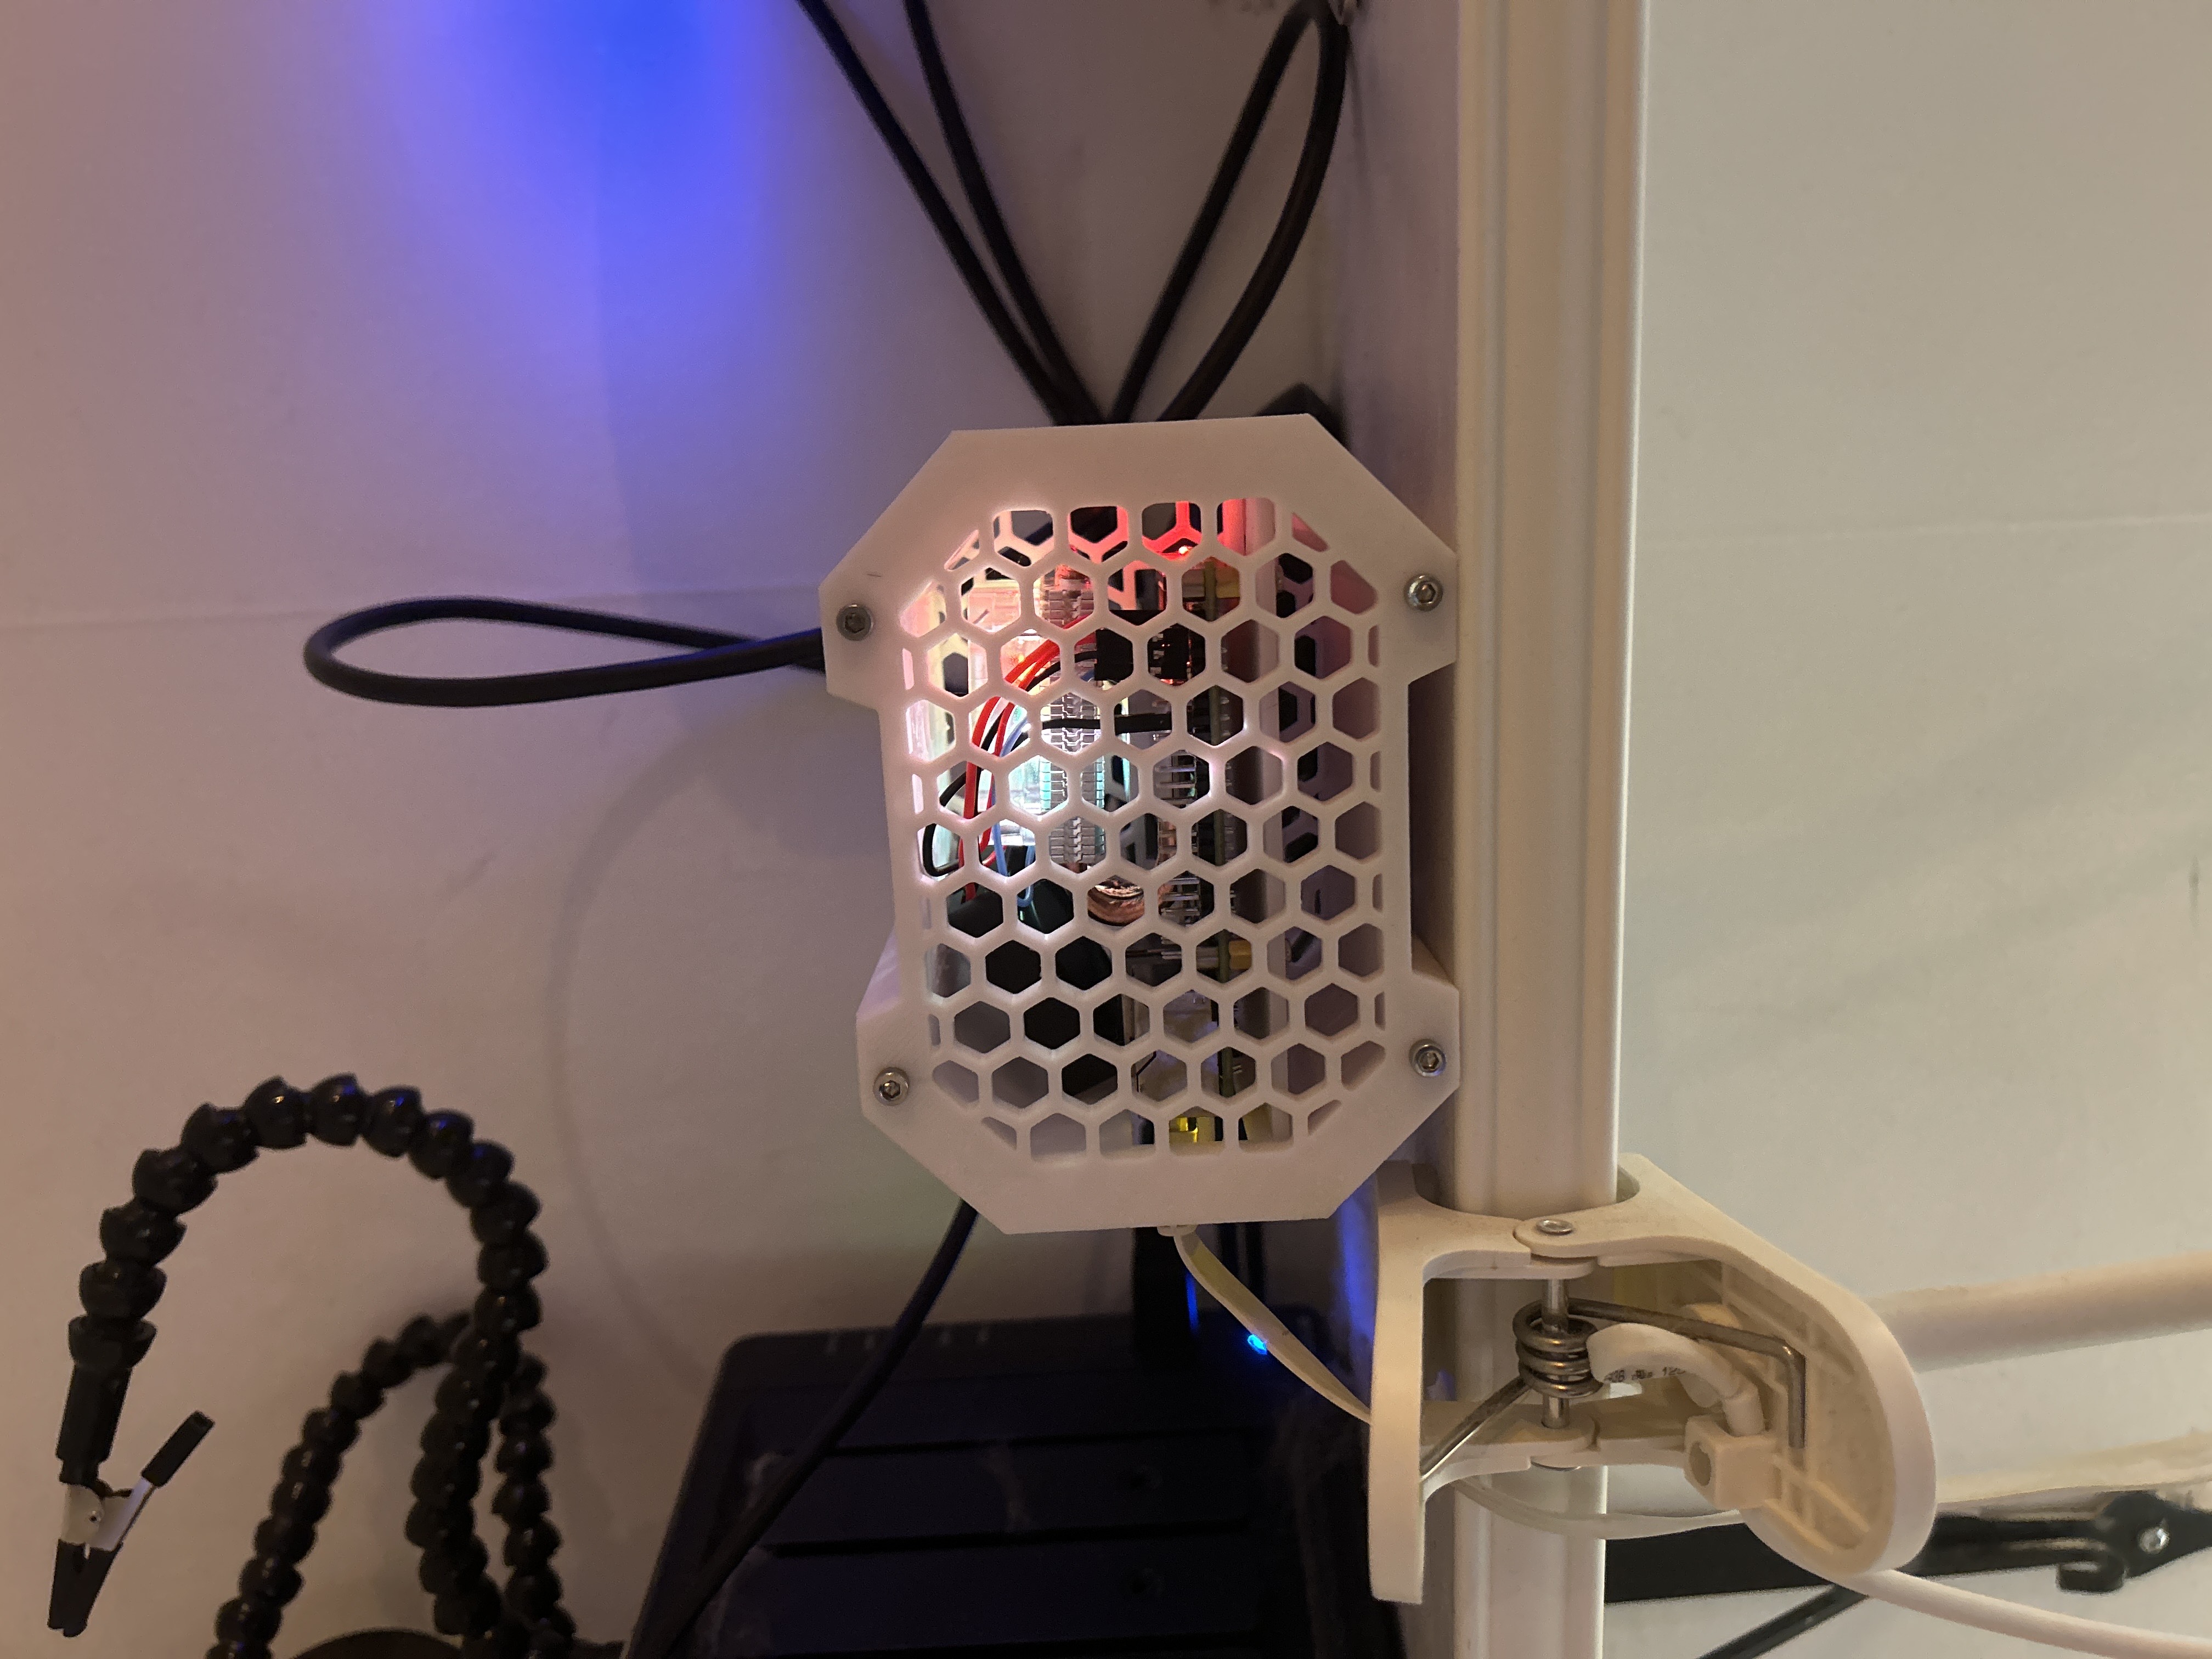
The finished build placed on a shelf, running inside its custom case.
⏭️ Next Steps
- Add Google Assistant / Alexa voice bridge
- Expand automation routines (e.g., “away mode” for saving energy)
- Explore advanced 3D printer integration (OctoPrint, APIs)
Comments
Comments
Loading comments…