IoT Cat Feeder – Building a New "Heart
After a lot of tinkering, wiring, and debugging, I’m now working on creating a **new heart for my automatic cat feeder**. The goal of this build is to replace the old electronics with a more powerful and flexible system based on the **Arduino Uno R4 WiFi** — while also adding a **NEMA stepper motor** for reliable food dispensing and an **HX711 load-cell amplifier** for precise portion control.
🐾 IoT Cat Feeder – Building a New "Heart"
After a lot of tinkering, wiring, and debugging, I’m now working on creating a new heart for my automatic cat feeder.
The goal of this build is to replace the old electronics with a more powerful and flexible system based on the Arduino Uno R4 WiFi — while also adding a NEMA stepper motor for reliable food dispensing and an HX711 load-cell amplifier for precise portion control.
🔩 Components Used
- 1× Arduino Uno R4 WiFi – the main controller handling all logic and connectivity
- 1× NEMA Stepper Motor – drives the feeding mechanism with precision
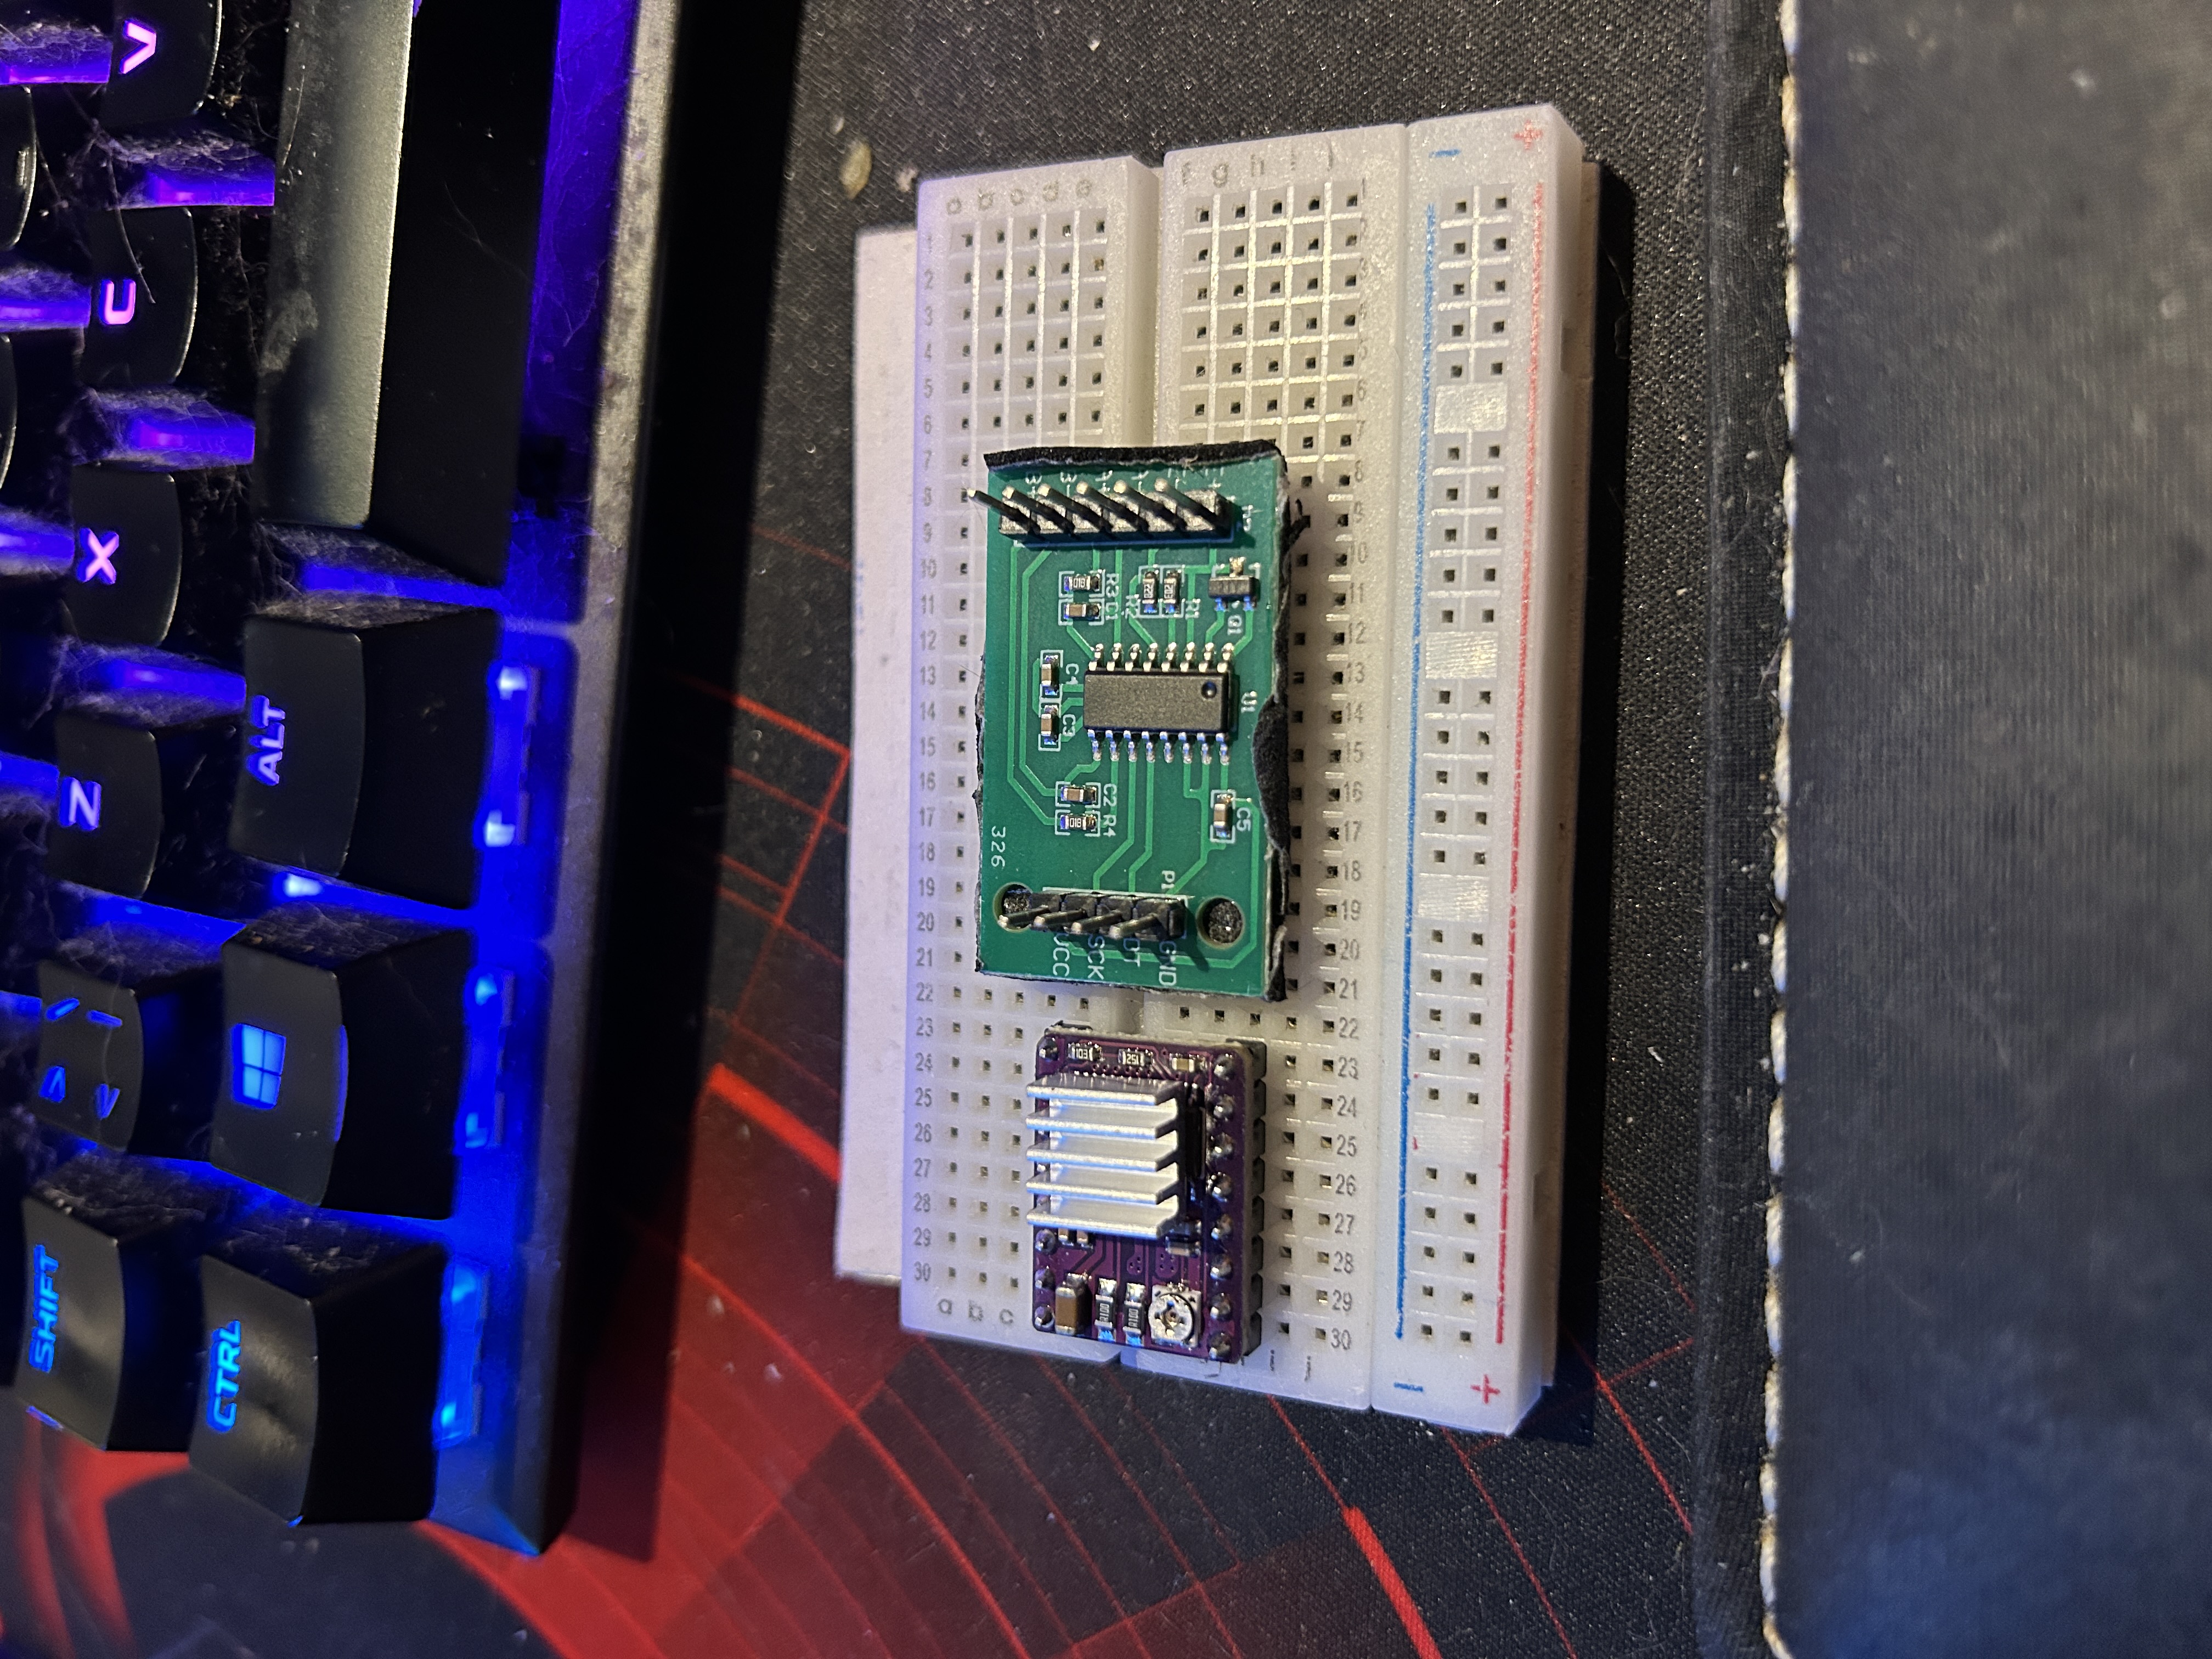
- 1× DRV8825 Stepper Motor Driver – provides power and step control to the motor
- 1× HX711 Load-Cell Amplifier – reads the weight of dispensed food for accurate portions
- 1× Load Cell – sensor that measures the actual weight of food dispensed
- 1× Breadboard + Power Supply – for prototyping connections
- 1× WiFi Dashboard (via Arduino R4) – remote monitoring and manual feeding trigger
🧠 How It Works
- The Arduino Uno R4 WiFi acts as the “brain” of the feeder.
- Feeding is triggered on schedule or via the web dashboard.
- The Arduino sends step commands to the DRV8825 driver, which powers the NEMA stepper motor.
- The motor rotates the feeding screw/wheel, dispensing kibble.
- The HX711 amplifier + load cell measure how much food was dispensed and report the exact weight back to the Arduino.
This ensures every meal is consistent, precise, and trackable.
📐 Circuit Design
1. PCB / Schematic Diagram
The schematic shows how the system is wired:
- Arduino UNO R4 WiFi provides control logic and WiFi connection.
- DRV8825 driver connects between the Arduino and NEMA motor.
- HX711 amplifier interfaces with the load cell and sends calibrated weight readings to the Arduino.
- Power supply ensures stable current for both logic and motor.
2. Wiring / Breadboard Diagram
- The Arduino R4 connects to the DRV8825 with step, direction, and enable pins.
- The DRV8825 outputs motor current to the NEMA motor.
- The HX711 connects to the load cell and transmits precise food weight back to the Arduino.
- A separate DC power source ensures the motor runs reliably without overloading the Arduino.
💻 Web Interface
The Arduino R4 WiFi enables a lightweight web interface:
- Trigger feeding remotely
- Monitor meal weight in real-time
- Adjust motor steps per portion
- Log feeding history
✅ Conclusion
With the Arduino Uno R4 WiFi, DRV8825, NEMA stepper motor, and HX711 load-cell amplifier, the cat feeder now has a brand new “heart”.
It dispenses food with accuracy, monitors meal weight, and can be fully controlled over WiFi.
This upgrade makes the feeder more reliable, precise, and connected — ensuring my cat never misses a properly measured meal. 🐱⚙️
Comments
Comments
Loading comments…