Project note
Using Rasperry PI as home assistant
Using Rasperry PI as home assistant: I had a Raspberry Pi 4 sitting idle at home. Previously, I used it to run Pi-hole for blocking ads across the network. • IoT • home-assistant
Home Assistant with Raspberry Pi 4
🎯 Purpose
I had a Raspberry Pi 4 sitting idle at home. Previously, I used it to run Pi-hole for blocking ads across the network.
Instead of letting it collect dust, I decided to re-install it from scratch and explore how much of my smart home and wireless devices I could integrate with it.
Surprisingly, it was very straightforward --- I spent about 24 hours total to get the following things implemented:
🔩 Components
- Arduino Wifi R4 watering system (with a local webserver)\
- Roborock Qrevo MaxV Black\
- Bambu Labs 3D printer P1S with AMS\
- 5× TRETAKT smart plugs (via Zigbee adapter)\
- 1× LED light strip (generic Amazon brand)\
- 3× Tapo Cam C200
🧠 Architecture (high-level)
- Controller: Raspberry Pi 4 running Home Assistant OS\
- Multiplexers: None required (direct integrations)\
- Displays: Home Assistant dashboards on desktop + mobile\
- Sensors: Smart plugs (power consumption), Tapo cameras (motion), watering system (soil moisture)\
- Actuators: Smart plugs, watering pumps, LED lights, vacuum, 3D printer control\
- Backend/API: Home Assistant integrations (Zigbee2MQTT, vendor APIs)\
- Mobile/App: Home Assistant Companion app (iOS/Android)
🖼️ Gallery
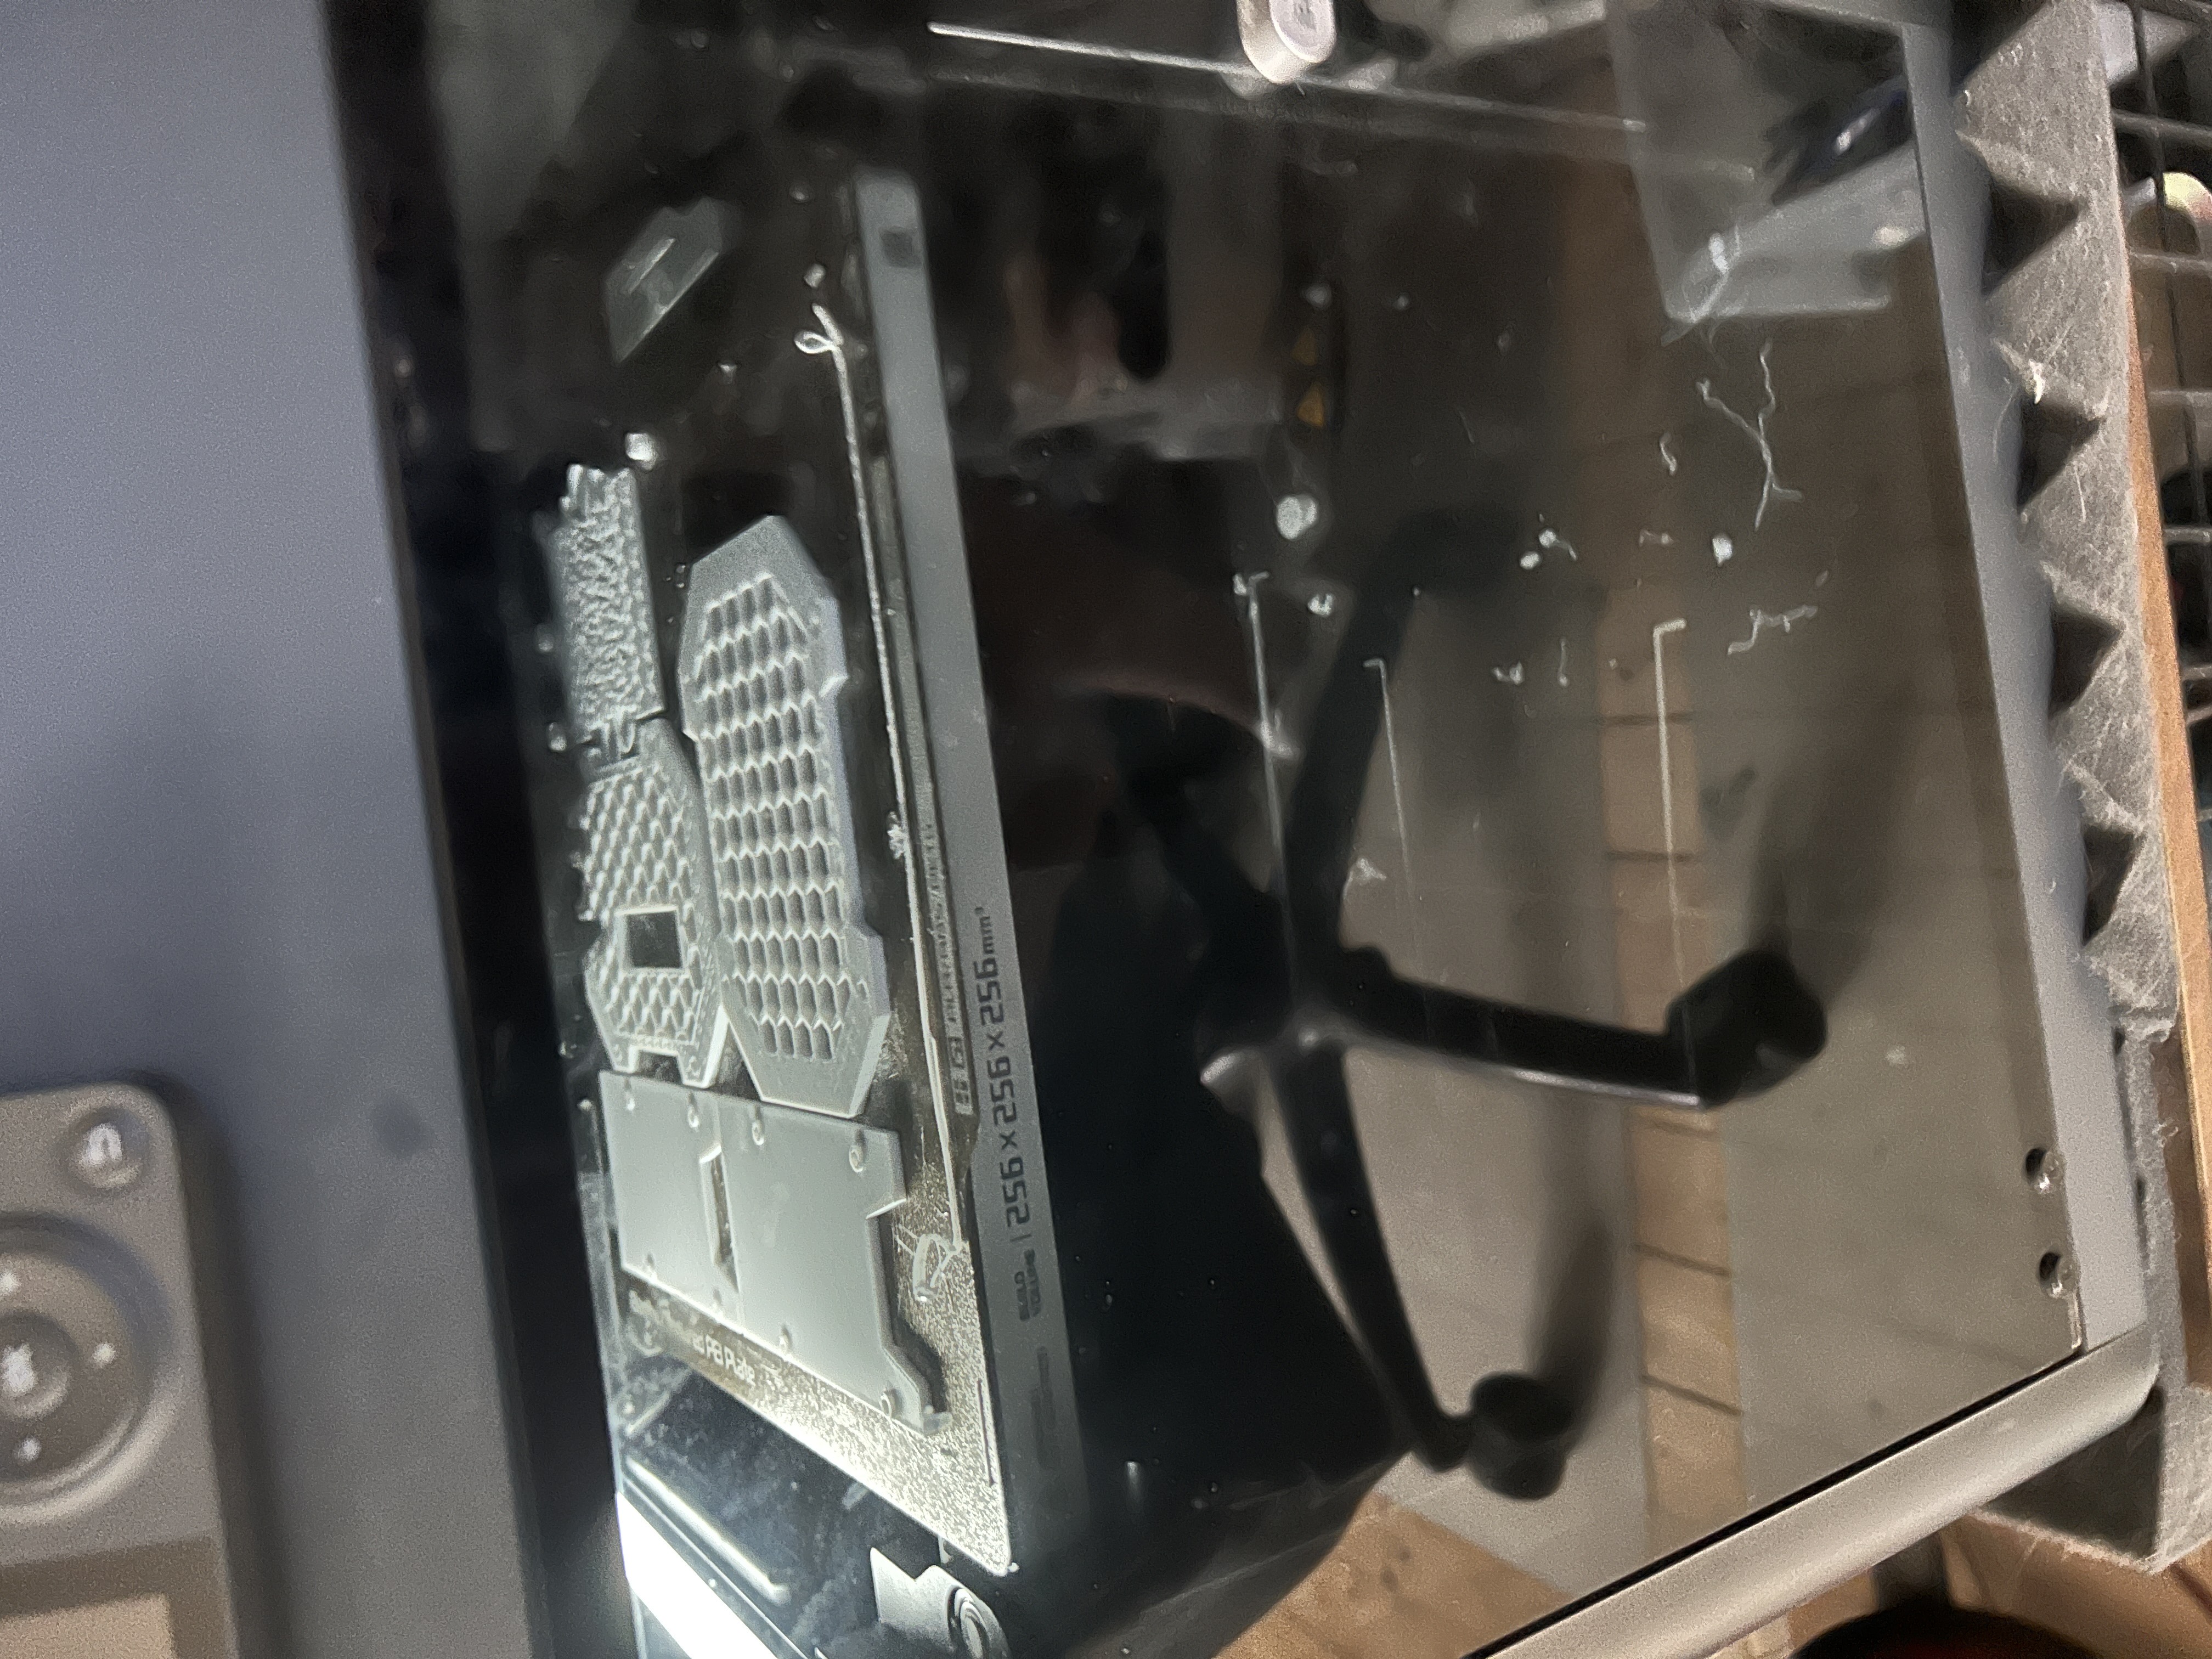
I will use the 3d printed parts as chassi for the cooling system later.
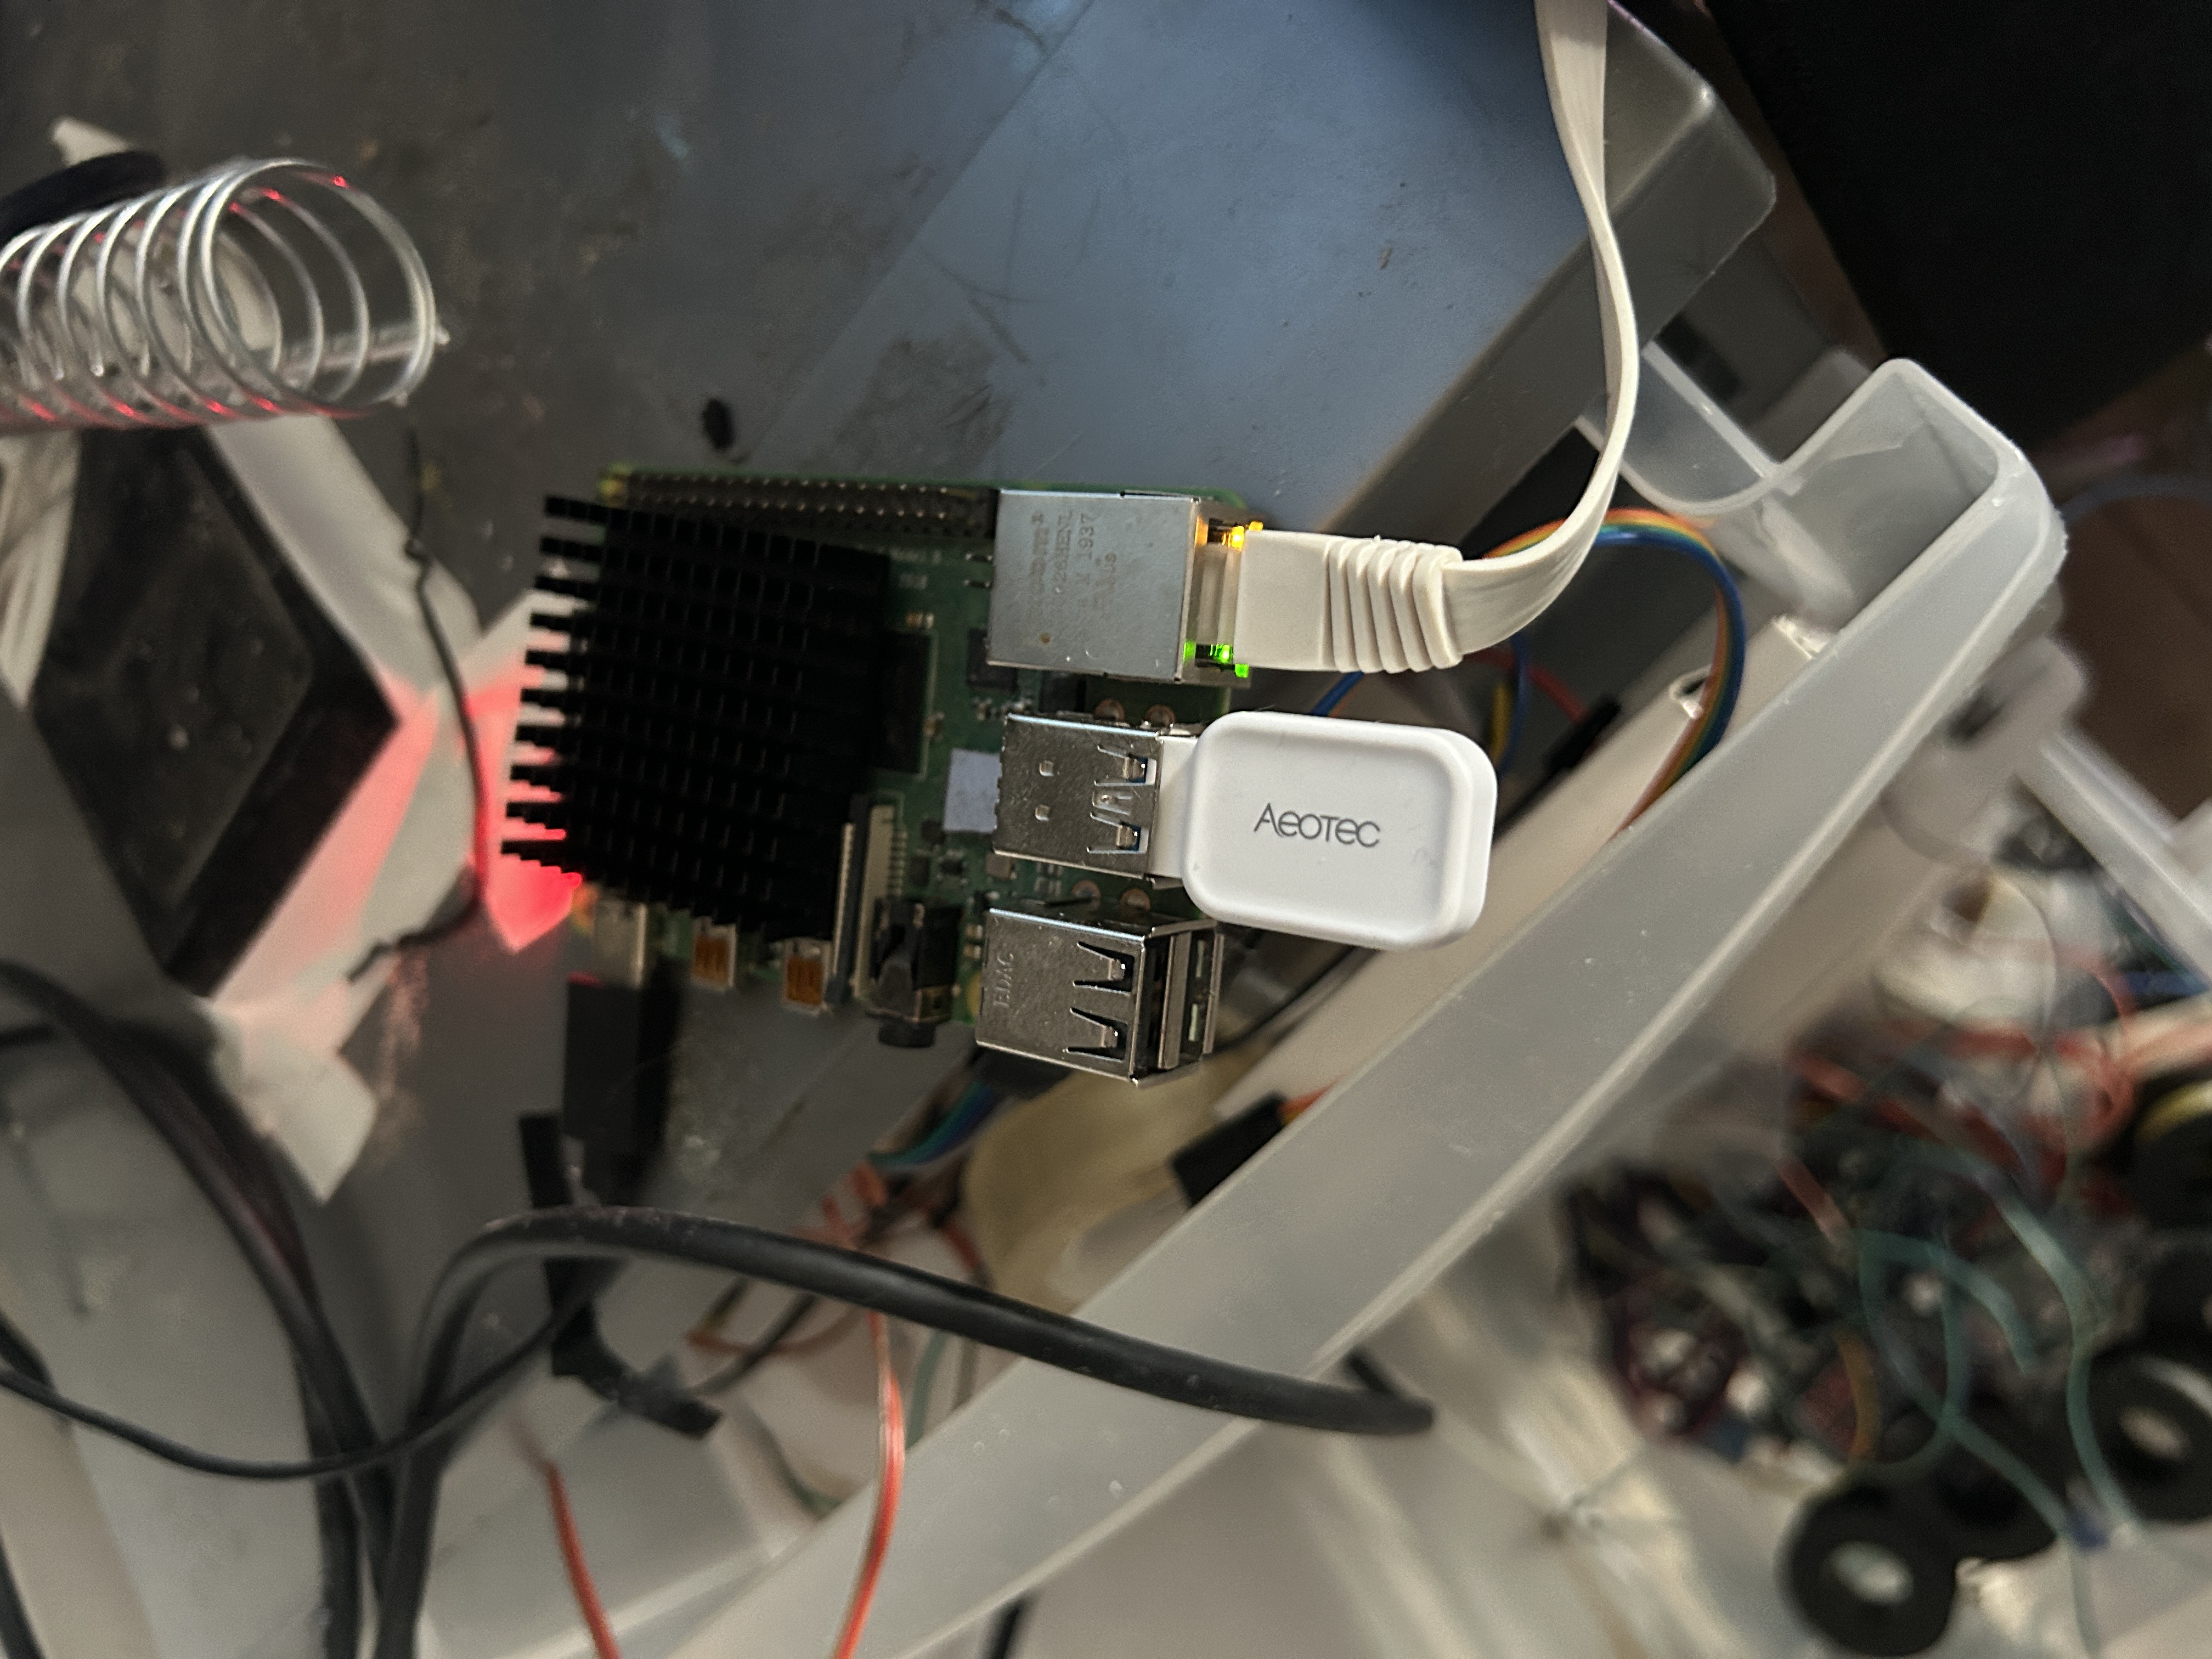
Short video sorry for the noise of the 3d printer:
⏭️ Next steps
- Implement water cooling for the raspberry PI
- Complete the 3d printed chassi
- Add voice control (Google Assistant / Alexa bridge)\
- Expand automation routines (e.g., "away mode" for energy saving)\
- Set up local-only backup for Home Assistant config\
- Explore advanced 3D printer integration (e.g., OctoPrint API)
Comments
Comments
Loading comments…